Overview
The CommBox Voice channel offers a seamless and flexible solution for handling standard phone calls, fully compatible with your existing IVR settings on AWS. As part of the configuration process, you can define how user accounts are managed, determine whether your contact center will support inbound and outbound calling, and specify the location for storing data within your Amazon S3 bucket.
This guide provides detailed information on the integration with AWS Connect.
1. Creating an Amazon account under CommBox
2. Creating an AWS Instance (like a virtual server) for the account
3. Assign Phone Numbers
4. Set Routing
5. Create AWS Flows
6. Create Users
7. Configure the CommBox Channel
Step I: Creating an Amazon Account Under CommBox
Contact us by opening a ticket with the CommBox Infra team and requesting to open a new AWS account under the CommBox organization (AllCloud).
Click here for more information on this topic.
Step II: Creating an Amazon Connect Instance
Once the AWS account has been created under the CommBox organization, you need to create an instance (like a virtual server) under that account that contains all the resources and settings related to your contact center.
-
Log in to the AWS Management Console (https://console.aws.amazon.com/console) using your AWS account.
-
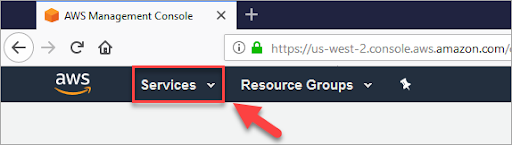
In the AWS Management Console, at the top of the page, select the Services drop-down menu.
-
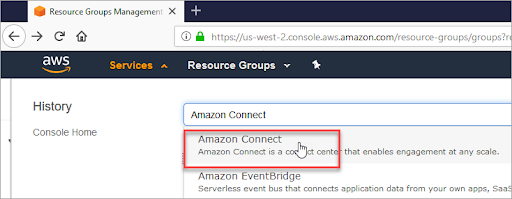
In the search box, type Amazon Connect.
-
Select Amazon Connect.
If this is the first time you've been to the Amazon Connect console, you'll see the following Welcome page.
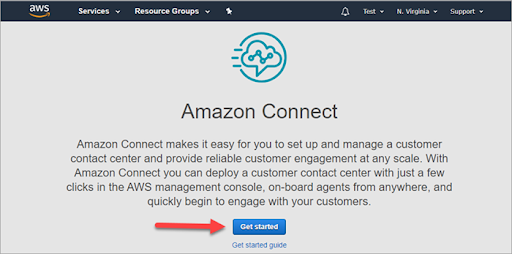
By selecting Get started, you can search and launch any AWS service. -
On the Amazon Connect virtual contact center instances page, choose Add an instance.
-
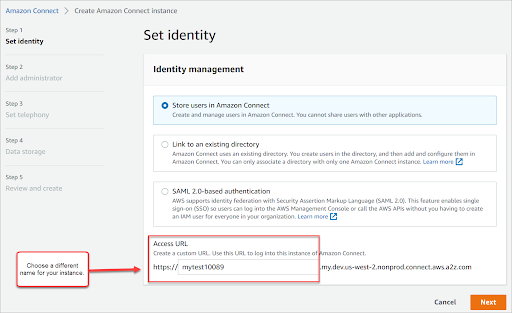
Enter a unique name for your instance and click Next. (In the example, we used mytest10089 as a name.)
-
On the Add administrator page, create a new administrator account for Amazon Connect. Later, use this account to log in to your instance using the unique access URL.
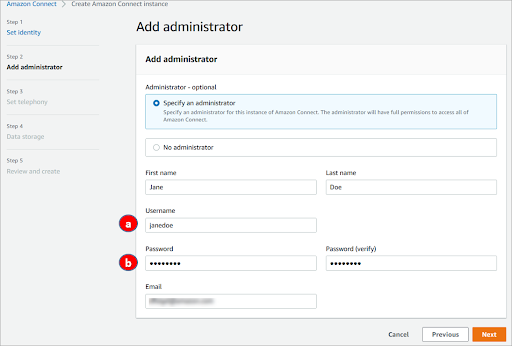
a. The username will be your Amazon Connect login. It's case sensitive.
b. The password must be 8-64 characters long and contain at least one uppercase letter, one lowercase letter, and one number.
c. Click Next to continue. -
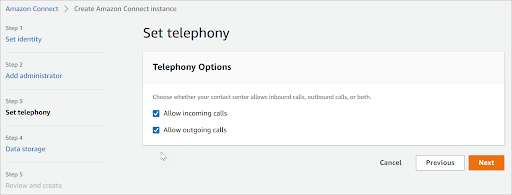
On the Set Telephony page, accept the default settings and click Next.
-
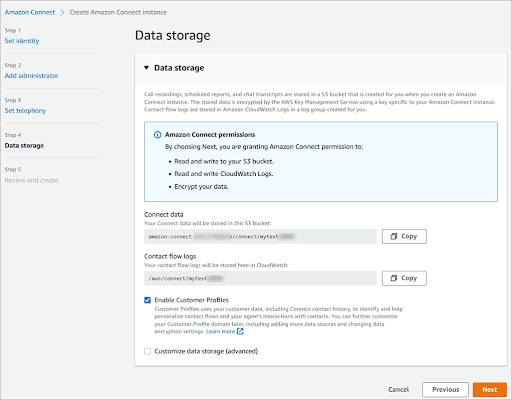
On the Data storage page, accept the default settings and click Next.
-
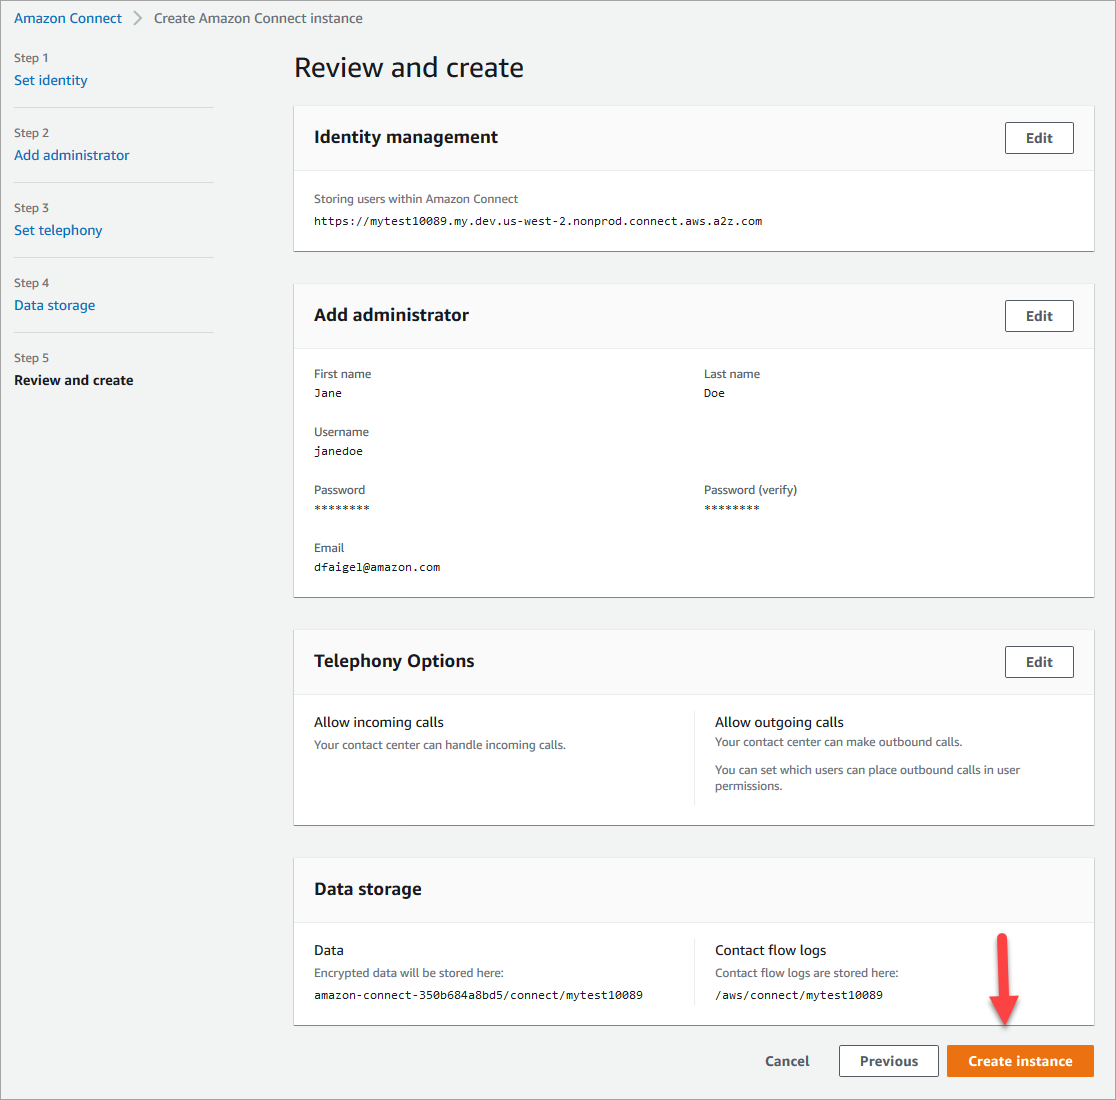
On the Review and create page, click Create instance.
-
Once the instance is created, click Get started at the top.
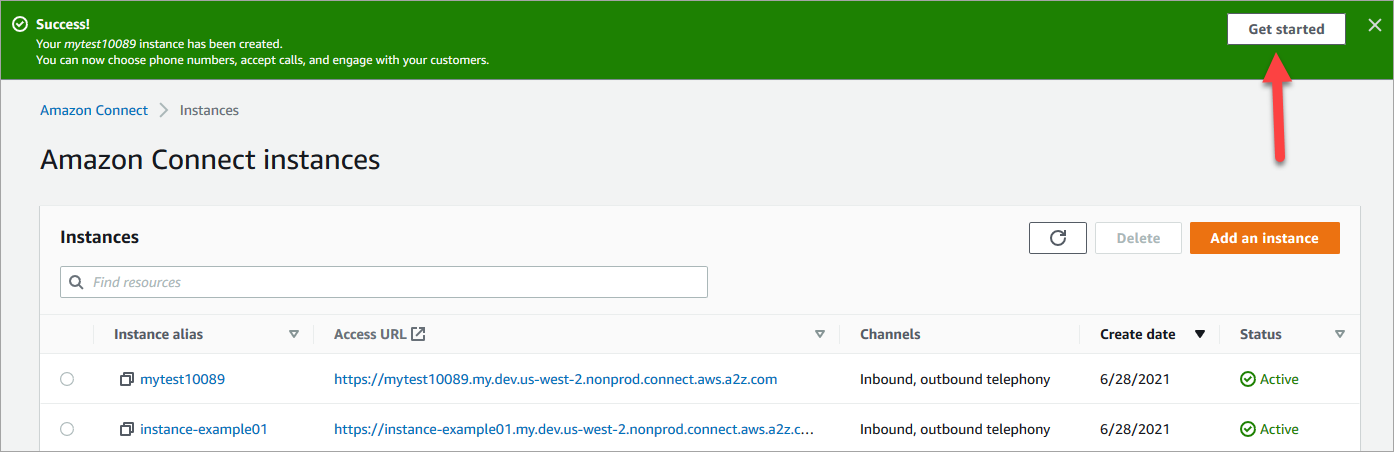
-
On the Welcome to Amazon Connect page, select Skip for now.
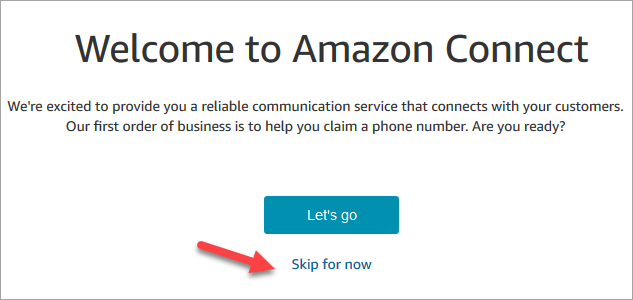
-
You're now on the Amazon Connect dashboard. Your instance name (also called an alias) is displayed in the URL (a). The navigation menu (b) is on the left.
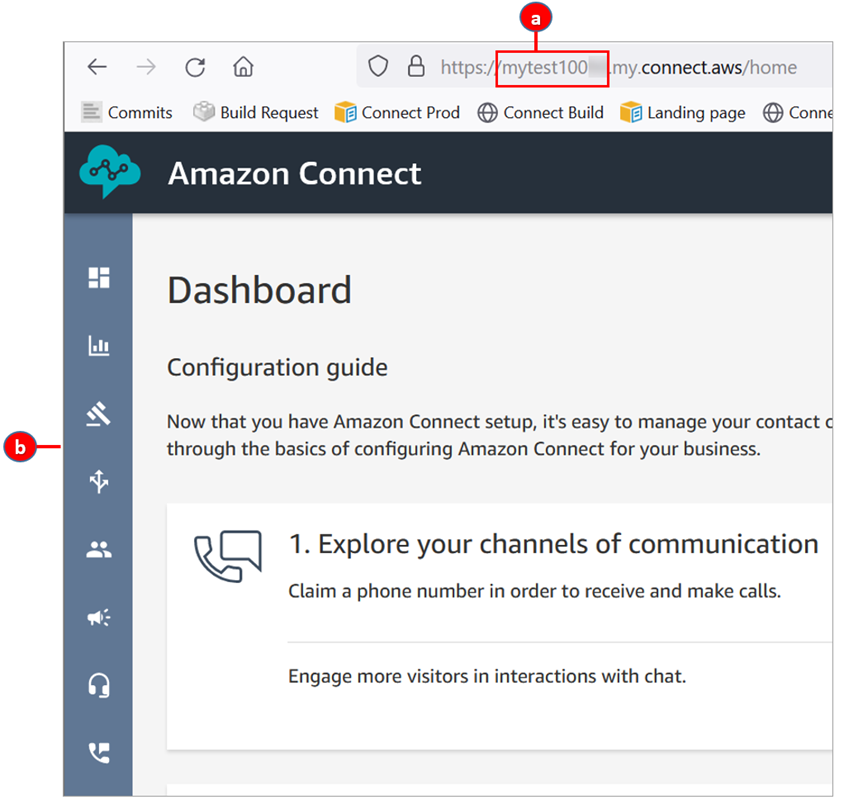
More information about this step is available here.
Step III: Assigning Phone Numbers
If you are using Voice, claim the phone number that AWS provides or port your current phone number to Amazon Connect. We recommend building your contact center using the AWS-provided number while waiting for your numbers to be ported over.
In this step, you set up a phone number so that you can experiment with Amazon Connect.
-
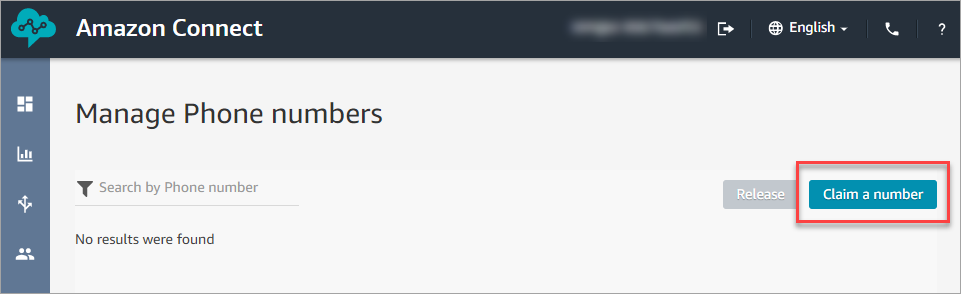
On the navigation menu, select Channels > Phone numbers.

-
On the right side of the page, click Claim a number.
-
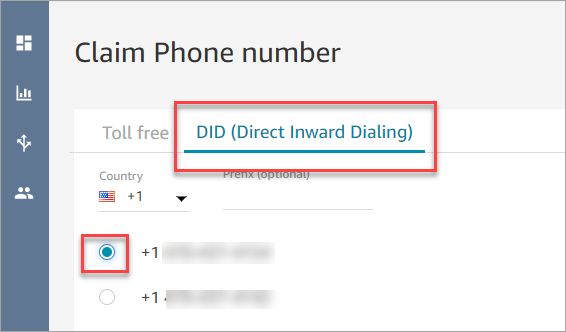
Select the DID (Direct Inward Dialing) tab and use the drop-down arrow to choose your country/region. When numbers are returned, select one.
-
Write down the phone number. You'll call it later in this tutorial.
-
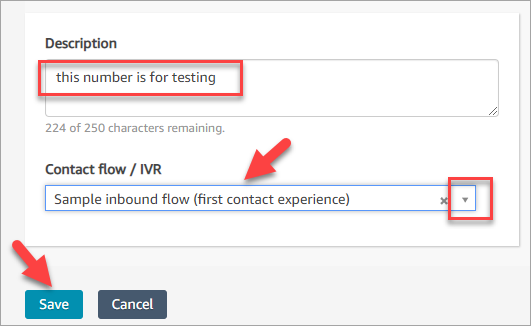
In the Description box, enter: This number is for testing.
-
In the Contact Flow / IVR box, use the drop-down arrow to select Sample inbound flow (first contact experience).
-
Click Save.
Congratulations! You just set up your instance and claimed a phone number.
Now you're ready to experience how chat and voice work in Amazon Connect. Go to Tutorial 2: Test the sample voice and chat experience.
For more information on this step, click here.
Step IV: Set Routing
In Amazon Connect, routing consists of three parts: queues, routing profiles, and flows.
- A Queue holds customers waiting to be answered by the next available agent.
- Routing profiles specify the channels that agents can access (voice, chat, tasks, etc.).
- A Flow defines the customer’s journey in your contact center. A single flow works for voice, chat, and tasks, which makes your design more efficient. When you build flows and configure the blocks, indicate how the flow should work for voice, chat, and tasks.
For details on your available options, see the following links:
Set Up Routing
Create Amazon Connect Flows
Step V: Add Users
Add Agents and Managers to your system and configure their profiles and settings. Specify whether they are using a softphone or desk phone, and set how long they have for After contact work.
For details on your available options, see the following links:
Add Users to Amazon Connect
Set Up Agents
Step VI: Create a Voice Channel in CommBox
See the Voice user guide for creating a Voice channel in CommBox.