Overview
This guide describes the process of adding a new agent to the organization.
Appropriate admin credentials are required for this process and the admin must be verified by the system (verified email).
Step I – Entering the new agent into the system
-
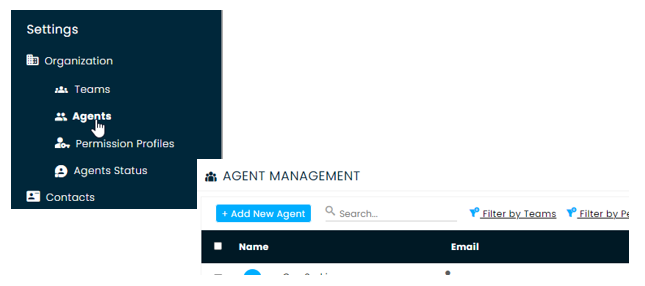
Navigate to Settings > Agents and click on + Add New Agent at the top corner of the screen.
-
Fill in the information in the dialog box (mandatory fields are marked with an *).
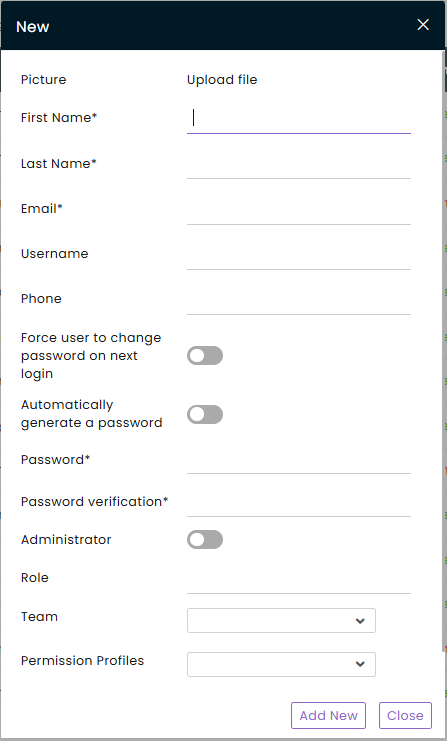
Note: When editing sensitive information (username, email address, or password) or when deleting an agent, the admin will have to go through an additional OTP with the code being sent to their email. Once verified, the admin has an hour to continue editing without an additional OTP required.
-
Click Add New when done. You should see a “Successfully saved” message at the bottom of the dialog box.
Note:
a. Once the new agent is in the system, these settings can be changed.
b. Unless otherwise specified, the email address is the Username for logins.
c. The Password can be chosen by the onboarding admin and given to the new agent for the initial login or toggle the password auto-generator to send to the new agent an initial password.
d. The agent's first name, email, and role fields are dynamic and can be used in preset communications and signatures.
Step II – New agent confirms email account
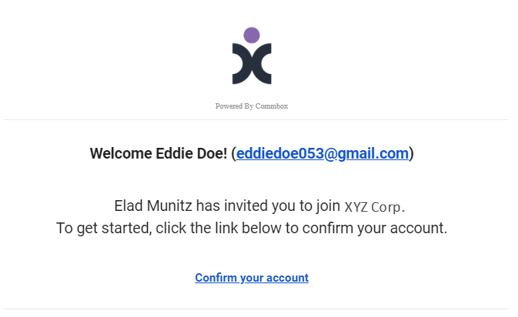
- The agent will receive an email from your company (if not set up, it will be sent from the Default sender) welcoming the new agent to the company.
The new agent needs to click the Confirm your account button, which will redirect the new agent to the CommBox account login page.
-
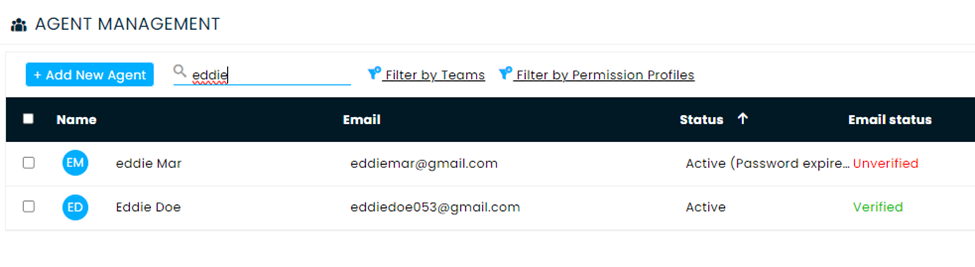
By going to the list of Agents, the admin can check if the new agent has verified their email address.
-
Once the agent has been verified, edit the profile of the new agent, appoint them to teams, make them choose a new password, etc.
Editing Agents Teams and Profiles
Managers can edit the team associations and permission profiles of a few agents at a time.
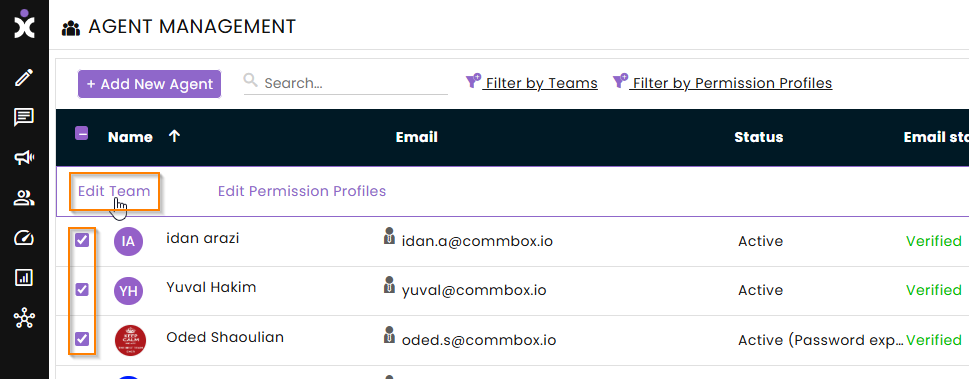
To edit teams:
-
Check the box next to the names of the selected agents and click Edit Team the dropped menu.
-
At the dialog box, select the desired action from the pull-down menu.
• Add all selected agents to the selected team(s)
• Remove all selected agents to the selected team(s)
• Remove all selected agents to their current team(s) and assign them to the selected team(s)

-
Check the relevant teams and click Apply.
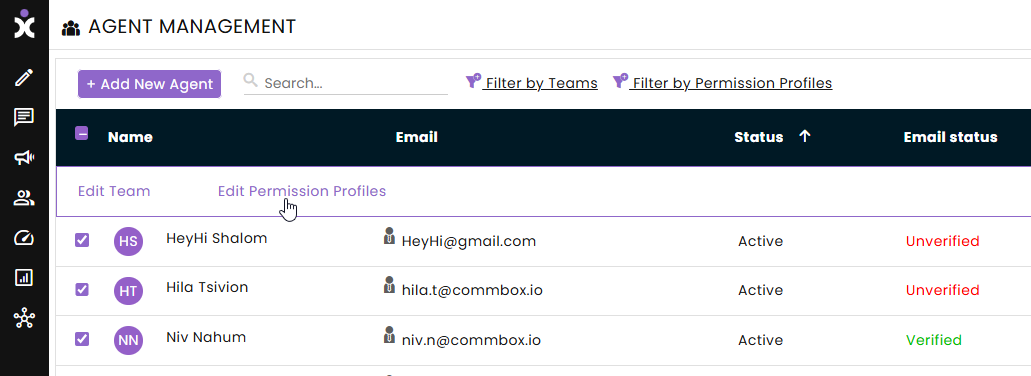
To edit profiles:
-
Check the box next to the names of the selected agents and click Edit Team the dropped menu.
-
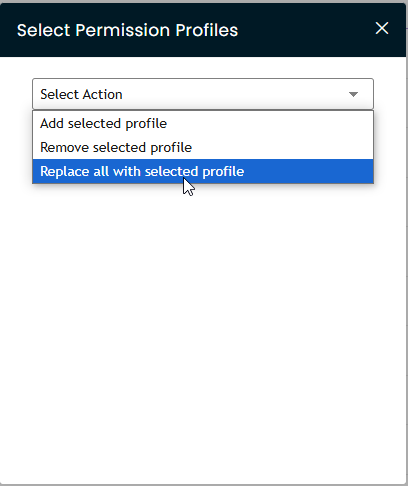
At the dialog box, select the desired action from the pull-down menu.
• Add all selected profiles to the agents
• Remove all selected profiles from the agents
• Remove all profiles form the agents and assigned them to the selected profile(s)
-
Check the relevant teams and click Apply.
Note:
Prior to adding new agents, verify that you have available licenses in your contract by navigating to Settings > Accounts. To add additional licenses, please contact your customer success manager.