 Overview
CommBox’s Google My Business module allows users to synchronize the posted user reviews and comments and respond to them directly from CommBox Agent Workspace’’s integrated email service application.
Before starting, make sure that you are connected to the relevant web browser that you usually use to log in to your Google account.
Stage 1: Connect the relevant Google account to CommBox’s systems
Creating the channel within CommBox’s Agent Workspace and connecting it to the Google My Business account.
1. While within CommBox’s Agent Workspace, click on the Settings icon visible in the lower left-hand corner.
2. Look for the channel option and then scroll through the various modules visible until the Google My Business icon is located.
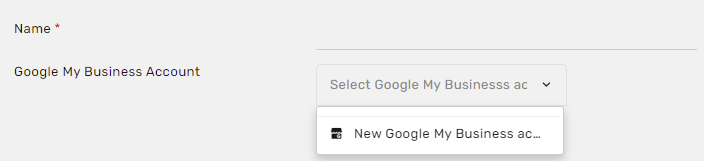
3. Click on +Google My Business Channel.

4. Click on the Select Google My Business account drop-down menu, and click on New Google My Business account.
5. Continue and confirm the details displayed throughout the connection process until the relevant Google account is visible underneath the tab visible in the screenshot below:
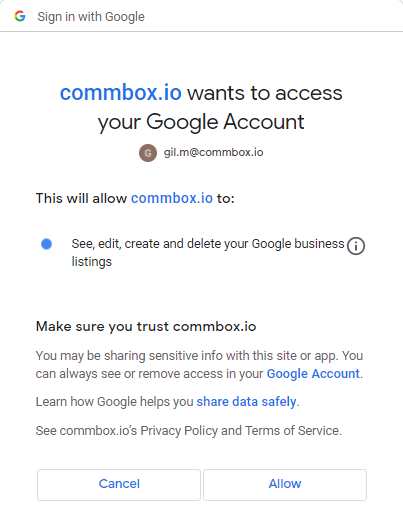
Once these steps have been completed successfully and a Google account has been linked with CommBox, we can move on to Stage 2 of the process:
Stage 2: Creating a new Google My Business Channel
1. Go back to the Settings & Features page within the Agent Workspace.
2. Click on the Google My Business icon.
3. Click on +Google My Business Channel (as in Stage 1).
4. Select one of the connected Google accounts which are displayed and choose your desired channel name on the upper-left-hand side of the interface.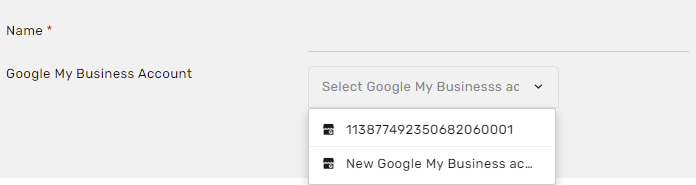
5. Once you’ve done so, click on Continue on the right-hand side of the screen.
Once all of these steps have been completed successfully, you are set to begin receiving notifications of incoming user reviews!
Module Settings
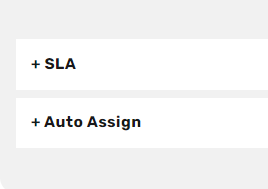
SLA
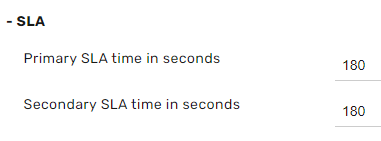
Primary SLA Time (in seconds) - The time elapsed before receiving the agent's first response.
For example: when the conversation begins, the customer sends a message, i.e., Hi, the agent answers How can I help you?
Secondary SLA time (in seconds) - The time elapsed between the customer's second message and the agent's subsequent response.
Auto-Assign
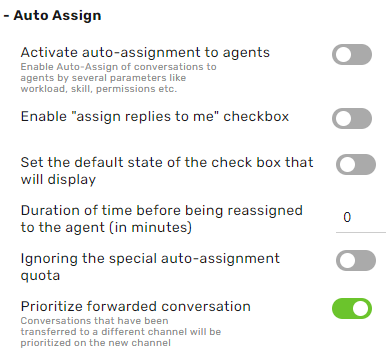
Activate auto-assignment to agents - set whether to utilize or turn off the channel’s auto-assignment capability.
Enable the Assign replies to Me checkbox - a checkbox will be added to the line item titled Assign Responses to Me.
Set the default state of the check box that will be displayed - sets the default position of the checkbox to Auto-Assign responses to me (open to toggle)
Duration of time before being reassigned to the agent - the conversation will be assigned to the agent who responded to the conversation if ‘Assign Responses to me’ has been selected. If the answer is on the condition of Time Duration before being reassigned back to the agent (in minutes). If it exceeds this duration of time, the conversation will not be assigned.
Ignoring the Special Auto-Assignment quota - activates the system feature. This overlooks the agent’s assignment quota and assigns conversations using the special auto-assignment feature. Special auto-assignment contains five unique assignment types:
- Assign Responses to me
- VIP customer - priority ticket
- Providing a direct link to the chat through the Knowledge Base
- Tracking settings
- Composing messages underneath the assigned respondent is set to Assigned to Me.
Prioritize forwarded conversations - conversations that were forwarded from another channel will be given priority assignment on the new channel if the following conditions are met:
- The conversation is assigned to an agent while it is being forwarded
- The agent forwarding the conversation has no access to view the destination channel
If the conversation has met all the following criteria, it will receive priority above other conversations.
Are you looking for an expanded explanation of the Auto-Assignments module? Please feel free to view the relevant instruction manual.