
Overview
Facebook's platform enables organizations to promote their products and services through targeted advertising. This article provides a step-by-step guide to activating Facebook pages in CommBox, creating new channels, and linking Facebook pages to them. Once connected, traffic from Facebook will be directed to the Timeline, Posts, and Mentions subchannels.
For general configurations and specific Facebook capabilities, refer to the Channel Settings section.
To create a new Facebook page, click here.
Prerequisites
To manage the Facebook settings, please note the following:
- You must be classified as an admin of the relevant Facebook page you wish to integrate with CommBox.
- You have an Admin classification in CommBox.
Key Considerations:
- Response Time and Permissions: Generally, agents have a 24-hour window from the time of the customer's last message to respond to a customer-initiated conversation. However, Meta has granted CommBox extended response permissions, allowing agents to reply within seven days using the Human Agent Tag.
- Replies to Facebook (or Instagram) Comments: An agent can reply privately to a customer’s Facebook comments via Messenger by clicking the three-dot menu next to the comment in the Inbox and selecting Send as a private message. The customer will receive a notification on Facebook advising of the private message in Messenger, and the Messenger page will have a link to the original comment, provided that both Facebook and Messenger channels are integrated with CommBox.
- Identifying Facebook Users: When a Facebook user responds to a post, the system attempts to identify the user. Until identified, messages will be coming from a "Facebook User."
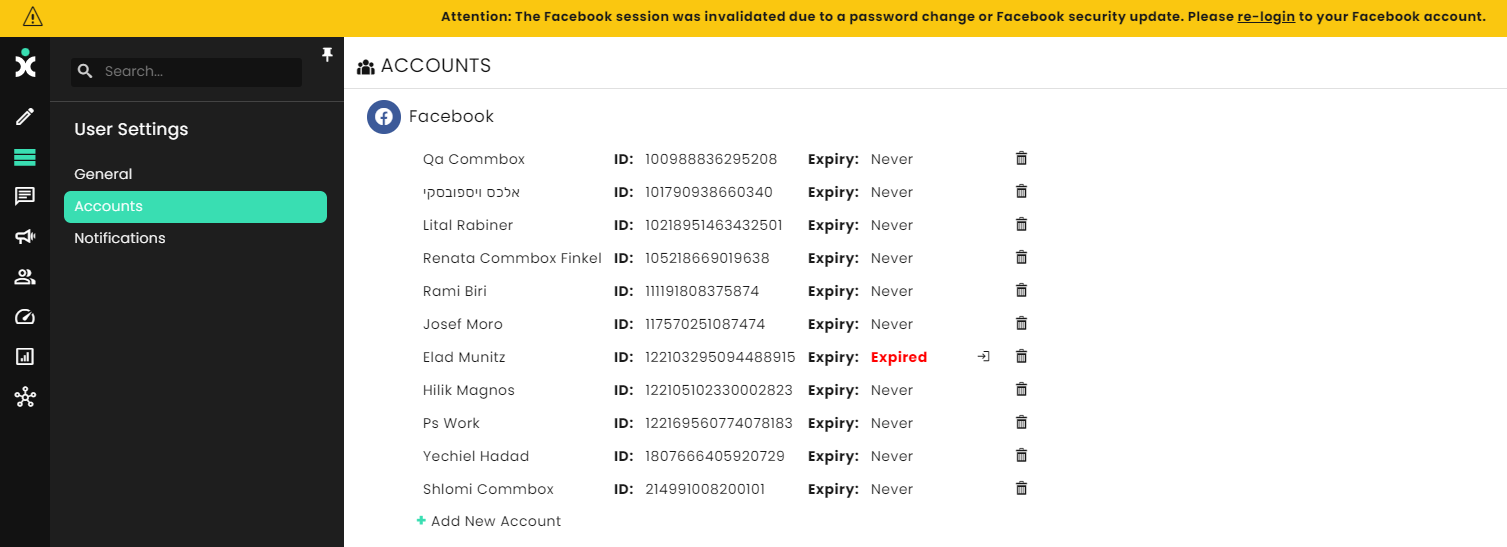
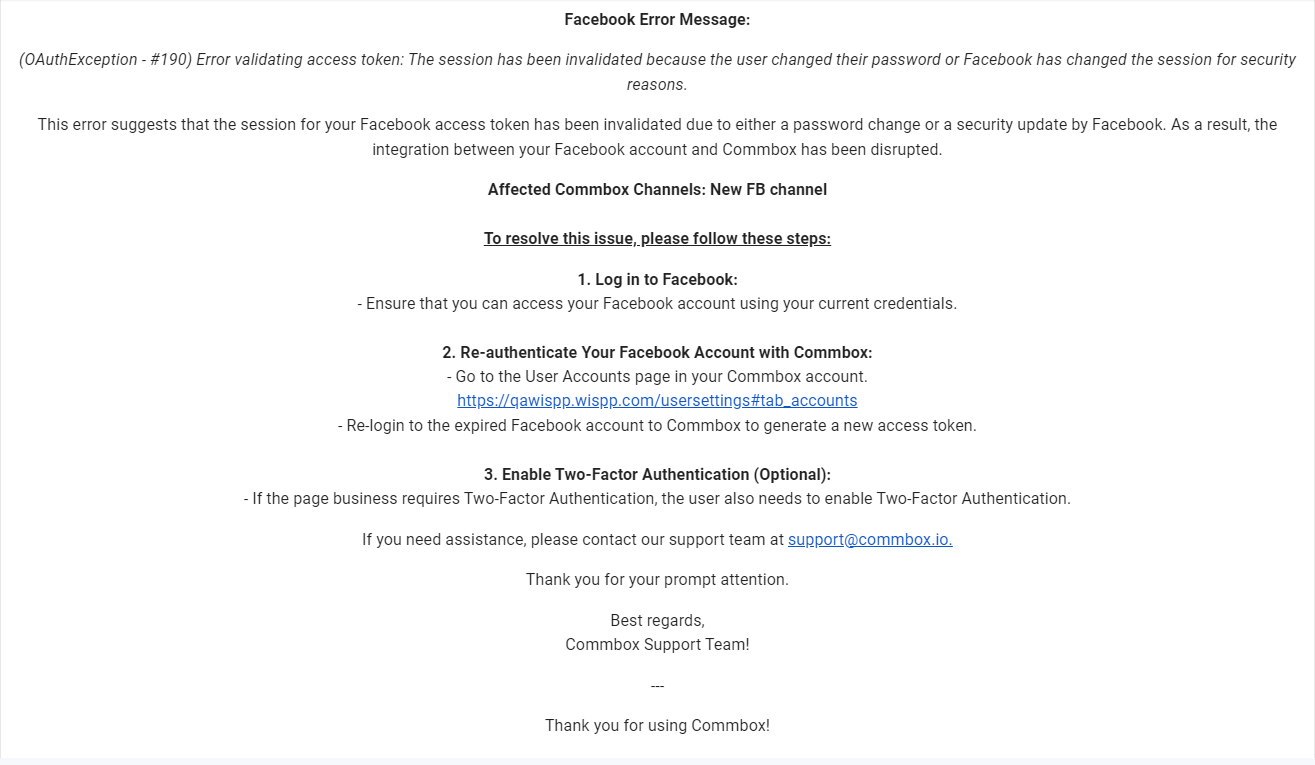
- Credential Verification: CommBox continuously verifies the validity of credentials to protect the security and privacy of content owners. When account passwords change, access is interrupted, and the person who opened the channel is notified via a banner and email to relog to the Facebook account with the necessary permissions or credentials.
Connecting an Existing Facebook Page
- At the Settings page, select Facebook from the communication channels section and click on the relevant channel.
- At the top of the page, click the Edit button next to the Channel’s name.
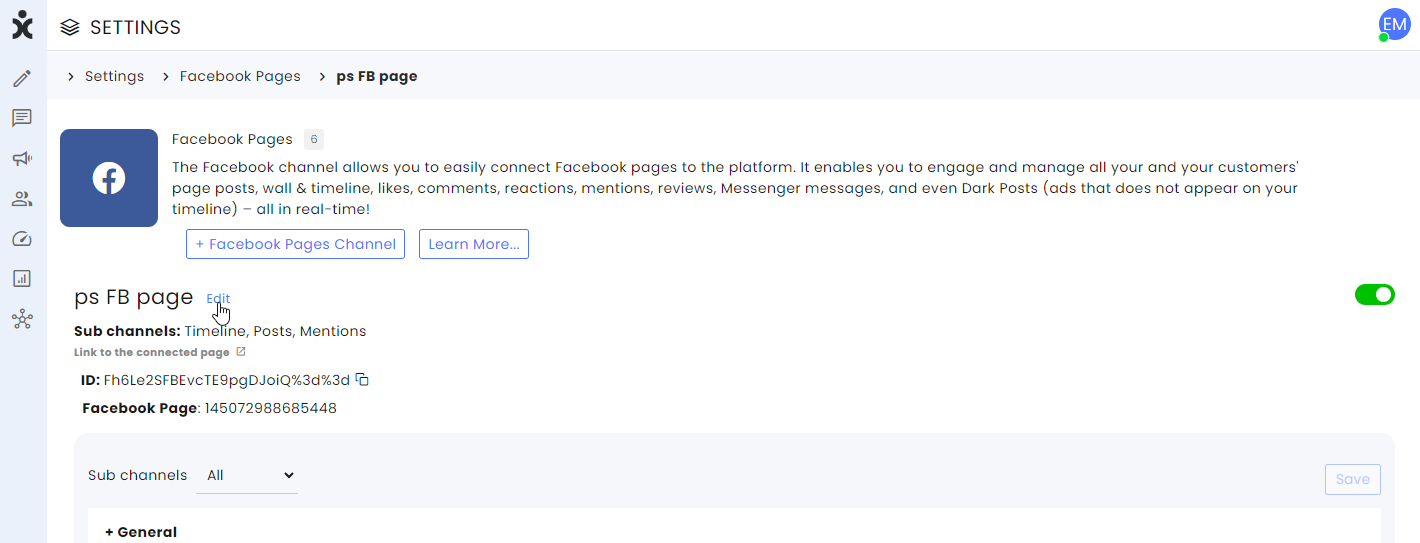
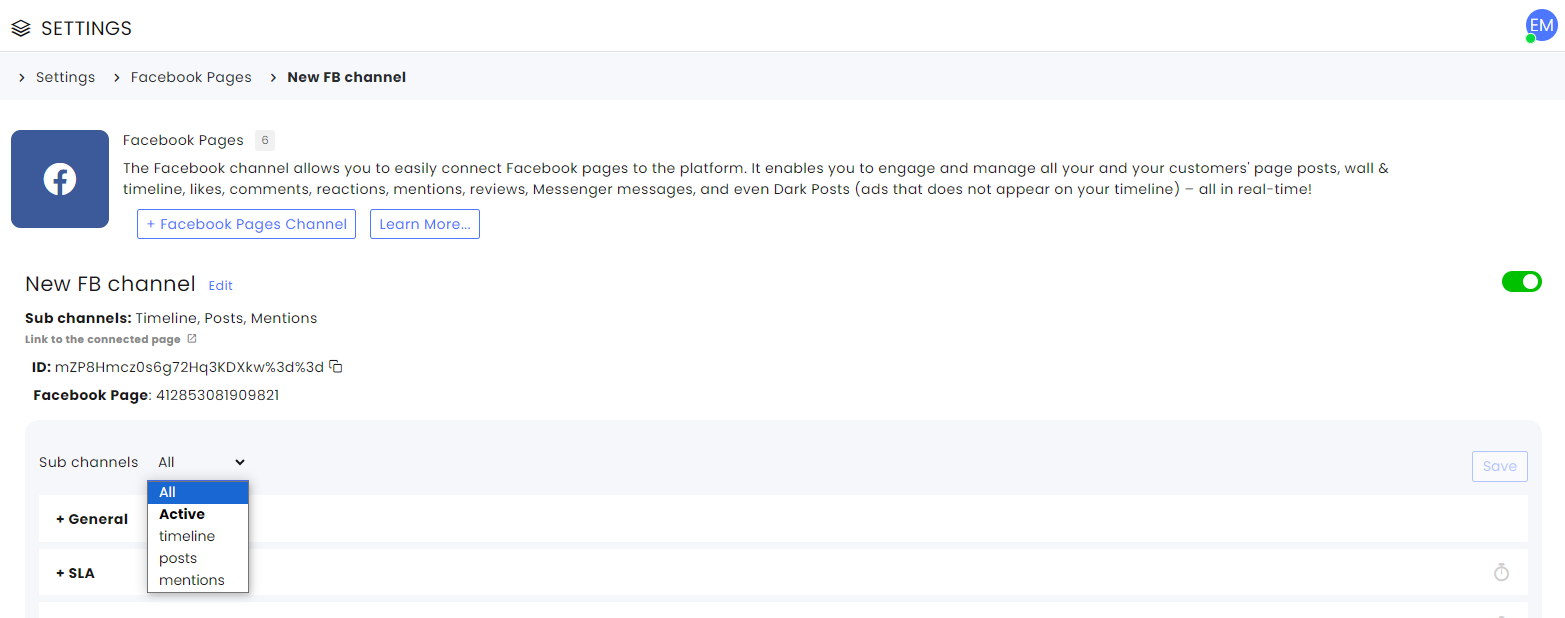
Note the link to the currently connected Facebook page. The ID under the link is the channel ID used in APIs, webhooks, etc.
- Select the Facebook account and the page you wish to connect to this channel. Click Save when done.
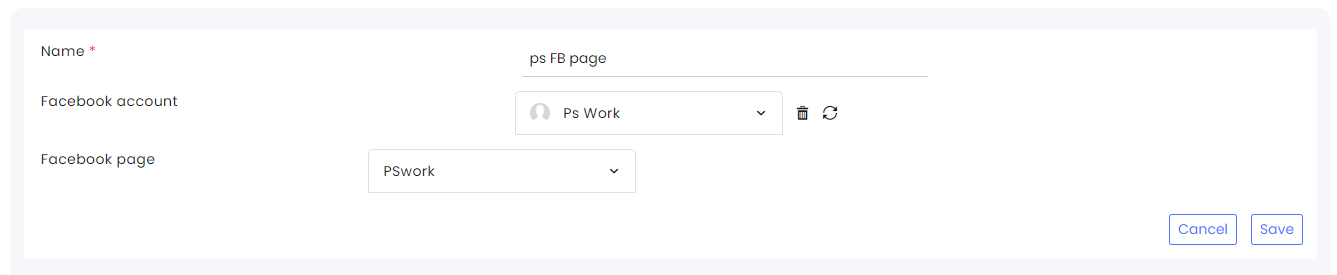
Skip to the last section of the article to learn about setting the different channel settings.
Creating a New Facebook Channel
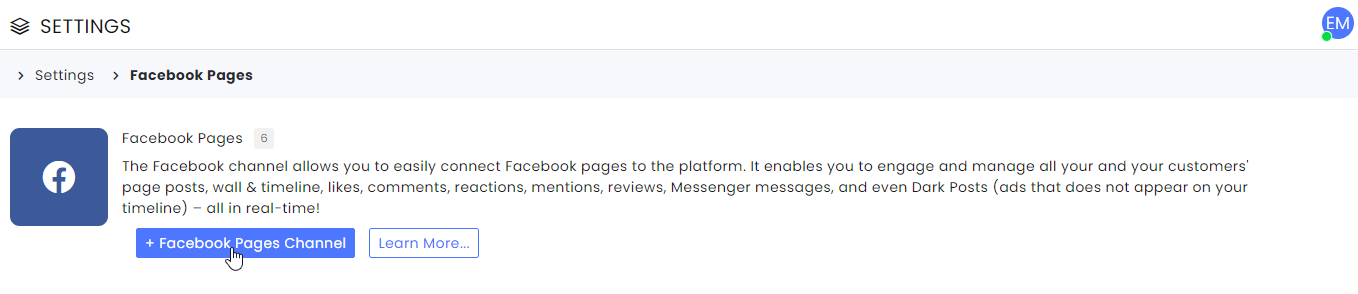
- At the Settings page, select Facebook from the communication channels, and click the +Facebook Pages Channel button at the top.
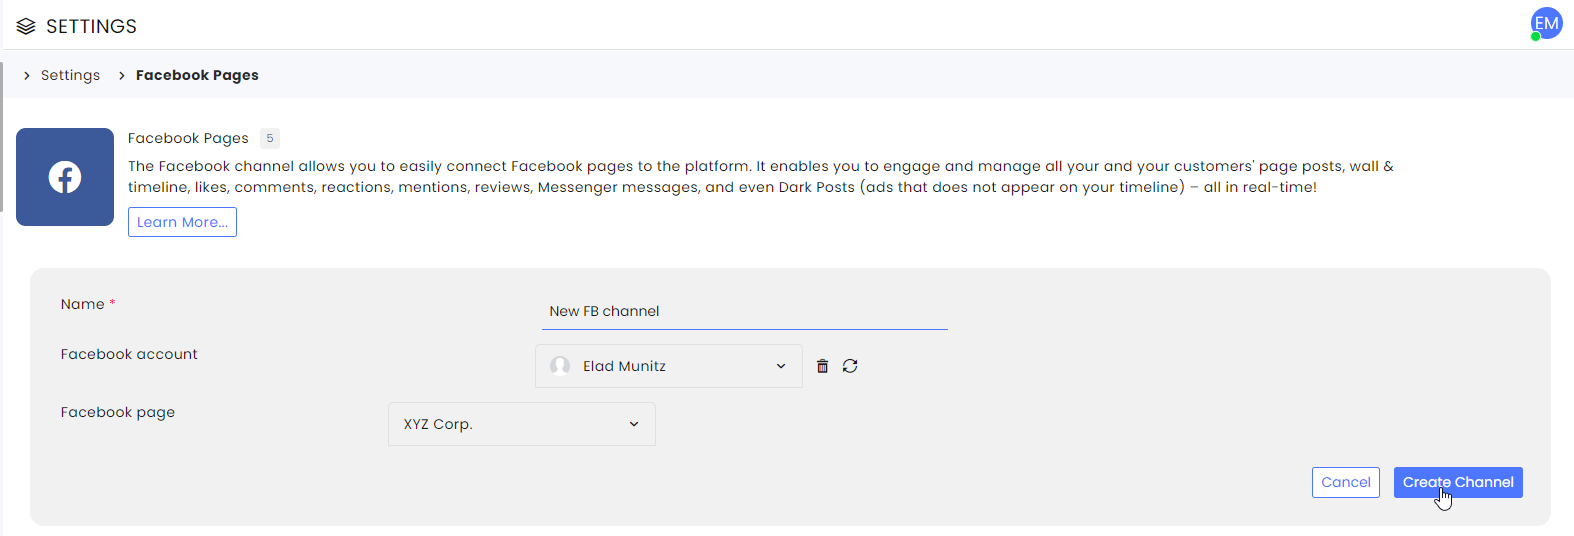
- Select an existing Facebook account and the desired Facebook page or skip to step 4 below.
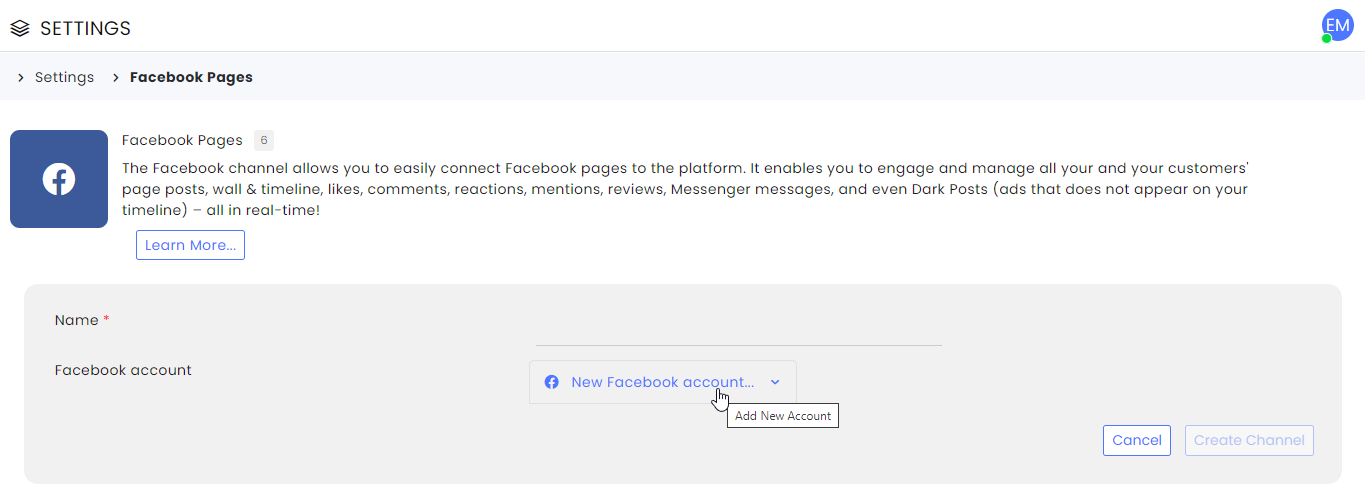
- Name the new channel, click the Create Channel button and set the new channel settings.
To add a new Facebook account:
- From the list of Facebook accounts, select the last option – New Facebook account, which will direct you to Meta’s website.
5. Choose if you want to continue using the current user’s Facebook account.

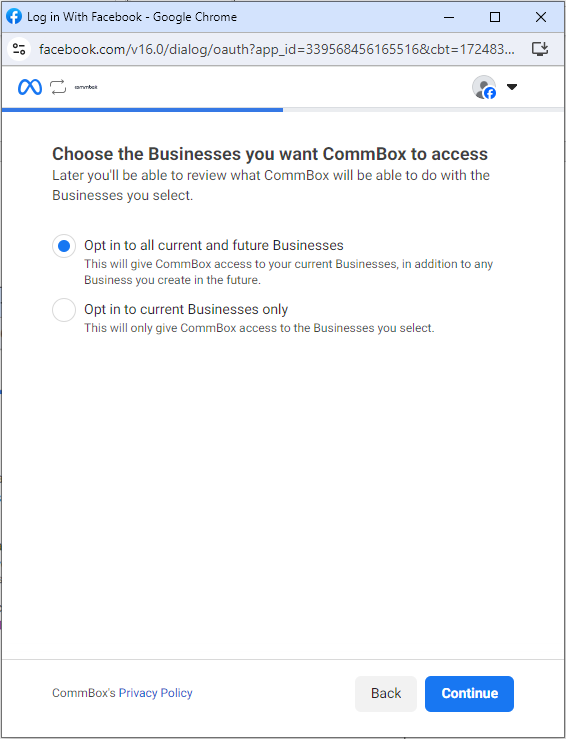
6. Select to let CommBox access pages from your account(s) and click Continue.
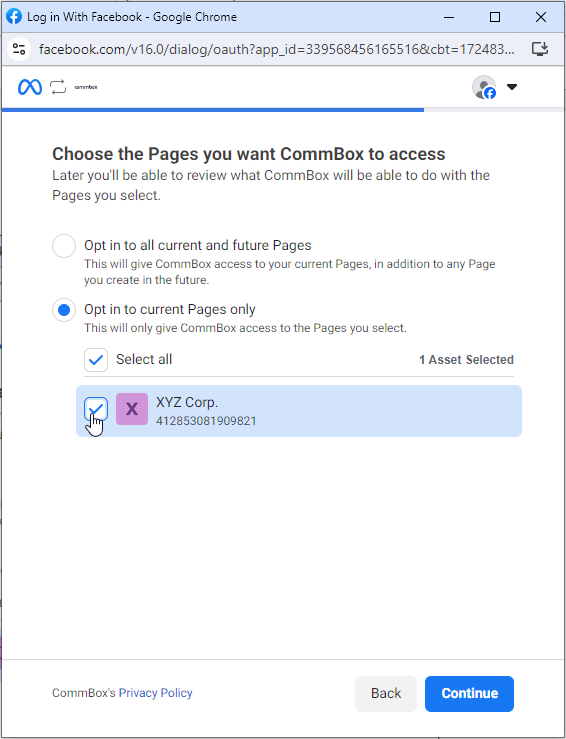
7. Select the page of pages you want to be associated with CommBox and click Continue.
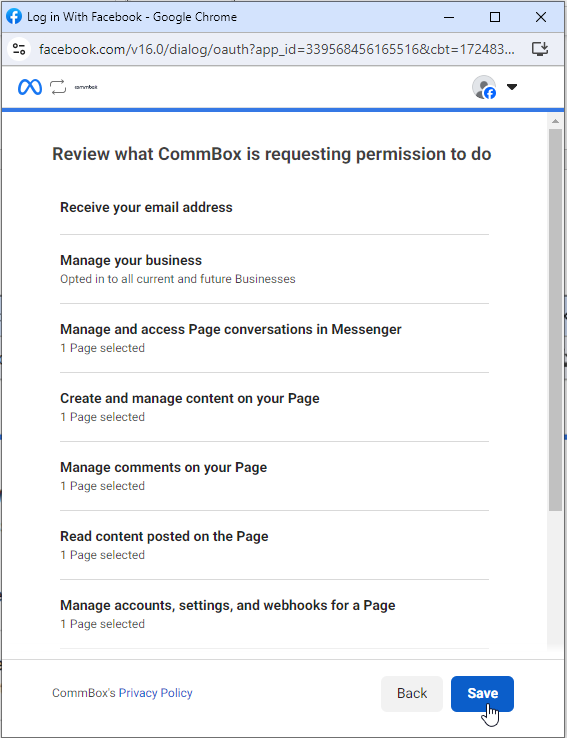
8. Review the permissions you are granting CommBox and click Save.
9. Complete the process by clicking Got it!

10. The new account and page(s) are now available on the CommBox settings page. Select the relevant page, name the channel, and click Create Channel.
11. Set the Channel Settings for this new channel and click Save at the corner of the page.
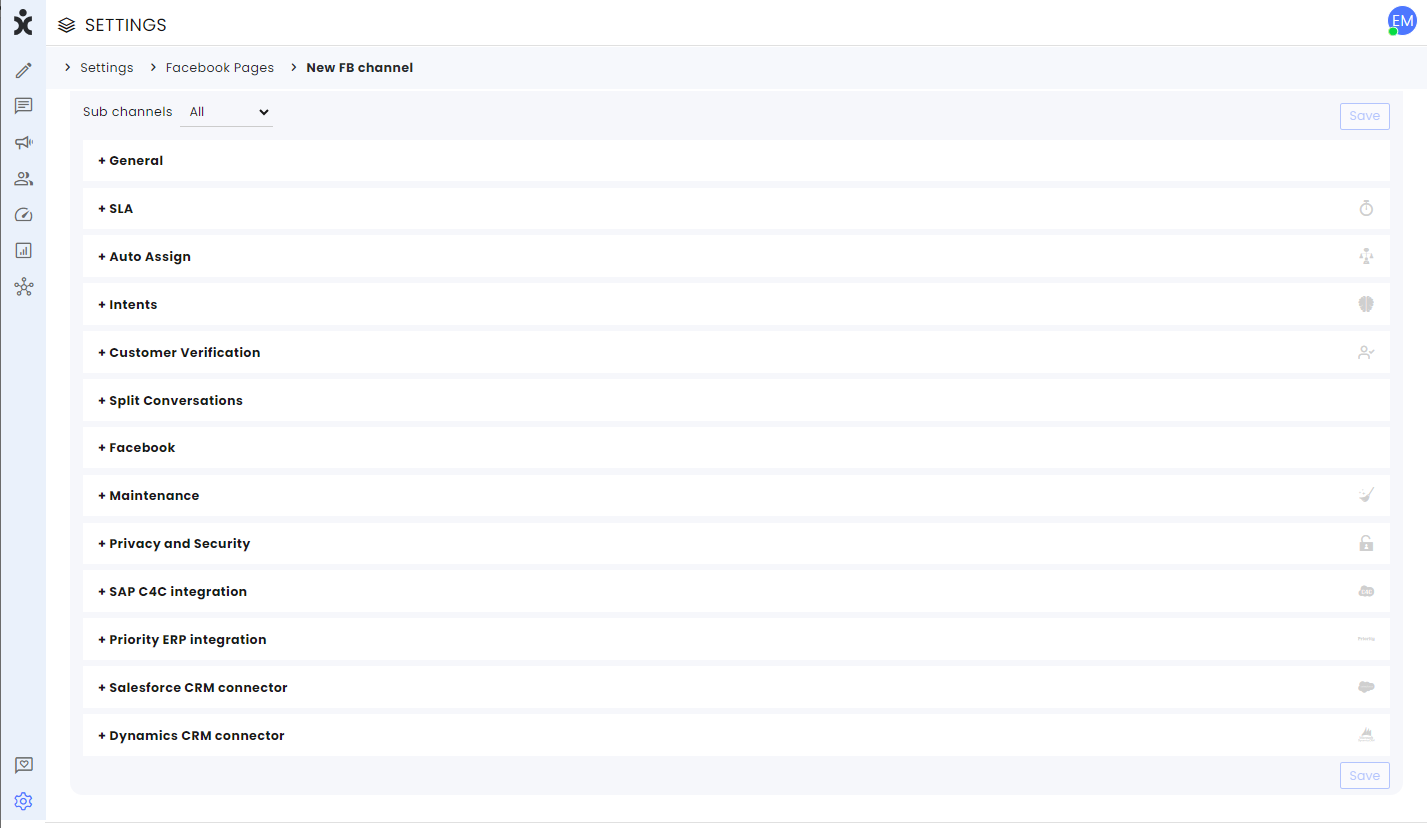
Channel Settings
CommBox enables you to manage promotional posts on your customer's Facebook Page.
You can also have promotional posts on Facebook that trigger automatic Messenger conversations when customers reply with specific keywords, facilitating seamless engagement with potential leads.
Learn how to set these capabilities in the Facebook section below.
General
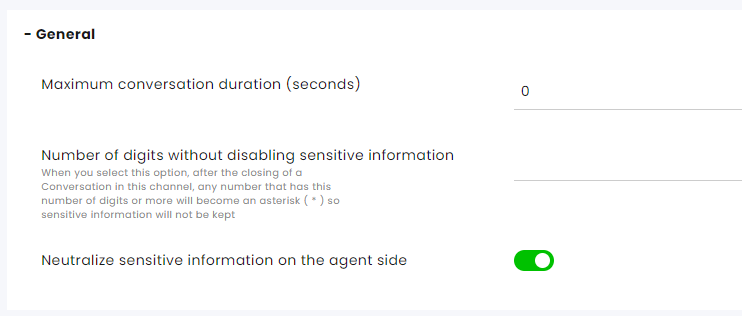
Maximum conversation duration (seconds) – The time limit for the conversation.
Number of digits without disabling sensitive information - Enter the number of digits that will be visible at the closing of the conversation. Subsequent digits will be masked with asterisks (*) at that time. For example, entering the number 3 here will turn the number 6543210 into “654****” at the end of the conversation.
Neutralize sensitive information on the agent side - Enable/disable the possibility that the agent entered numbers that will appear as asterisks after the status has been resolved.
SLA
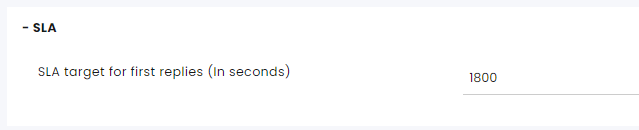
Service Level Agreement determines the acceptable waiting time for customers before they receive service from the service provider. Once that time passes and the agent does not reply to the customer, there is an SLA breach.
SLA target for first replies (in seconds) – The time limit for the agent to respond to the customer's first message to avoid an SLA breach.
The channel settings override the main SLA settings.
Click here for more information about this capability.
Auto Assign
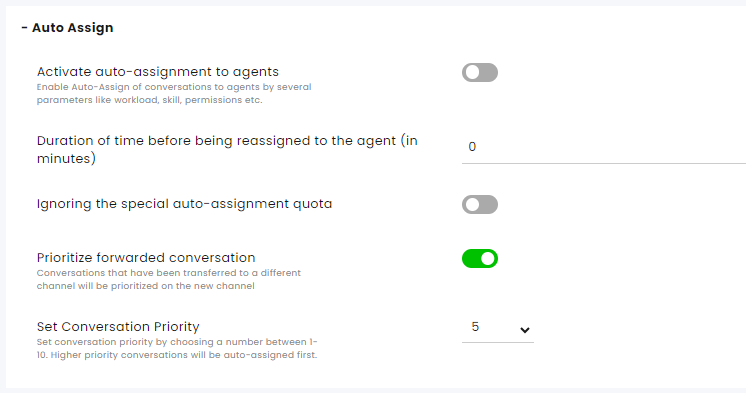
The Auto Assign settings in the channel settings override those set in the general Auto Assign settings.
Activate auto-assignment to agents - Activate/Deactivate auto-assignment of conversations from this channel to agents.
Duration of time before being reassigned to the agent (in minutes) - Select the time before the system reassigns conversations to available agents.
Ignoring the Special Auto-Assignment quota - Activate/Deactivate this feature. When activated, the system overlooks the agent’s assignment quota and assigns conversations using the Special auto-assignment feature.
Special assignments include:
- Send and assign to me - Selected by the agent when initiating communication in Compose.
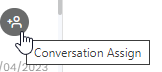
- Conversation Assign – An agent can select themselves or others as the agents for a conversation.
- Agent in charge – An agent is added to the customer info card as the agent in charge. Customers with an agent in charge are referred to as VIP customers.
- Direct link
- Snoozed conversation – Snoozed conversations are assigned to the agents by themselves to appear at a preset date and time.
Prioritize forwarded conversations - Conversations that were forwarded from another channel will be given priority assignment on the new channel if the following conditions are met:
- The conversation is assigned to an agent while it is being forwarded
- The agent forwarding the conversation has no access to view the destination channel
If the conversation has met all the following criteria, it will receive priority above other conversations.
Set Conversation Priority - Set the priority of the conversations in this channel compared to other communication channels. (1- highest priority, 10 - lowest priority). Conversations with higher priority will automatically pop up to be answered by the agents.
Click here for more information about this capability.
Intents
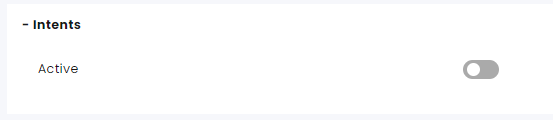
When the Intents module is activated, you can enable or disable the module for this channel.
Customer Verification
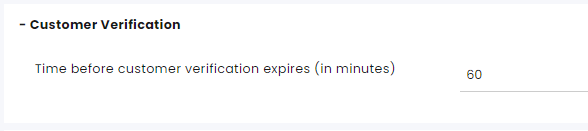
You will see these settings if the customer verification module is set up.
In combination with the Customer Verification module, this section determines the time from receipt of the Customer Verification (OTP) certificate until re-verification is required.
Interface support is necessary with our API and usually with your company's verification and customer approval service.
Split Conversations
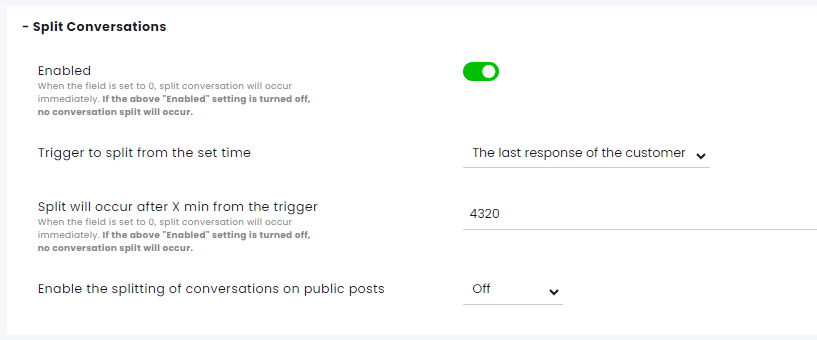
Enabled – When enabled, a new conversation will open for the same customer. When disabled, conversations with the customer continue in the same thread.
Trigger to split from the set time – Determine what causes the split to occur—the customer's last message or the conversation's change of status.
Split will occur after X min from trigger – Enter the number of minutes. When entering 0, the split is immediate.
Allow object splitting on public posts - This option enables the splitting of public posts. This feature can be set to Off, Manual, or Automatic.
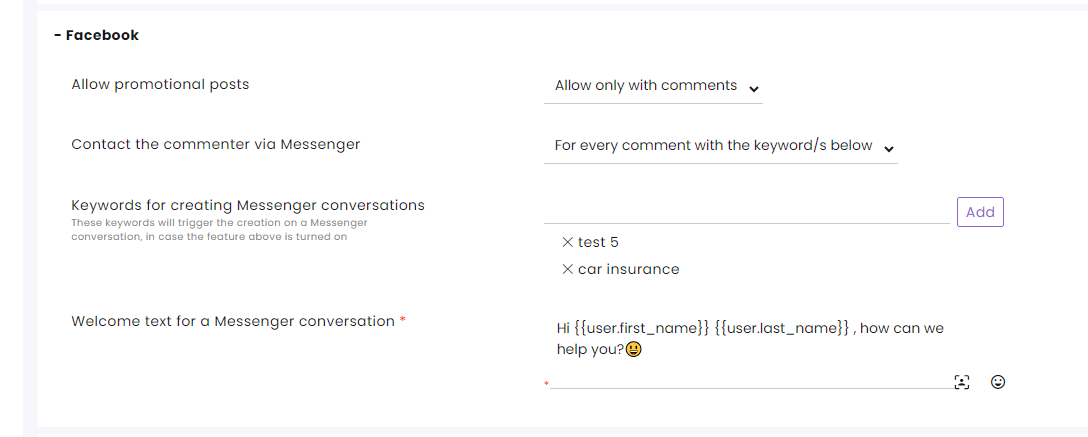
Allow promotional posts - Choose whether to allow or restrict promotional posts on the customer's Facebook Page. You can toggle this setting to permit all promotional posts or limit them to comments only.
Contact the commenter via Messenger – When activated, the system will open a new Messenger conversation for the following options:
- For every comment - every time a customer responds to a post on a Facebook page.
- For a comment with the keyword/s below – Customers must use one of the keywords entered below to trigger a new conversation on Messenger.
Keywords for creating Messenger conversations – Enter the keyword(s) that will trigger sending messages to the customer via the Messenger channel. Note that the same account must be active on both Facebook and Messenger and the key words must be exact match.
Welcome text for Messenger conversation - This field is required if you are using this feature. Enter the welcome message for customers who respond to your Facebook post.
Maintenance
.png)
Number of days without activity to change an Open status conversation to Archive status
Number of days without activity to change a Pending status conversation to Archive status
Number of days without activity to change an Automated status conversation to Archive status
Number of days without activity to change a Sent status conversation to Archive status
Number of days without activity to change an Archive status conversation to Delete status - Leaving this value empty means conversations will remain in Archive status and will not get deleted.
Number of days without activity to change an Irrelevant status conversation to Delete status - Leaving this value empty means conversations will remain in Irrelevant status and not get deleted.
Number of days without activity to change a Resolved status conversation to Delete status - Leaving this value empty means conversations will remain in Resolved status and will not get deleted.
Set additional aspects of maintenance including permanently deleting conversations at the Maintenance settings page.
Click here for more information about this capability.
Privacy and Security
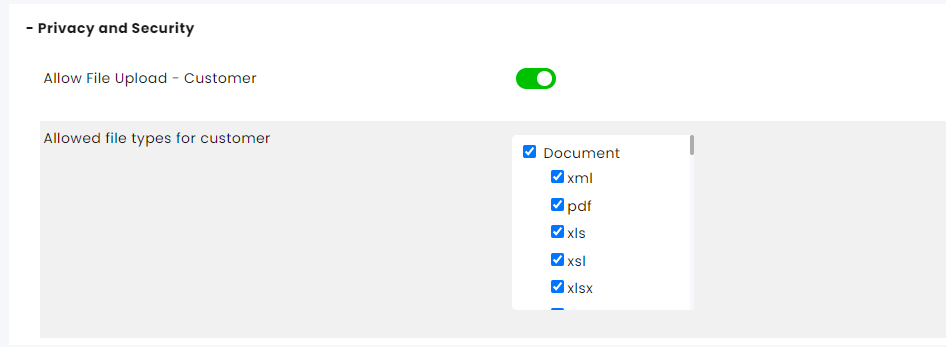
Allow file upload - customer: Allow/block from customer upload files.
Possible file types - The possible file types which can be sent to the customer.
CRM Integrations
See information in the relevant guides.