Overview
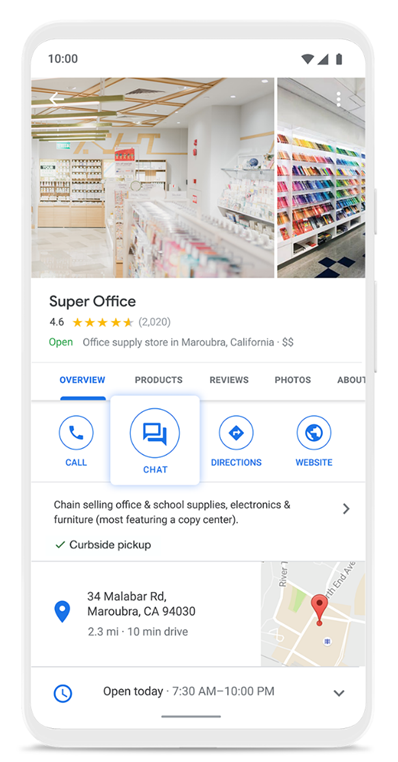
Google Business Messaging enables businesses to leverage Google’s dominant market share of online searches and the Google Maps application to let customers initiate conversations with a designated agent. A customer can simply search for the business on an Android device, click the chat button, enter a message, and hit Send. A customer may also search for a location on Google Maps from any device and initiate a conversation.
Commbox lets your business receive all that Google Business Messages traffic into your CommBox platform for a central and uniform management tool to handle all points of entry. You’ll need to submit an onboarding form to your CommBox account manager so that we can create a connected account on your behalf.

Prerequisites
An active Google My Business account.
Procedure
-
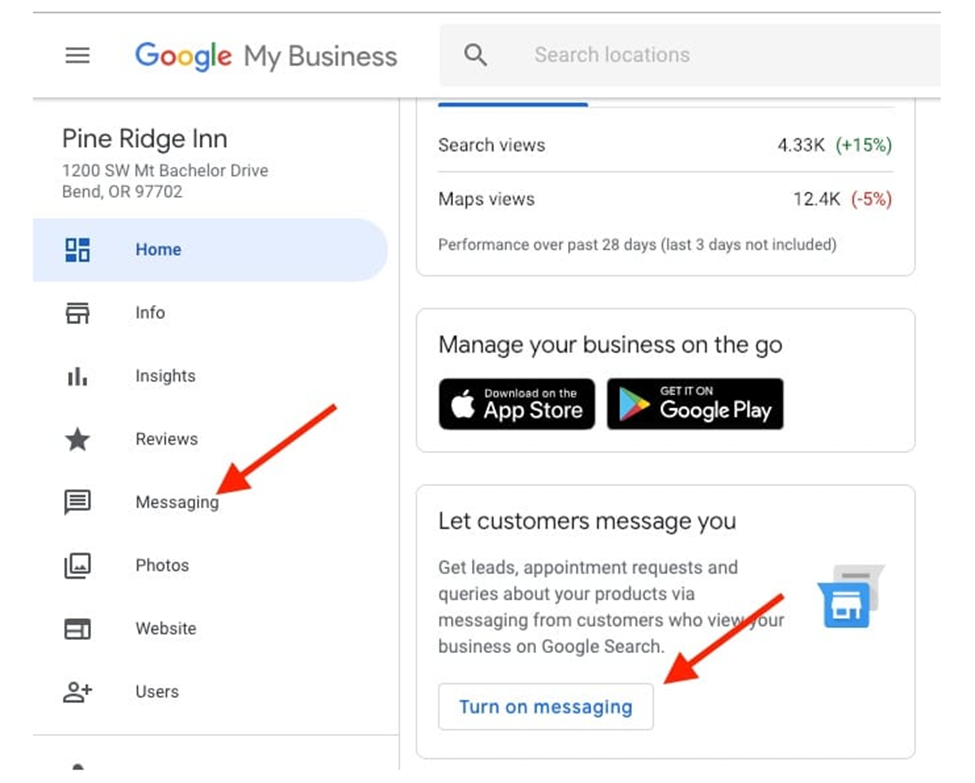
At the Google My Business site, navigate to the main menu to Messaging, and click the Turn on messaging button.

-
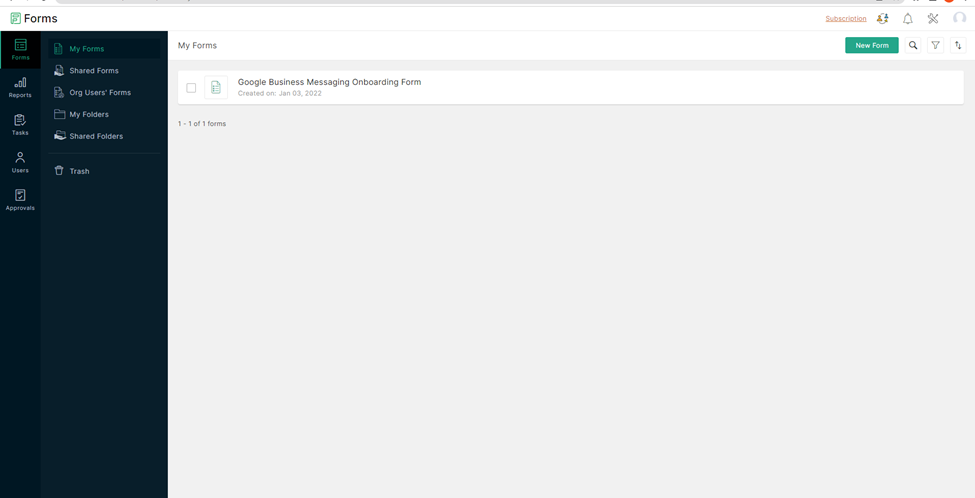
Open the following link to fill out a form requesting the messaging services, and fill it according to the following instructions:
https://forms.zohopublic.com/commbox/form/GoogleBusinessMessagesTest/formperma/JfQ2PVCFjRtetiMX5SsAsrkv3gvnE_RG8nMwaAaP5N4
Terms and Conditions
Read the terms and conditions and check the “I agree” box.
General Information
a. Enter the first and last name of the person filling in the form.
b. Enter the Email address of the Domain owner.
Brand/Account Information
a. The account (brand) name.
b. Enter the name of the agent who will converse with the customer.
You may use a generic name such as Bank or Business relations agent.
Note: This name will be visible to the customer during the conversation.
c. Upload your Brand’s Logo.
- Resolution should be 1024x1024 (square) with enough padding to fit in a circle.
- File format must be PNG/JPG format.
- Background cannot be transparent.
- The logo itself must be in the center of the file.
Note: Changing the Logo requires permission from Google.
d. Enter the Customer service phone number.
Entry points
A customer can reach your business by entering a store in a physical local address or by a non-local online medium such as a website, links, searches, etc.
a. Check the Local point of entry box.
b. Find the Place Id for your business address (local store or headquarters) using this Place Id link.
c. Copy and paste the Place Id to the empty field.
You may enter multiple locations by separating each code with a comma (no space).
d. Enter the Address of the main branch/headquarters.
e. Check the Non-Local entry box.
f. Enter the Brand/account Domain.
g. Check the All regions point of entry box.
h. Re-enter the phone number above.
i. The URL of the Contact-us section of your website.
j. Select the communication channels you use.
Conversation settings
a. Enter your Welcome message that will appear before the bot interactions.
b. Ignore the Quick Reply sections.
c. Select the primary interaction mode.
d. Read and confirm the acknowledgment by checking the box.
- Click Submit.
- View the form using his link: https://forms.zoho.com/commbox/report/GoogleBusinessMessagesTest_Report/records/web


CommBox CS will create a new Agent Id at the Google Business Communication console and place it into your CommBox Google Business Messages module.
We will notify you when it is done.
Configure Google Business Messages in your CommBox platform
Once your Agent Id is set, you can configure your CommBox account:
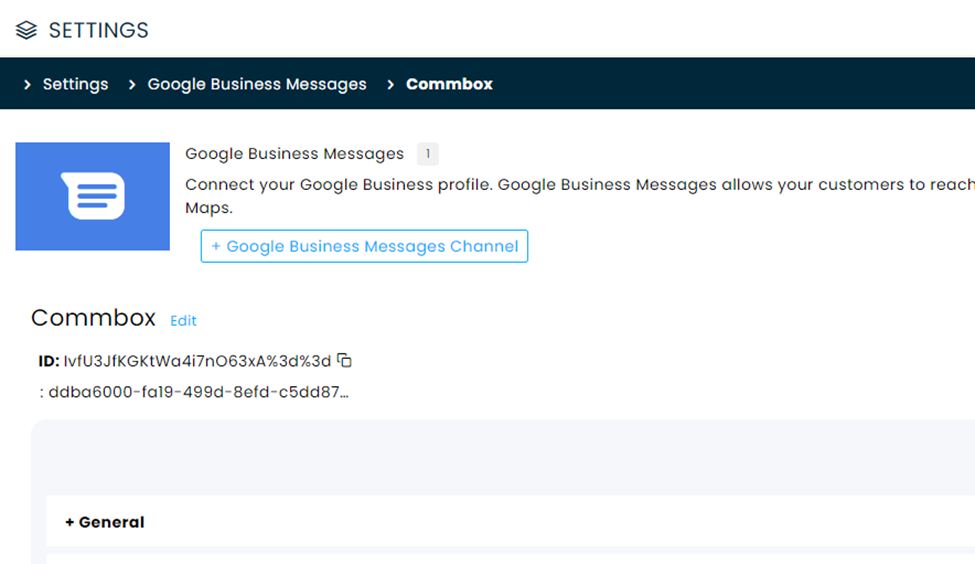
- At the CommBox platform, navigate to Settings > Google Business Massages, and click on the new channel.

By clicking the Edit button, you can see the full agent Id for this channel.
- Add a Bot (optional) in the Automation section of the new channel.
You can now start receiving messages from customers' searches!