Overview
In this guide, we will show you how to utilize the Channel Filter feature to organize and adjust the displayed Conversations in the Agent Workspace Inbox.
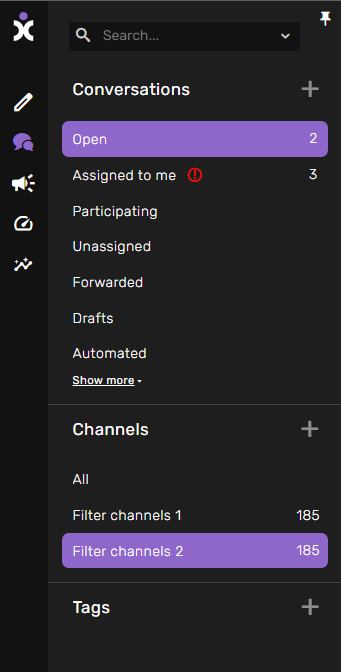
First, from within the Agent Workspace, click on the Conversation icon on the left-hand vertical sidebar  .
.

Next, scroll down and click on the + icon located to the right of the Channels tab.
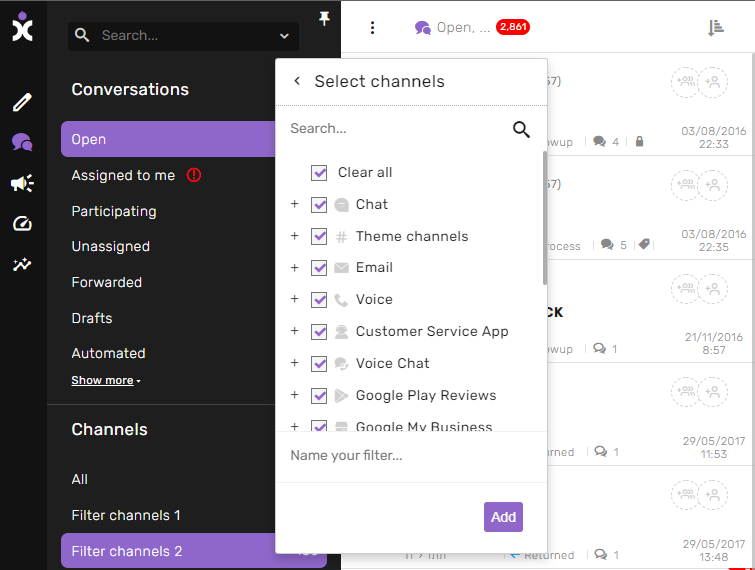
This will open the Select Channels side window (as seen in the screenshot below).

Interface Contents
Here is a list of contents of the Select channels interface.
Search bar - allows you to quickly narrow down and locate your contents.
Clear/select all - toggle on/off the check marks to clear/select all available Channel Filter options
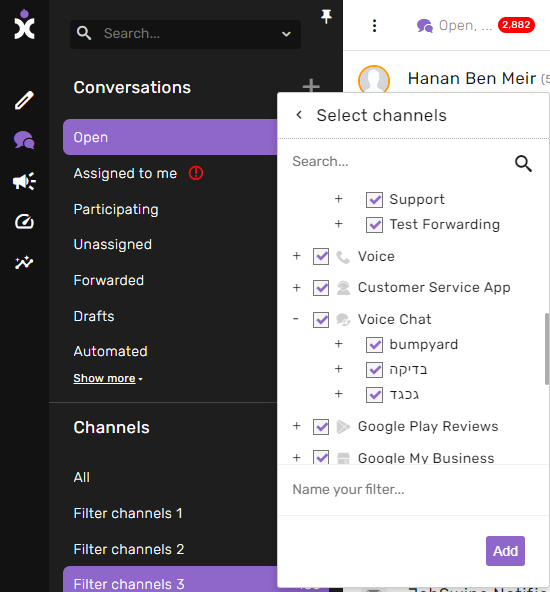
Expand the accordion drop-down menu - Clicking on the (+) symbol will expand/shrink the display of the channels for each module.

Add a new filter - By clicking on the text cell containing the title Name your filter at the bottom of the interface. Once done, click on the Add button.
Saved Channel Filters
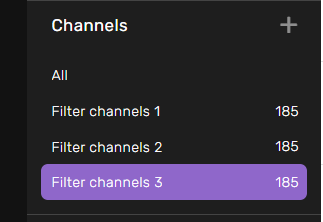
Each Channel Filter compilation can be saved and custom-named (to the user’s discretion)
Please note: If the Name your filter text box is left untouched when clicking the Add button, the Channel Filter compilation will be saved and added with the default name Filter channel and numbered (1, 2, 3, 4, etc., according to the saved Filter channel compilations currently stored and listed)
