Overview
In May 2023, Meta introduced new guidelines for template creation to expand the use of services, OTP messages, and customer updates. This guide provides instructions on creating new templates and editing existing ones.
For general information about WhatsApp templates such as categories, statuses, and reporting, read the Template Management guide.
Note that this guide covers authentication templates only. See the marketing and utilities templates guide to learn how to create those templates.
Click here to learn more about Meta’s guidelines for authentication templates.
Creating Authentication Templates
-
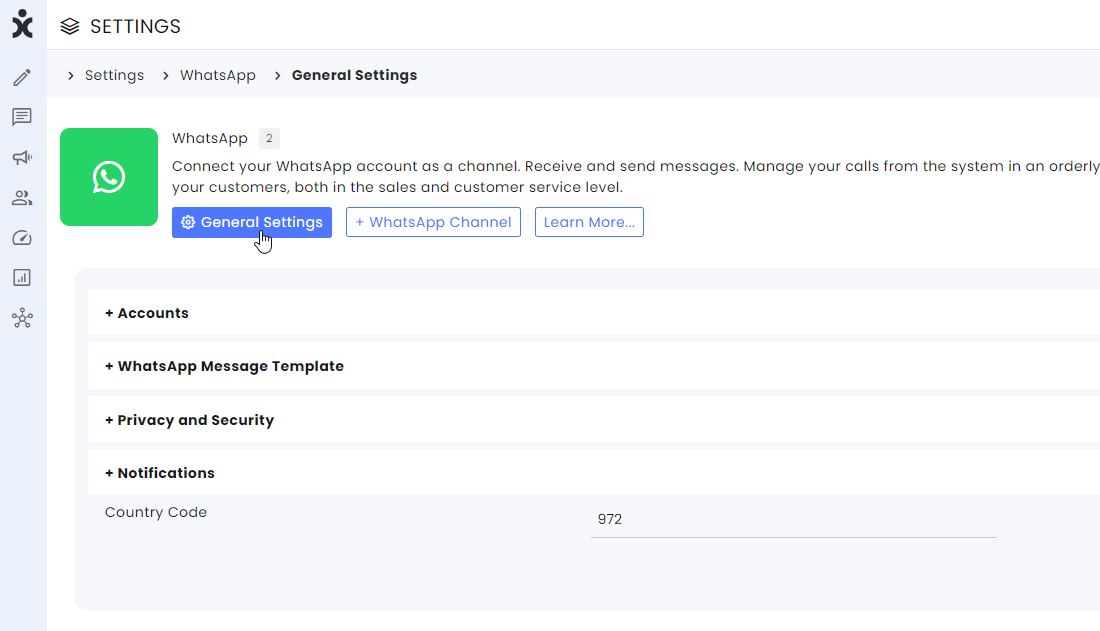
At the CommBox console, navigate to Settings and select WhatsApp from the Communication Channels section.
-
Select the General Settings tab from the top, followed by the WhatsApp Massage Template extendable menu.
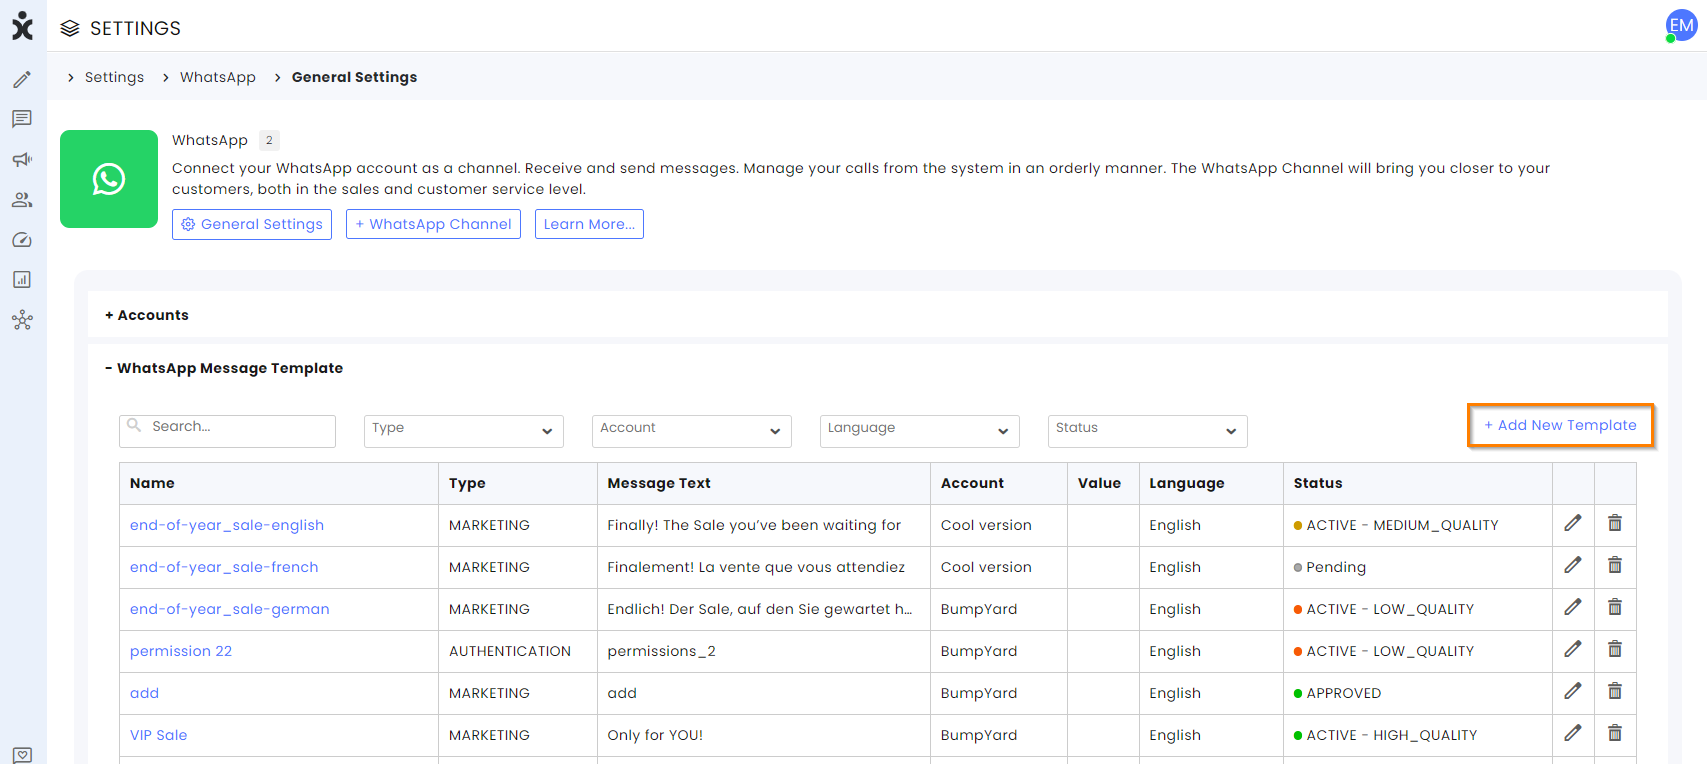
A list of existing templates of your account will open, displaying the WhatsApp category, and the name of the template.
-
Click the Add New Template button at the top corner of the screen.
-
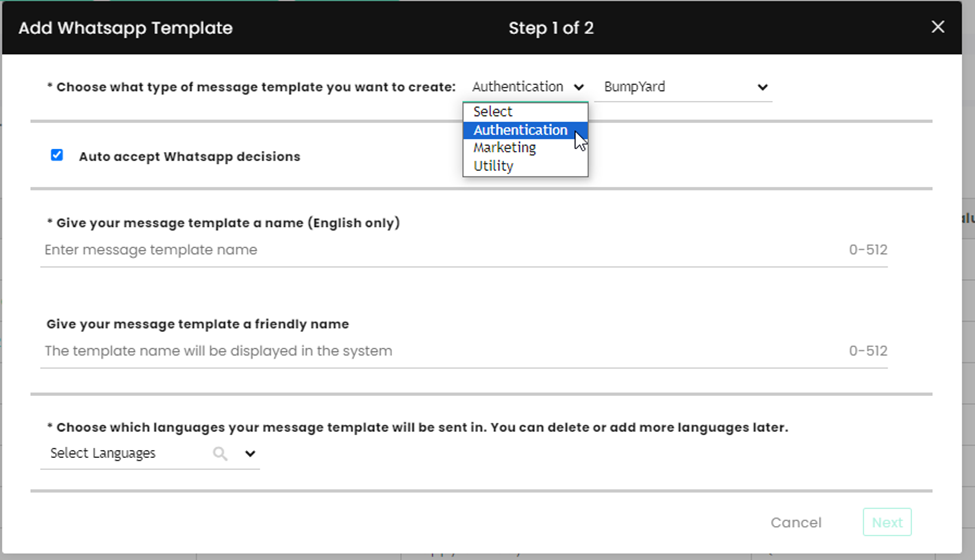
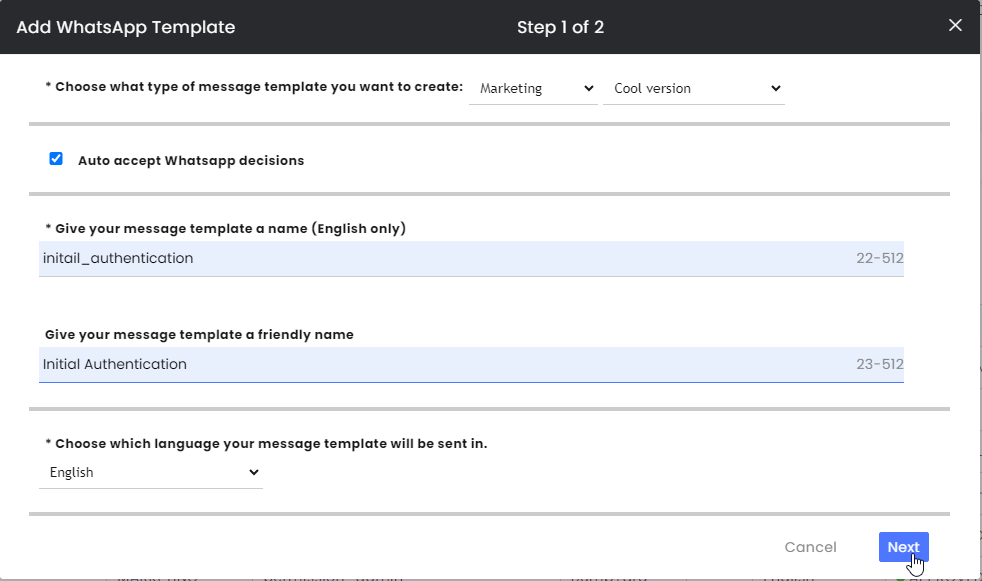
Select the WhatsApp Authentication category and the WABA (business) account.
Note: This is a mandatory selection with related charges by WhatsApp. WhatsApp may reject your template or assign a different category to your submissions. For example, when offering additional services to an existing customer, your business may consider it a Utility template, while WhatsApp may count it as Marketing.
-
You may accept WhatsApp decisions in advance by keeping the box checked (optional and recommended).
-
Choose a name for your template (Lowercase English letters only) as well as a business-related name for this template that will help indicate the content of the template (for example, New password).
-
Select the message’s language(s) and click Next.
-
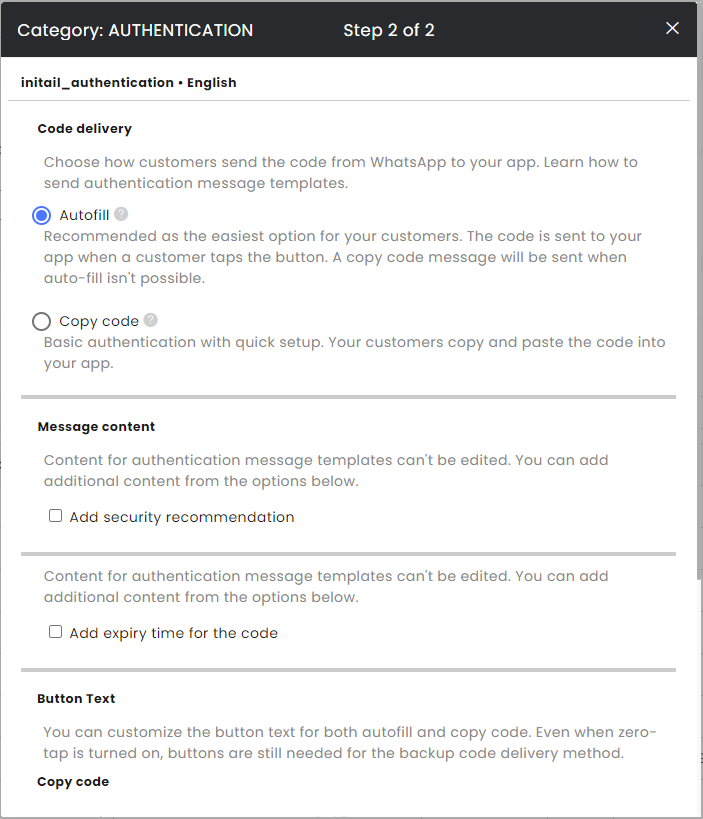
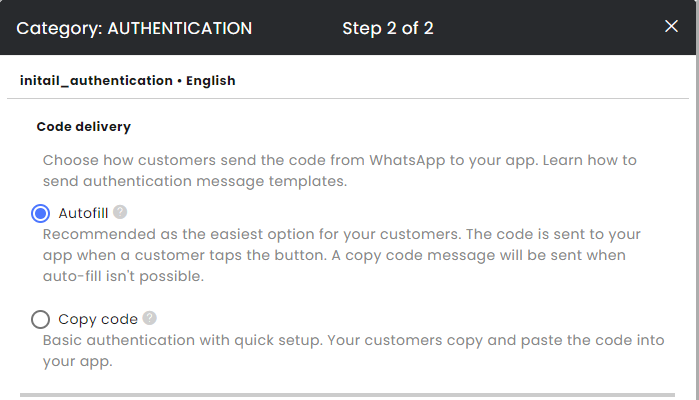
In the following dialog box, choose between two template code delivery types:
(a) Autofill (b) Copy code.
Click here to learn more about these options.
-
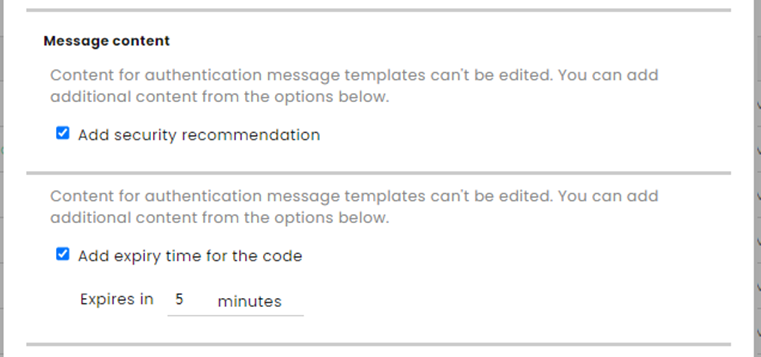
Add the message ‘For your security, do not share this code.’ to your authentication process (optional) by checking the top box.
-
Add expiration notice ‘This code expires in X minutes’ by checking the 2nd box (optional).
-
If you selected the Autofill option at the top, enter the Package name and the App signature hash of your Android App.
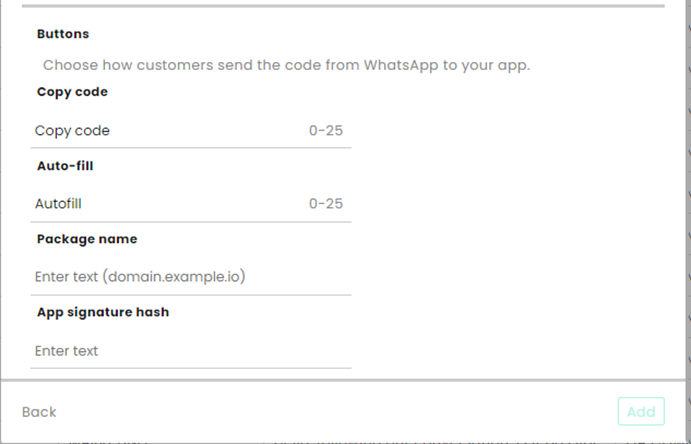
Note: One-tap buttons are the preferred solution as they offer the best user experience. However, one-tap buttons are currently only supported on Android. -
Click Add at the bottom of the dial box. The information will be forwarded to META pending their approval.

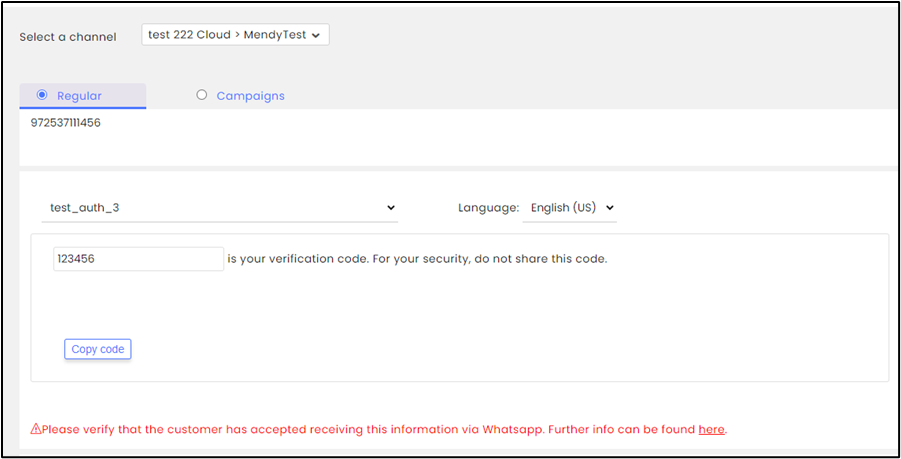
Our API, Inbox, Compose, and Campaigns support sending authentication messages.
Compose Example:
