
Overview
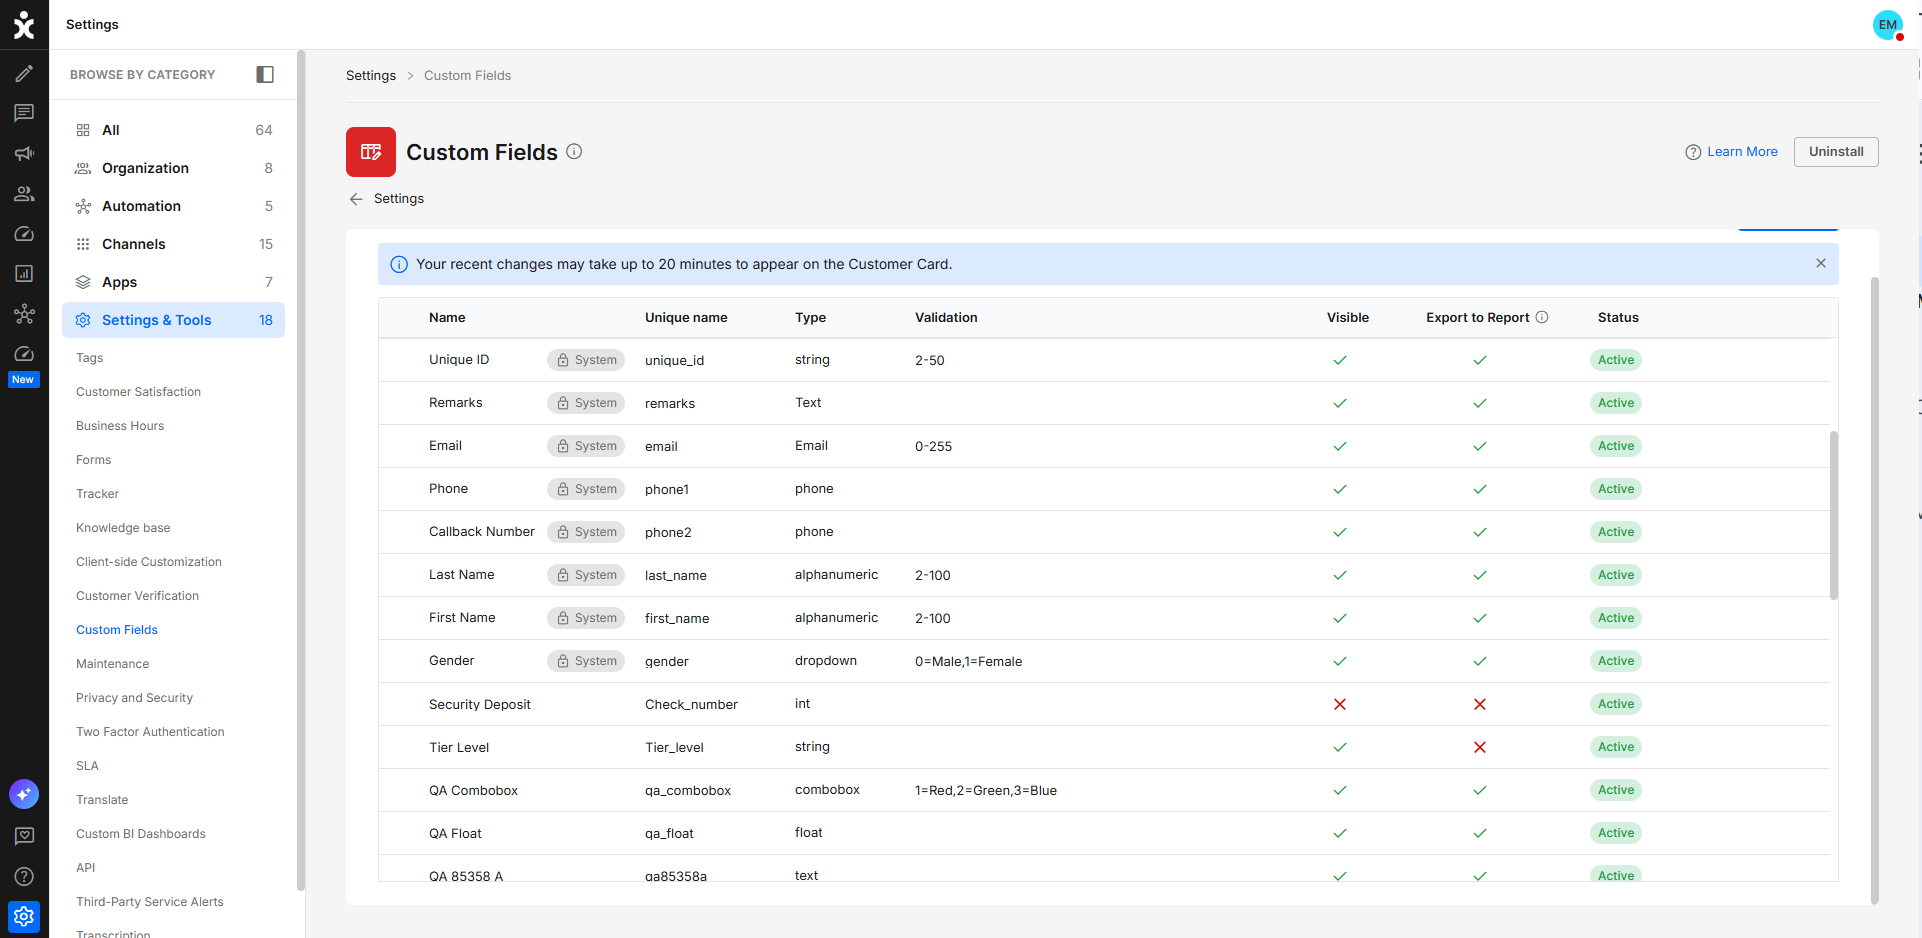
The Custom Fields module lets organizations customize the customer information available in CommBox according to their business needs.
In addition to standard customer fields such as first name, last name, phone number, and email address, you can create custom fields for information specific to your organization, such as customer type, account number, membership level, or preferred branch.
The module also controls which standard and custom fields are displayed in the Customer Pane.
Custom fields can also be included in Customer Reports, allowing exported reports to contain organization-specific customer information in addition to the standard customer fields.
Key Considerations
CommBox defines standard customer fields, while your organization creates custom fields.
You can display or hide both standard and custom fields in the Customer Pane.
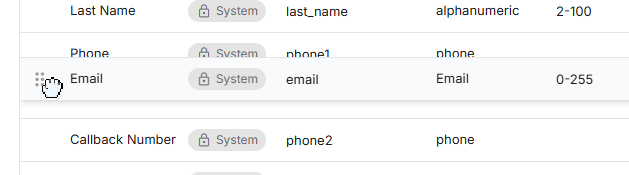
To change the order in which fields are displayed, hover over the beginning of the field row until the grab icon appears, then click and drag the row to the desired location.
Standard customer fields are always included when exporting a Customer Report, regardless of whether they are displayed in the Customer Pane.
Custom fields can be added to Customer Reports as needed.
Hiding a field from the Customer Pane does not delete the field or its stored customer data.
Adding a New Field
To create a custom customer field:
Navigate to Settings > Custom Fields and click + Add Field.
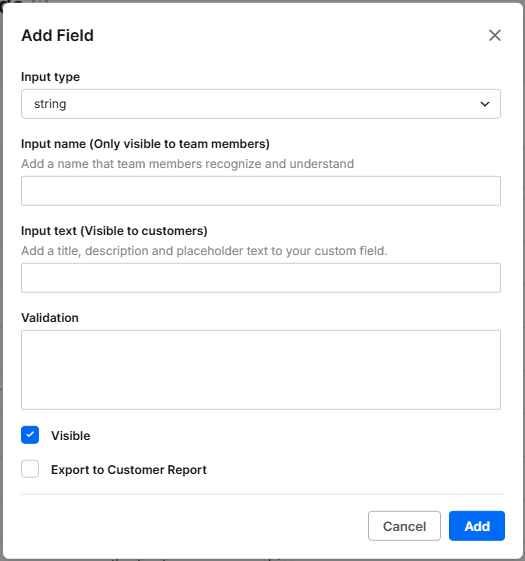
In the dialog box, configure the following:
Select the Input Type for the new field. The selected type determines the type or format of data that can be entered, such as integers or email addresses.
Enter the field's technical name. Only letters, numbers, and underscores are accepted. We recommend using a short, descriptive name.
Enter the display name that will appear in the Customer Pane.
Add Validation, if needed, to define additional restrictions on the values that can be entered.
Configure whether the field should be displayed in the Customer Pane.
Configure whether the field should be included in Customer Reports.
Click Add.
Click Save to save the new settings.
The new field can now be used to store the relevant information in customer records.
Editing and Deactivating Fields
To edit an existing field, click the Edit icon (pencil) at the end of its row.
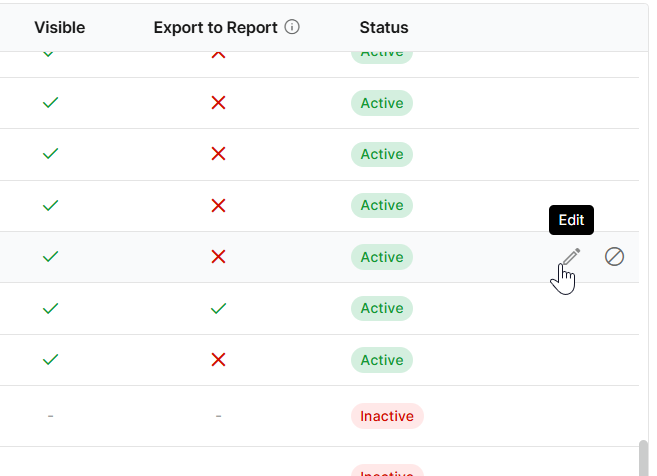
Update the configuration and click Add.
To deactivate a custom field, hover over its row and click the Deactivate icon at the end of the row. Click Deactivate in the confirmation dialog.
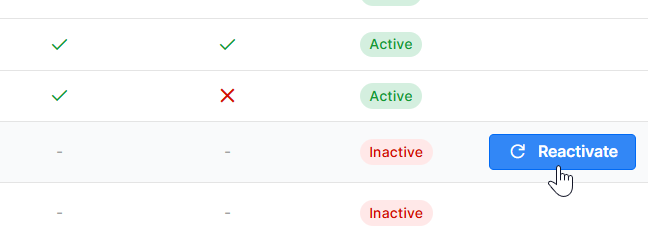
Inactive fields no longer appear in the Customer pane, search, public API, or exports. The field’s unique name remains reserved, allowing you to reactivate it at any time by clicking Reactivate when hovering over the inactive field.
Note: System fields cannot be deactivated. You can only hide them from agents in the customer pane.
Creating a Customer Report
Customer Reports contain the standard customer fields and can also include custom fields configured for reporting.
To create a Customer Report:
Navigate to Insights > Customers.
Click Export at the top of the page.
CommBox generates the report using the available customer data. Once the report is ready, click Download.
The exported report always includes the standard customer fields. Custom fields configured for inclusion in Customer Reports are added as additional fields.