Overview
In this manual, you will learn how to integrate your email server inboxes into Commbox’s Agent Workspace system.
The purpose of this feature is to allow for all the emails that arrive from your end customers to be consolidated at the same location. From there, they will be assigned to agents and handled in a streamlined, efficient manner.
Installation
1. Log in to the CommBox Agent Workspace.
2. Click on the Settings icon on the lower-left side of the screen.
3. On the Module list, choose the Email module icon.
4. Click on +Email Channel in the lower right-hand corner.

5. Type in the Channel Name - something presentable, but it will be for internal use only.
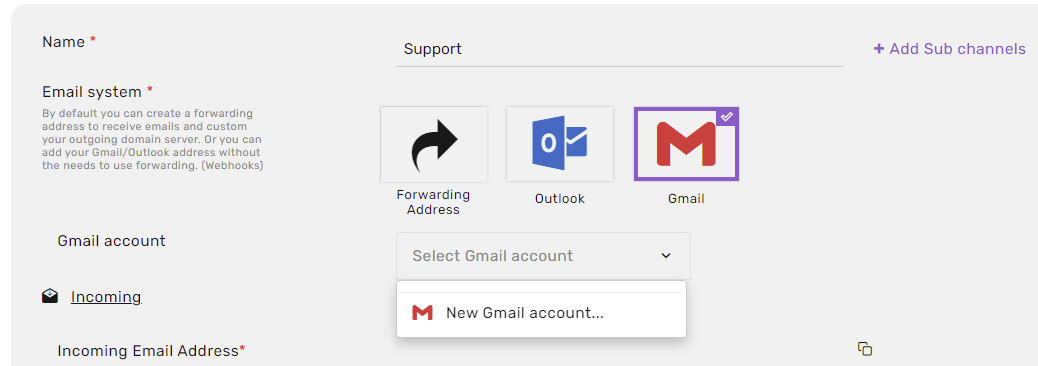
6. Choose the email provider - Gmail

Module Settings (Module)


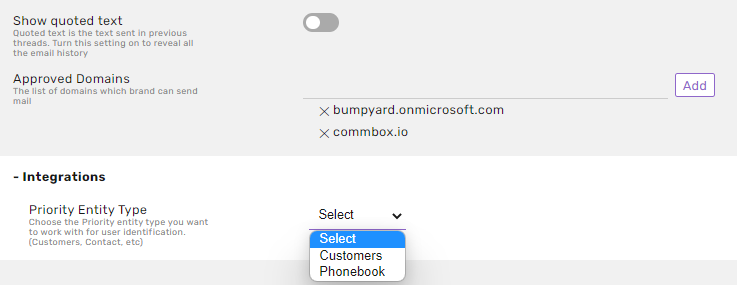
Show quoted text - Toggle this option to On to display the text sent in previous threads of the email chain.
Approved Domains - Add/remove here the list of domains to which the brand can send emails from.
Integrations -
Priority Entity Type - The Priority CRM software type you would like to use for user identification purposes.
Module Settings (Channel)

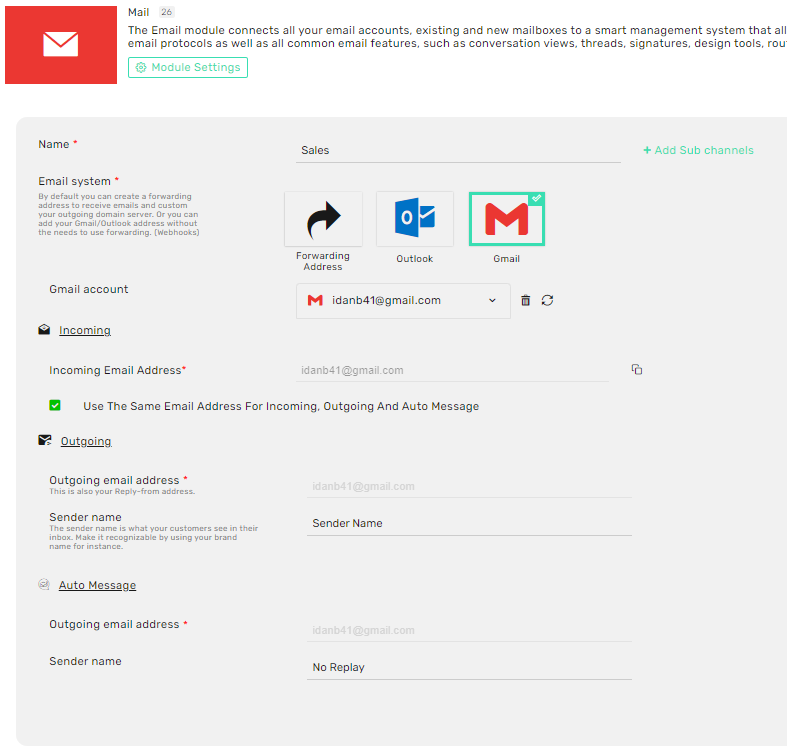
These settings can be reached by clicking on Edit next to the name of an existing channel (as seen above).

Name - type in the name of the unique channel name (sub-channel is optional)
Email System - choose the type of email server you wish to use for this channel
- Forwarding address
- Microsoft Outlook
- Gmail
Add your Gmail account/select existing Gmail account
- You can use the same email address for incoming, outgoing, and auto-message needs, or you can override it, making each task use a different email address.
- Enter the outgoing email address and the sender name.
Auto-Messages
The outgoing email address and sender name will be displayed to recipients of automated email notifications which are sent by the Agent Workspace system.
