Overview
The email module encompasses Microsoft Outlook, Gmail, and the basic forwarding capability. This guide covers the installation and required maintenance of Outlook accounts on the CommBox platform that enables agents to receive emails from customers.
Creating Email Channel
- At the Settings page, select the Email Module from the Communication Channels section, and then select the +Email Channel tab at the top.
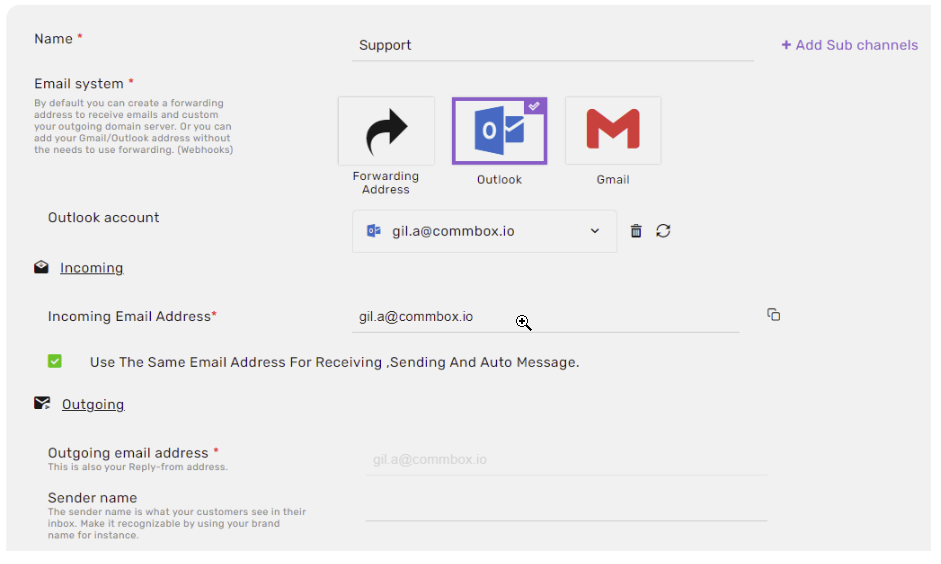
- Enter a name for this new channel (For internal use only).
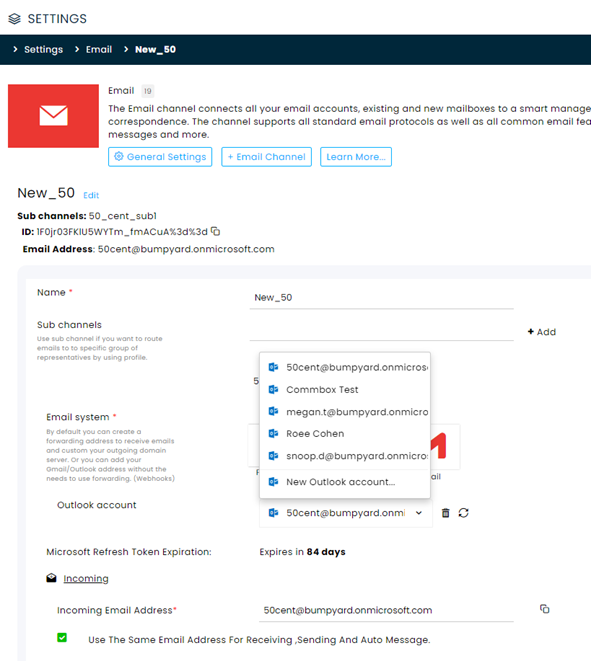
- Click the Outlook icon to expand this section.
- Select an existing Outlook account listed or choose New Outlook account.

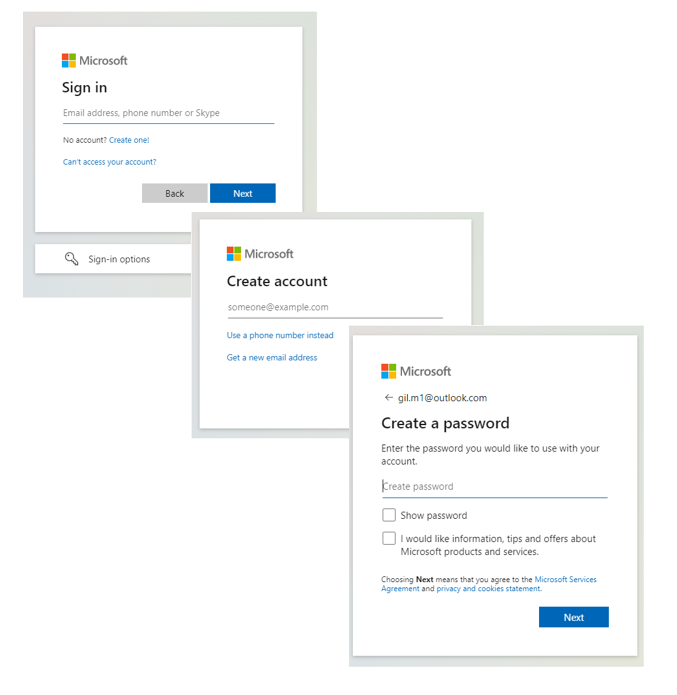
When choosing to open a new Outlook account, follow the Microsoft prompts.
Once you've logged in successfully to your existing Outlook account, you will be redirected back to the Email module settings within the Agent Workspace.
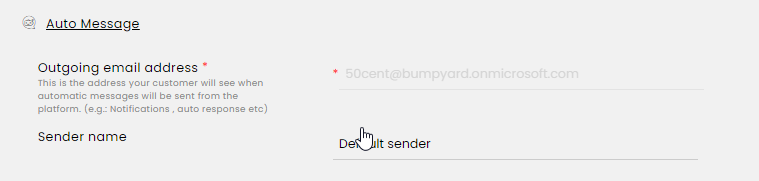
- Select the incoming, outgoing , auto-message for this channel. Check the box to use the same address to for all functions.
- Set the Auto message email address displayed to recipients of automated email notifications sent by the Agent Workspace system.
- Click Create Channel at the bottom corner of the screen.
Required Maintenance
Microsoft requires the use of a refresh token for continuous access to Outlook. The maximum refresh token lifetime is 90 Days, at which point users must log again into the email account(s) for continuous email services.
To prevent service disruptions, CommBox displays a banner alert and sends emails to admins and additional email recipients (optional new setting), notifying them about upcoming refresh token expirations. The banner shows a countdown for the earliest expiring email account, aiding admins in ensuring uninterrupted service for agents.
Note: CommBox Clients who use Microsoft email accounts must reconnect to their account through the Email channel to see the notification “Microsoft Refresh Token Expiration 90 Days”.

- Check the Outlook account Refresh Token status by selecting the Email module on the Settings page and clicking on the Edit button next to an Outlook account. By selecting an account, the token expiration date will be displayed.
- Log again into the email account by selecting New Outlook Account from the listed accounts. You will be navigated to the Microsoft login screen.
- Log in to your account, which will transfer you back to the Email module. The account will display "Expires in 90 days".
- Repeat this process for all other accounts as needed
Note: If you see ׳undefined׳ instead of the number of days left to expiration, sign into your Microsoft account immediately to sync the count of days in CommBox.
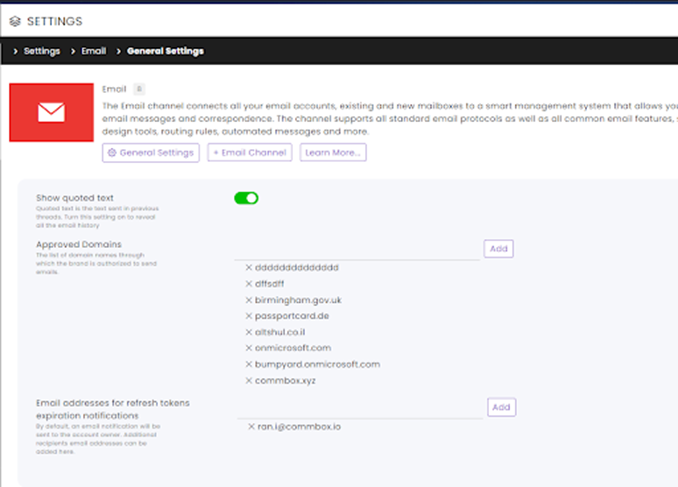
To add recipients of the Token expiration email notification, click the General Settings tab at the top of the page. Enter the admin’s email, click Add, and Save the settings at the bottom of the screen.