Manually Assigning Agents & Participants to Conversations
You can manually assign conversations to the various team members that will be handling them.
When you assign conversations, the assigned agents can receive notifications via email or as desktop notifications.
Professional Tips
Use the Auto Assignment module to automatically direct conversations to specific team members based on their availability, assigned channels of responsibility, and more.
To manually assign a ticket to an agent:
Within the Conversation Window interface, in the upper right corner, you will see two circular buttons (as seen in the screenshot below)
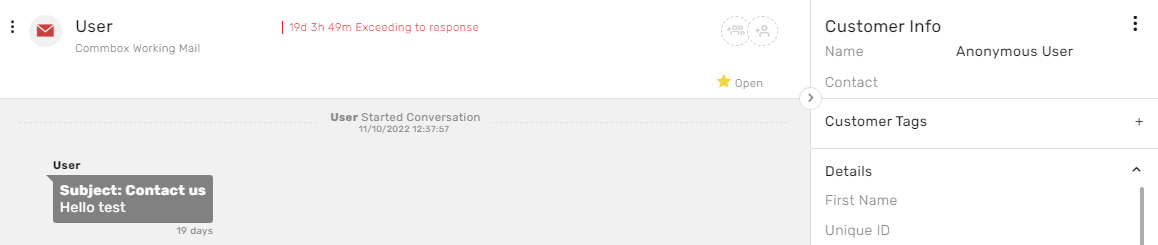
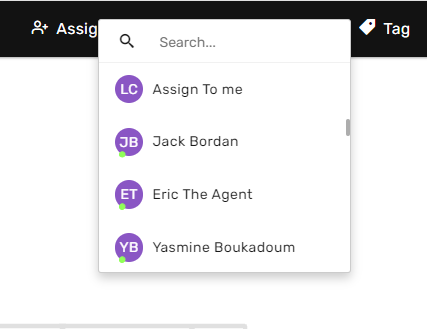
The right circle is the Main Conversation Assign button. When clicked, a side window will emerge (as displayed).
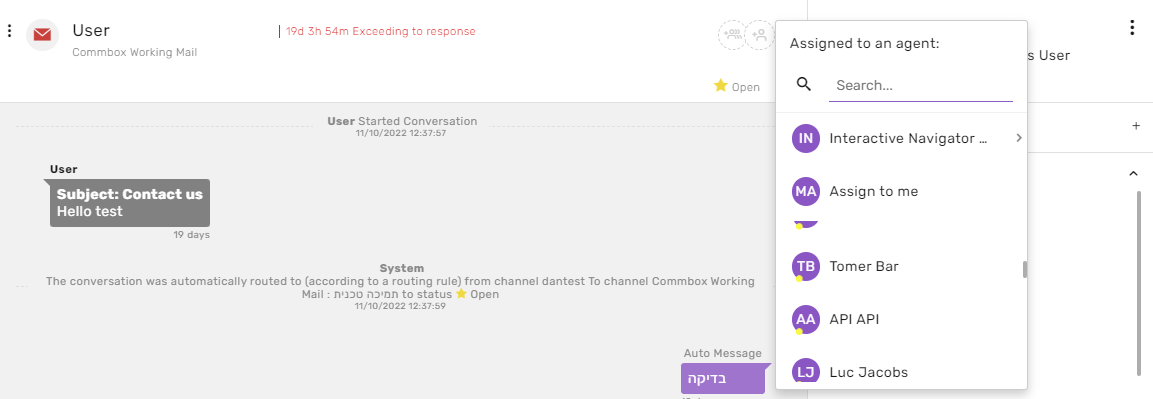
This is a list of agents you can assign the conversation to. If the conversation was already assigned, the selected agent will replace the agent that the conversation was previously assigned to.
You can search by the agent name or scroll down manually to find the agent you are looking for.
Now you’ve selected a new agent to be assigned as the conversation manager.
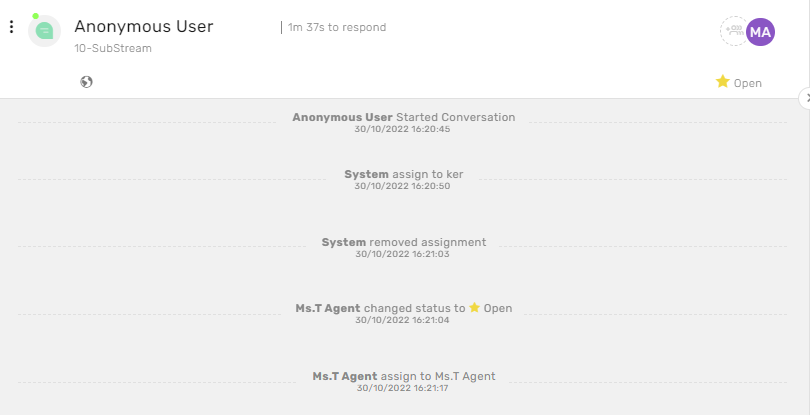
The new agent’s initials will appear in place of the original icon (in this case MA, as seen in the screenshot below)

Additionally, the change of the assigned agent will be noted in the Conversation message log chain (as seen below)
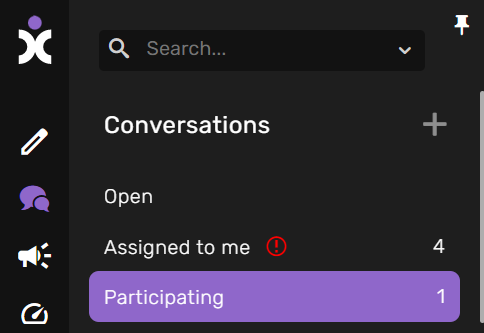
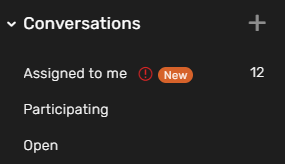
In this case, the Assign to Me option was selected. As a result, a new conversation will appear under the Assigned to Me filter (as seen in the screenshot below).
Assign Conversations in Bulk
If you wish to assign multiple conversations to one agent, you can assign them all at once using the Inbox toolbar (instead of assigning each conversation individually).
To select a conversation to assign, hover over a conversation from the conversation list and click on the revealed checkbox under the module icon (displayed in Main theme color)
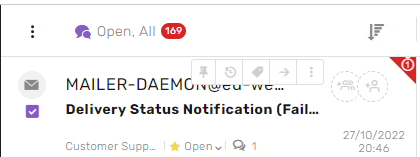
After selecting a specific conversation, the Inbox toolbar will be displayed (as seen in the next screenshot).

Now select all the conversations you want to reassign in bulk to the same agent:
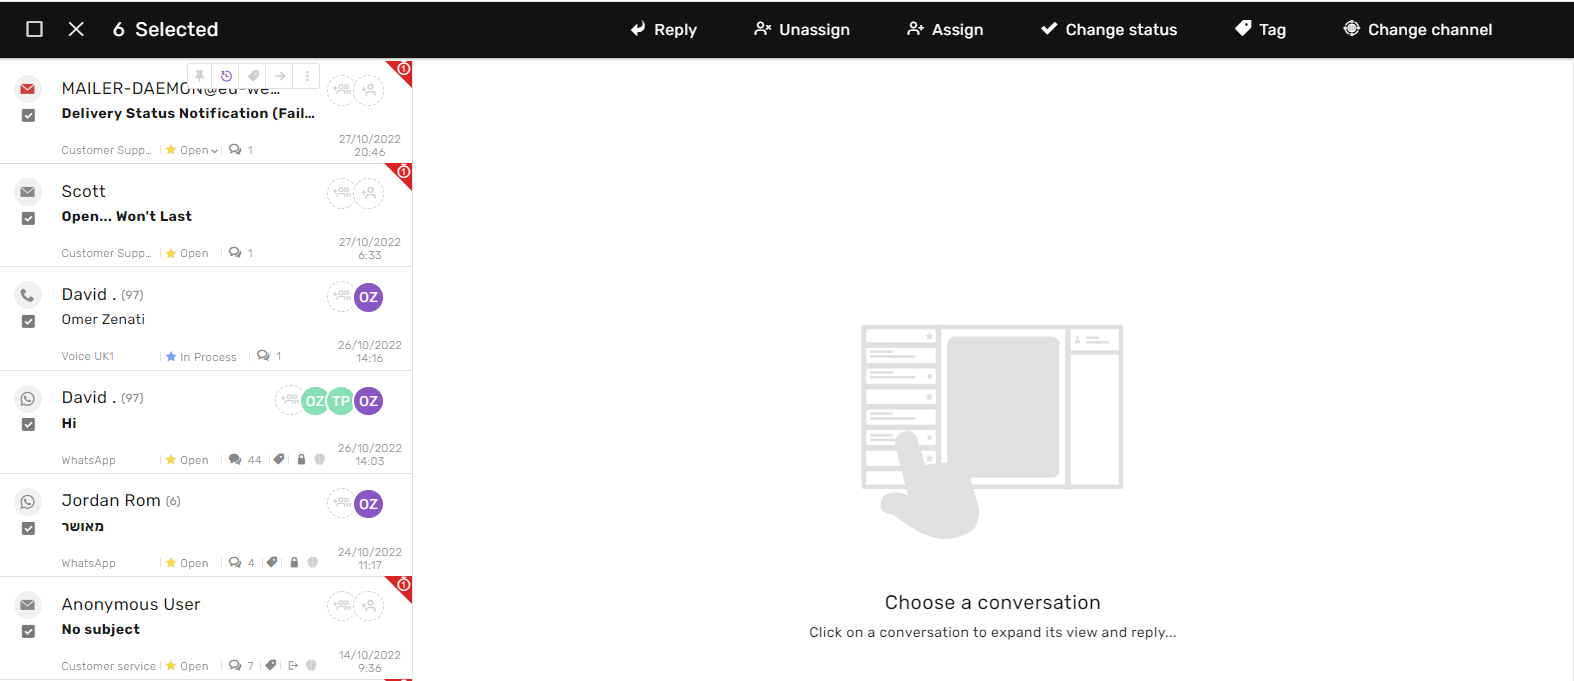
Then click on the Assign button (as seen below).

And select the agent you wish to assign to the conversations from the dropdown menu (as seen below)
Adding a New Conversation Participant
If you wish to remain the primary agent assigned to the conversation but still want to add a team member as a participant to the conversation.
Of the two icons, the left icon is to Add a New Participant. This option allows multiple agents to be participants in a conversation without being assigned to it.
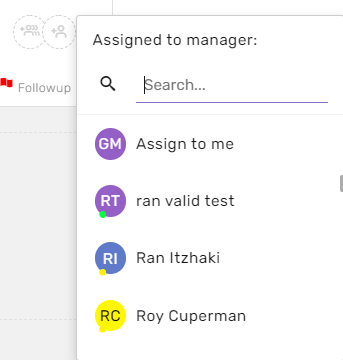
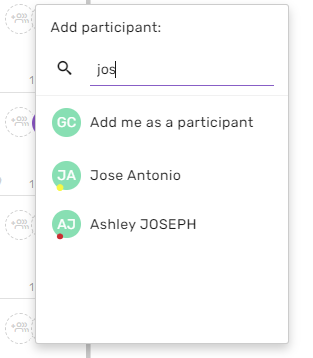
Just click on the “Add Participant” circle button. A drop-down list will then emerge adjacent to the button.
Select the agent you wish to add to the conversation.
Beware: Being assigned as a participant does not affect the capacity or responsibilities of the conversation manager (i.e., the assigned agent in charge of the specific conversation)
Participating has its own conversation filter

You can assign as many agents as desired as participants to a conversation.
When adding an agent as a participant to a conversation, it will be reflected in the Conversation Message log chain (as seen below)
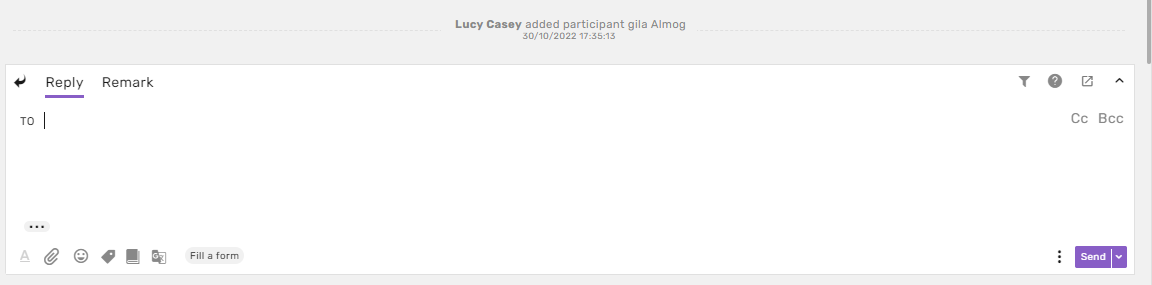
Additionally, the conversation item will be transferred to the Conversation Filter titled Participating (as seen in the screenshot below).