Overview
The Rules automation reduces the need for manual intervention by performing different actions when certain triggers and conditions occur. Repetitive tasks, such as tagging conversations and messaging customers, or more advanced functionalities, such as prioritizing a conversation based on identified keywords or forwarding to a specified channel, are examples handled by Rules, saving agents time and effort and increasing the team’s overall efficiency.
This guide covers the principles of the Rules module, followed by a detailed explanation of all available components.
Key Considerations:
A. Every Rule is made up of a trigger, a condition, and an action.
- Trigger: An event that sets the rule into motion.
- Condition: A requirement that the trigger must meet for the rule to work.
- Action: An event that occurs due to the trigger and condition being met.
B. A Rule Set is made up of a few Rules that are activated together.
C. Every rule must have a specified active channel or subchannel where it operates. Rules will not work in inactive channels and subchannels.
D. A rule is executed only when every condition outlined is met.
E. Rules are executed in the order they appear and may require prioritization within the rule set.
An example:
Rule #1: When a customer starts a new conversation [trigger] in the support's team email channel [dedicated channel], and the subject contains "refund" [condition], then tag the conversation with a “Finance” tag [action 1] and transfer the conversation to the Email Refunds channel [action 2].
Rule #2: When a new tag “Finance” was added [trigger] in the Email Refund channel [dedicated channel], and the body contains "Bad service" [condition], then set priority to 1 [action].
Since Rule #1 is processed first, the conversation will be tagged, which allows for Rule #2 to be triggered and the conversation to be prioritized at the designated channel.
F. Auto messages must comply with supported simple and rich text limitations. Since Chat and Email support rich text, any rule involving rich-text auto-message content must apply only to the Email and Chat channels and their routing. A separate rule should govern the routing of WhatsApp and SMS channels.
G. Allowed channel routing for the Routed conversation arrived trigger:
-
Same-channel routing: Messages can be routed within the same channel (WhatsApp, SMS, Email, or Chat).
Note: When transferring a WhatsApp conversation to another WhatsApp channel, only the subchannels of that channel are available. This avoids template requirements and complies with WhatsApp restrictions. -
Cross-channel routing:
WhatsApp → SMS, Email, Chat
SMS → Email, Chat
Email → SMS, Chat
Chat → SMS, Email
H. Older existing Rules are affected by the 2025 releases in the following manner:
- Since channel selection became a mandatory condition, older rules have all channels automatically selected for them.
- Conversation status is now mandatory for the Tag was added trigger. Therefore, existing rules automatically have the Open status added. This prevents the rule from being activated unintentionally when a tag is added by the agent after the conversation is closed.
Creating a new Rule Set
-
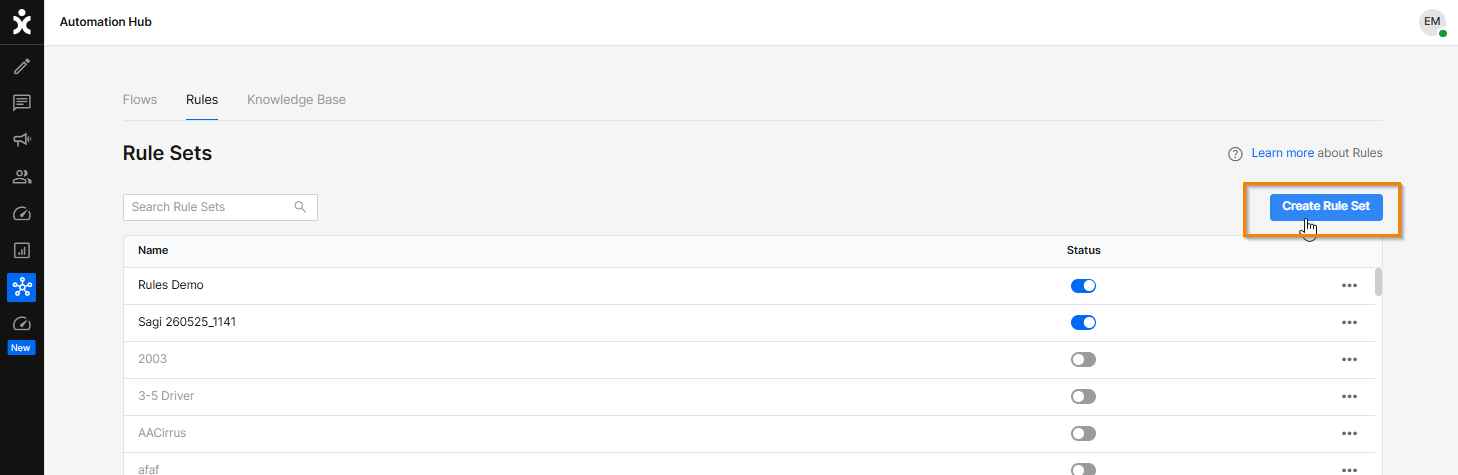
Click the Automation Hub icon on the main menu sidebar and select the Rules tab, or alternatively, navigate to Settings and click the Rules module.
-
Click Create Rule Set at the top corner to establish a group of rules.
-
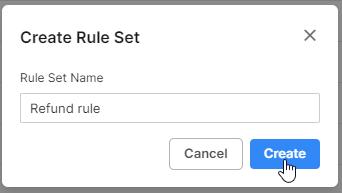
Enter a name for your new Rule Set and click Create.
Creating a new Rule
To create a new Rule, you’ll need to select a trigger, applicable channels, relevant conditions, and desired actions.
-
In the chosen Rule Set, click Add Rule at the top corner of the screen.
-
At the Rules Details pane, select the trigger for this rule.
.png)
The trigger could be one of the following:
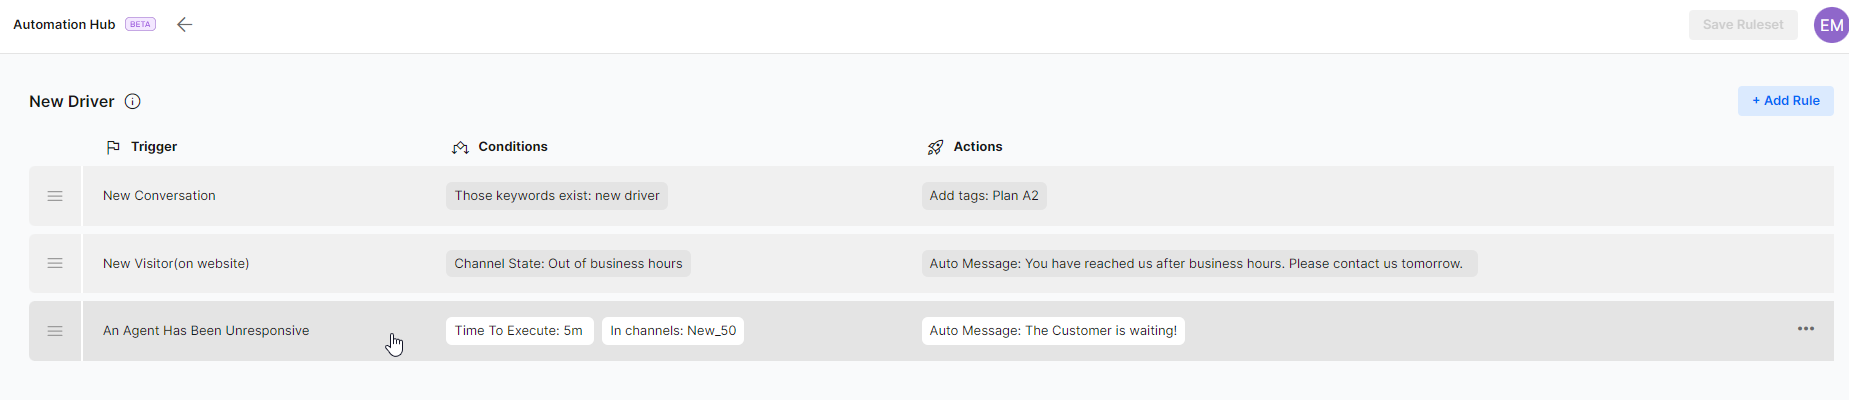
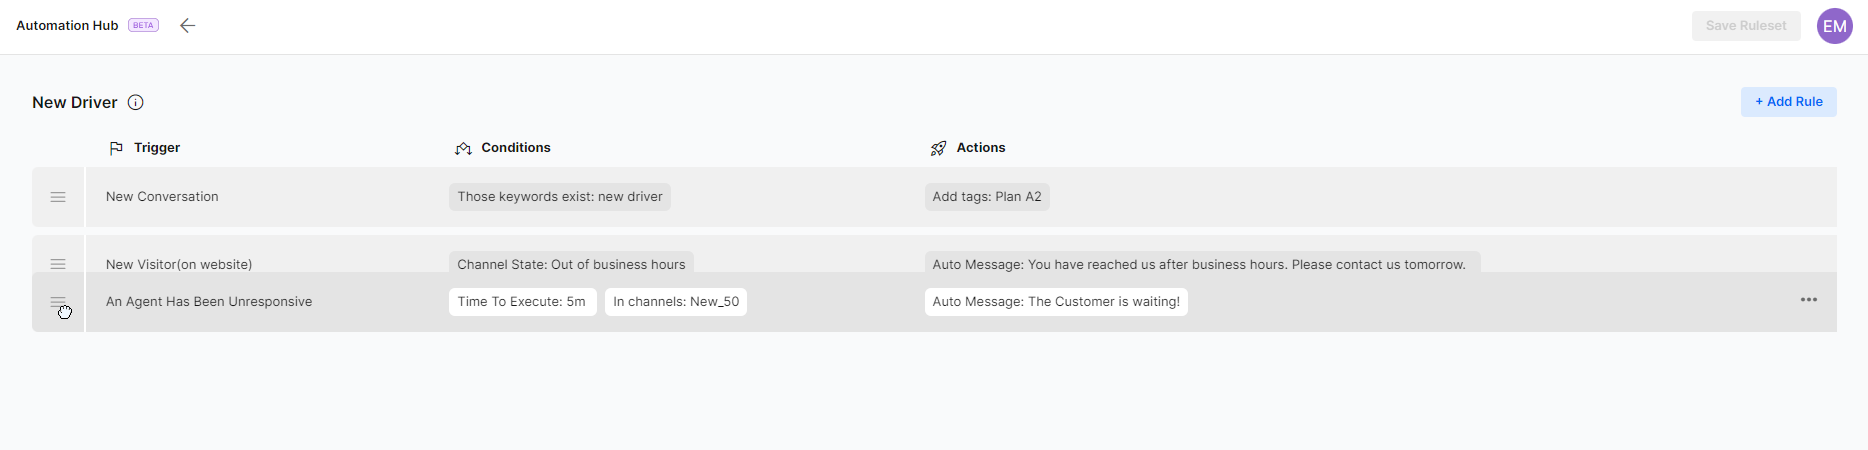
- New Conversation: Rule is triggered when a new conversation starts in one of the selected communication channels.
- A new visitor (on website): Rule is triggered when a new visitor enters the website where the app. is embedded. This trigger can work even before the customer clicks on the Chat icon.
Note: A new visitor trigger only works with the Chat channels, Navigator, and Contact Us. - An Agent Has Been Unresponsive: During a conversation on the selected communication channels, the agent is unresponsive for a period defined by the rule.
- A Customer Has Been Unresponsive: During a conversation on the selected communication channels, the customer is unresponsive for a period defined by the rule.
- Conversation Tag Was Added: Rule is triggered when a tag is added to the conversation or a message in the selected communication channels.
- Customer Tag Was Added: Rule is triggered when a tag is added to the customer.
- Conversation Status Change: Rule is triggered when the status of the Conversation changes.
- Routed conversation arrived: Rule is triggered when the conversation in preconfigured channels transfers from one to the other. Automated messages are sent through the same channel the customer used initially. Note that the existing SLA timer continues without resetting when the transfer rule executes.
-
Specify the communication channel(s) for the rule and click Add.
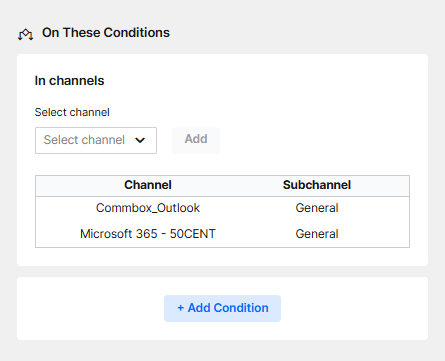
Note: Channel selection is mandatory for the New Conversation, Unresponsive Agent/Customer, Tag was added, and Conversation Status Change triggers. -
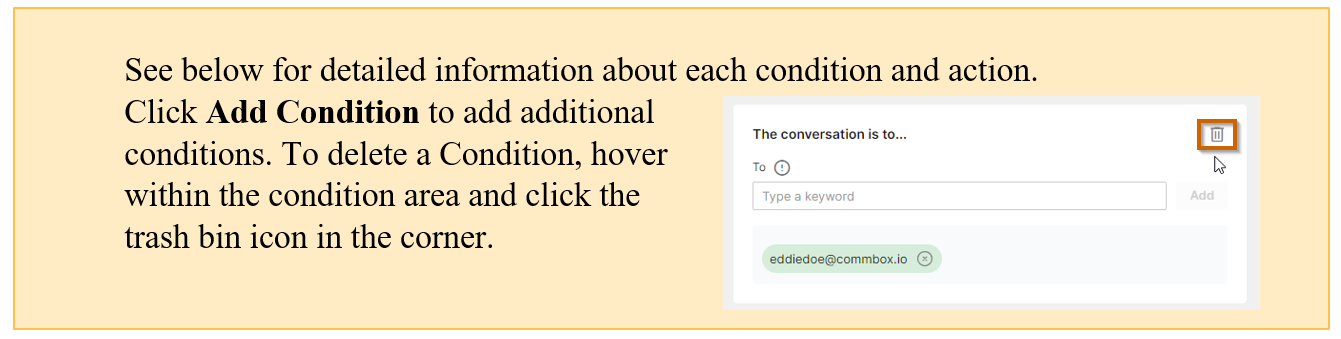
Click Add Condition and select a relevant Condition from the dropdown list. The condition(s) will have to take place in order for the rule to be activated.
-
Select the Actions that will take place once all the conditions are satisfied.
Suggestion: Create separate rules if conditions are not related. -
Save the setting by clicking Save & Publish at the top of the page.
Available Conditions
A. Business Rule
When this condition is selected, the rule will be activated only if the trigger happened during/outside the business hours set for that time.

B. Those keywords exist
List the keywords mentioned by the customer that will activate an action and click Add.
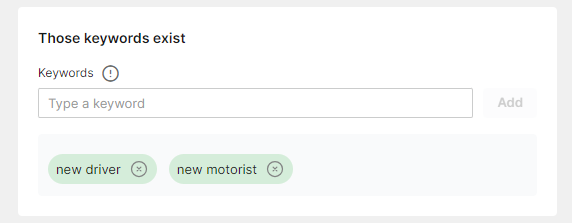
- Keywords in email channels are identified in the email’s title and body separately. In all other channels, keywords are identified within the message body.
- A comma should follow terms or a group of words.
For example:
Entering "new driver," will activate the rule only if both words appear as a phrase.
Entering "new, driver," will activate the rule if one or both words appear in the conversation. - Capitalization is not an affecting factor.
C. The Conversation is from
You may enter multiple email addresses or phone numbers (for WhatsApp and SMS/Texting channels) separated by a comma and click Add.
For the whole domain, enter an asterisk followed by the domain ending. Ex: *@domain.com
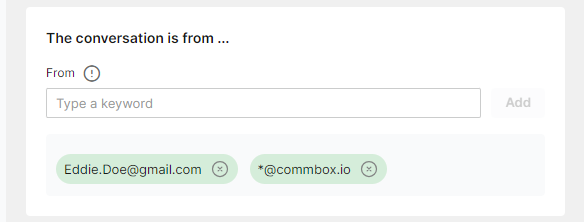
To exclude a source (activating the rule when the conversation is NOT from the listed sources), add the minus character before the email or phone number. The source will appear in a red bubble:
![]()
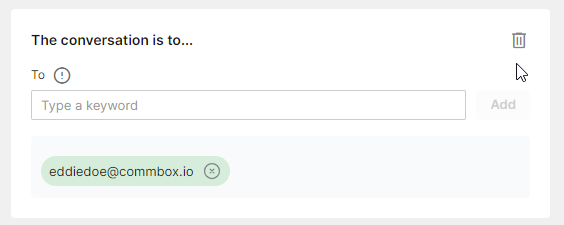
D. The conversation is to
Enter the email address or the phone number the communication was sent to and click Add.
You may enter multiple email addresses or phone numbers (for WhatsApp and Text/SMS channels) separated by a comma. For the whole domain, enter an asterisk followed by the domain ending. Ex: *@domain.com
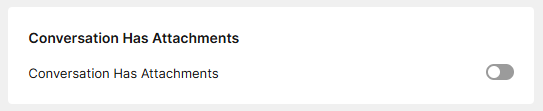
E. Conversation Has Attachments
Toggle On to mark all conversations with an attachment. Toggle Off to mark all conversations with no attachments.
F. Conversation status is
Select from the available statuses that will activate the rule if one of them is currently applicable to the conversation.
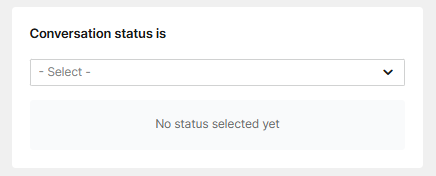
Note: This condition does not apply to the Conversation Status Change trigger.
G. These Customer tags exist
Select from available tags that will activate the rule if they are currently placed on the customer.
When selecting more than one tag, select to include any of the selections to activate the rule, or to only activate the rule when all tags are present.
To select additional tags, click the Edit Tags button.
To delete selected tags, click the X icon at the side of the tag selection.

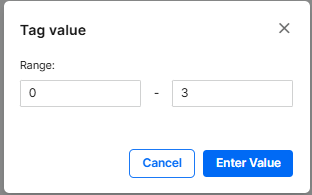
Note: Valued tags (like in the 2nd example above) can be used as a condition where only a specific value triggers the rule. Click on the value section to set the specific value for this rule.
H. Was tagged with
This is a default condition to the Tag is Added trigger.
Select the specific tag that will trigger this rule.
You may search for specific tags by name or filter the tag categories to show/hide related tags.
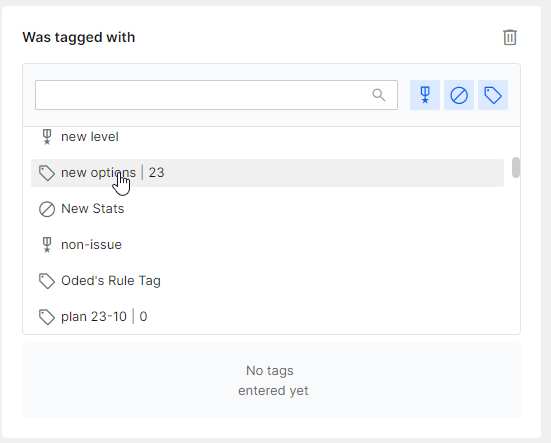
Note: Only one tag can be selected per rule.
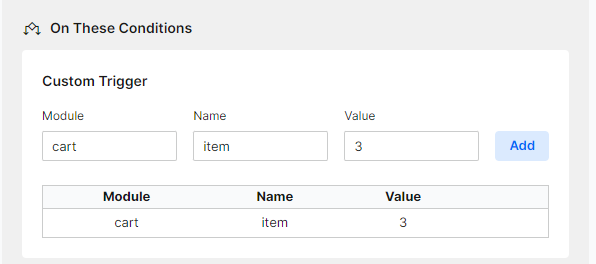
I. Custom Trigger
Visitors to the website can take a designated action that will trigger the rule. For example, when the customer sends the 3rd item to the shopping cart, the rule will activate an action such as opening the chat, tagging the visitor, etc.
In this example, the module is “cart,” the name is “item,” and the value is 3.
For this condition to work, the JavaScript-embedded code must be configured in the Chat or Interactive Navigator module. Navigate to Settings > Chat and click the Installation button at the end of the line of the relevant channel.
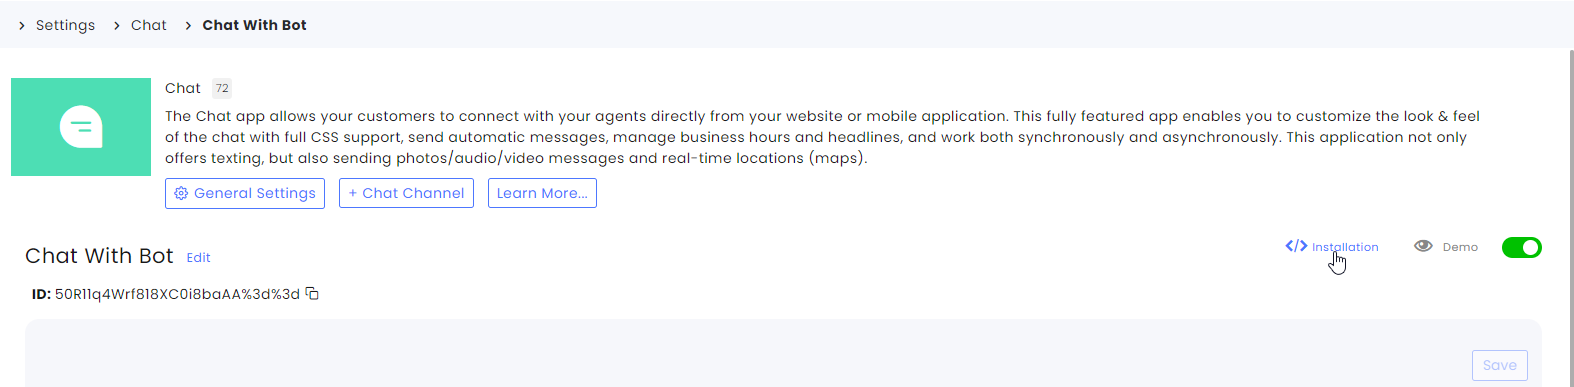
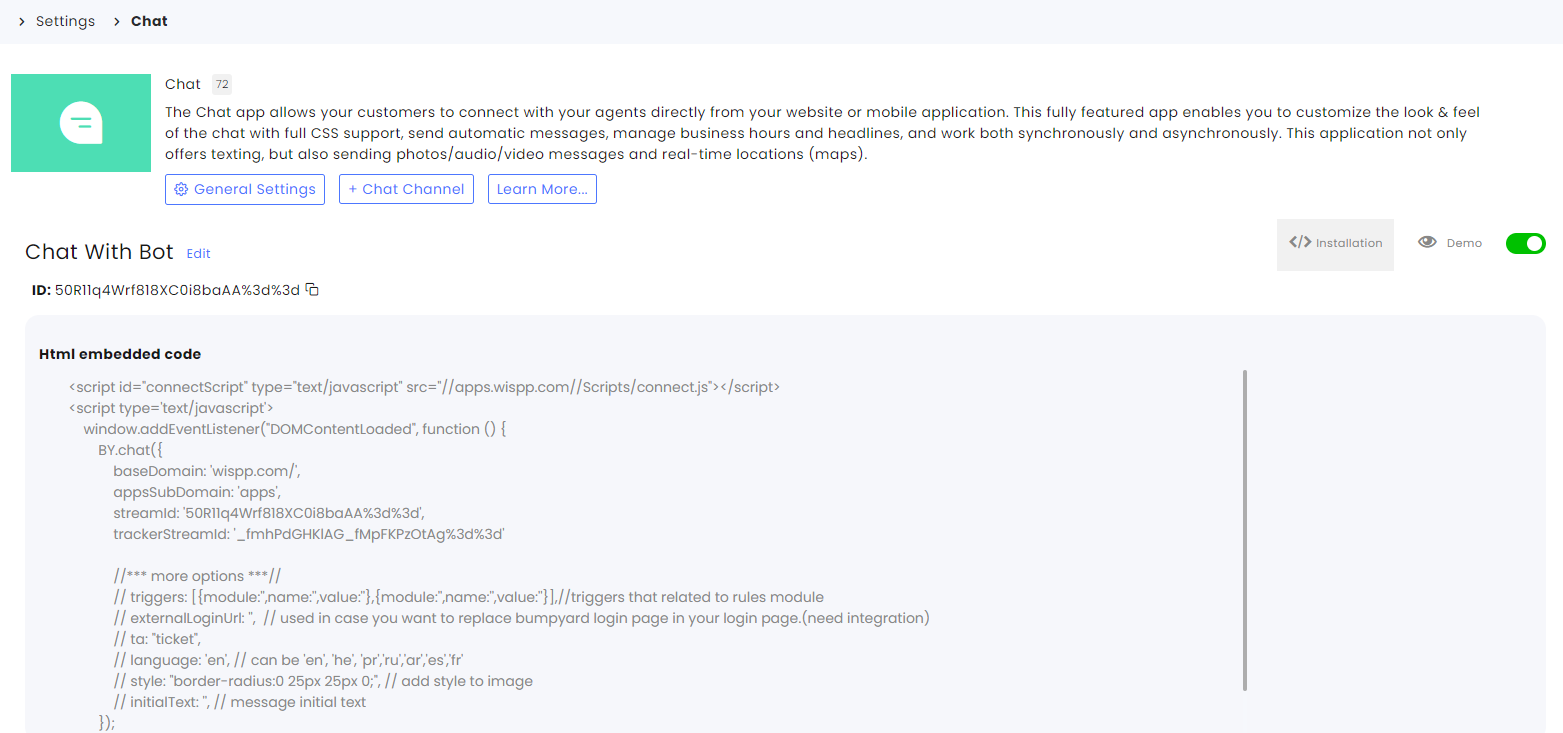
Do not hesitate to contact your CS for help with this matter.
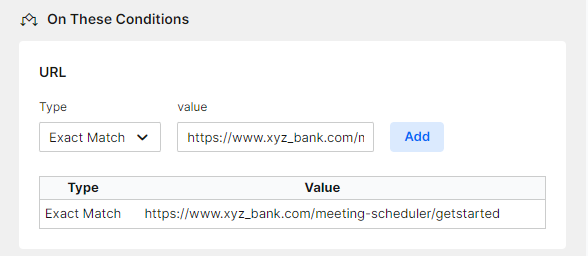
J. URL
This condition sets the URL from which the app (e.g., Chat) was launched. Select Exact Match and enter the exact URL, select Contains and includes partial URL content, or select Regex (Regular Expressions) and enter the relevant value. Click Add to set the condition.
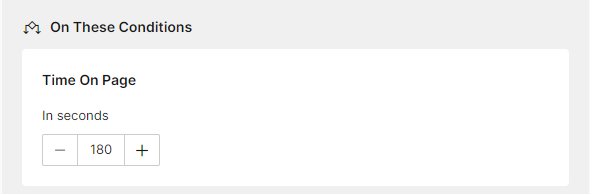
K. Time on Page
When a new customer is idling on the web page (before starting the chat conversation) for an x number of seconds, select this condition to trigger an action (for example, activate the chat).
L. Channel State
Select the Availability Status (Busy, Off Hours, etc.) that will set off the rule.
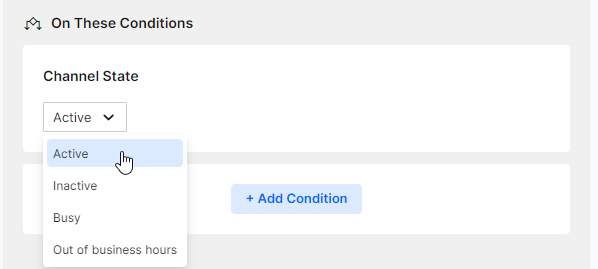
- Active – The channel is activated.
- Inactive – The channel is deactivated at the module level.
- Busy – Channel is activated, but all agents have maximum assigned conversations.
- Out of business hours – The Channel is activated, but the service location is currently closed.
M. Conversation had a first response
The Rule will trigger an action based on whether a conversation had received an initial response from an agent or not. This condition is applicable to the following triggers: unresponsive agent, unresponsive customer, and “tag is added.”

N. Unresponsive Agent / Customer
(mandatory for the Unresponsive Agent/Customer triggers)
This condition defines the unresponsiveness of the agent/customer. Enter the amount of time (from 30 seconds to 2 weeks) that will pass before the rule is triggered and the agent/customer becomes “unresponsive”.
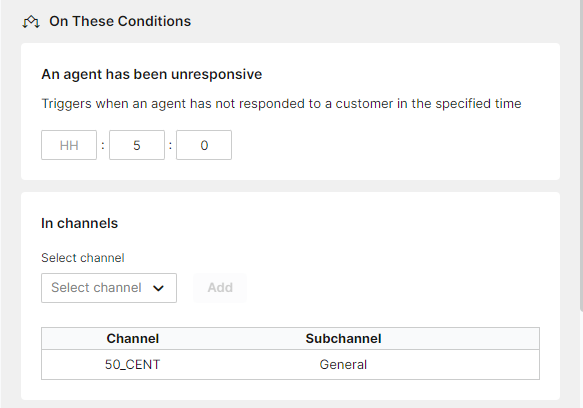
Note that the time will be recorded in seconds.
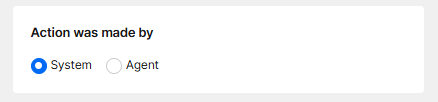
O. Action was made by
This condition is based on whether the triggers “Conversation Tag Was Added”, “Customer Tag Was Added“, or “Conversation Status Changed” were performed by the system or by a human agent.
Available Actions:
Select one or more of the following options:
A. Add tags
Click the relevant conversation tags to add them to the conversation (visible only to the agent). Click again on the chosen tag to unassign it.

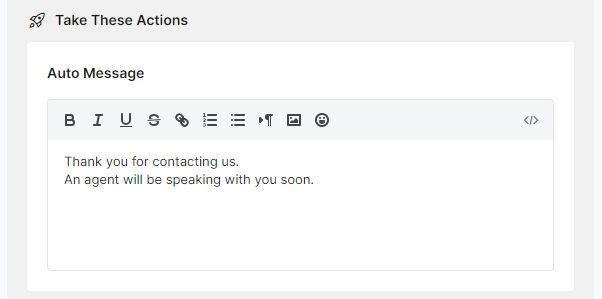
B. Auto Message
Enter the message the customer receives when the condition(s) are satisfied.
Note:
-
Auto messages must comply with the supported limitations for simple and rich text. Since Chat and Email support rich text, any rule involving rich-text auto-message content must apply only to the Email and Chat channels and their routing. A separate rule should govern the routing of WhatsApp and SMS channels.
-
WhatsApp 24-Hour Window Restriction:
If more than 24 hours have passed since the last customer message on WhatsApp, the rule should not send auto-messages.
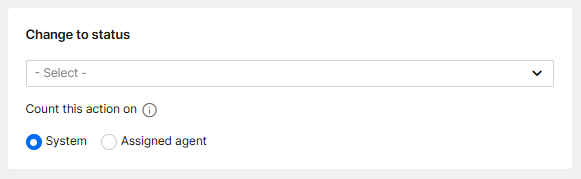
C. Change to status
The executed rule will update the conversation status to the selected value.
Choose the source of the change, either the system (default) or the agent, to enhance reporting accuracy, audit logs, and SLA monitoring.
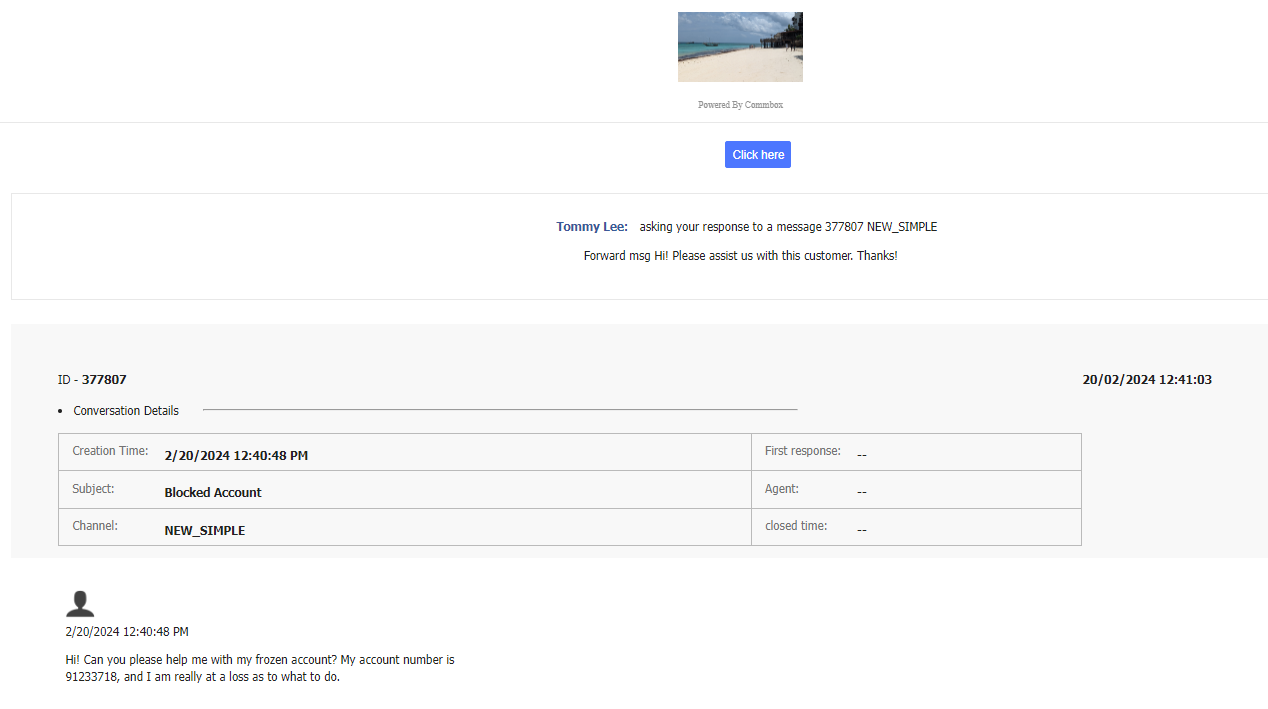
D. Forward to
Enter the email address that will be used to send a message to, and write the content of that message. Toggle On to allow the recipient of the message to reply.
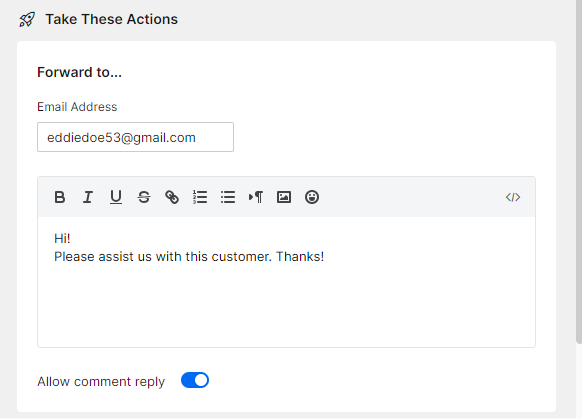
In this example, Eddie Doe receives an email from agent Tommy Lee with the conversation details below. Eddie Doe can respond to the agent (the Click here button) if the Allow comment reply is toggled on. The response to the agent will appear as a system comment in the conversation.
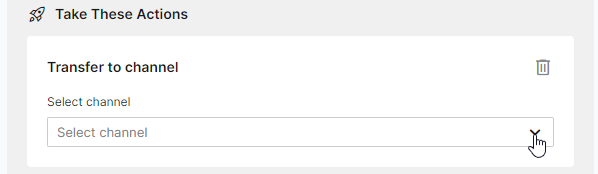
E. Transfer to channel
Select the channel and subchannel the conversation should go to.
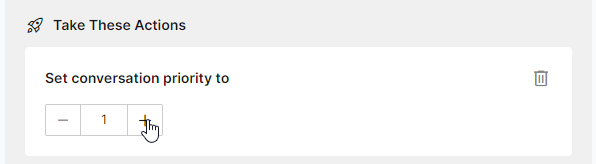
F. Set conversation priority to
Set the priority of the conversation (1 – the highest, 10 – the lowest).
Adjusting a conversation's priority alters its ranking compared to other scored conversations, making it more likely to be assigned ahead of those with lower priority.
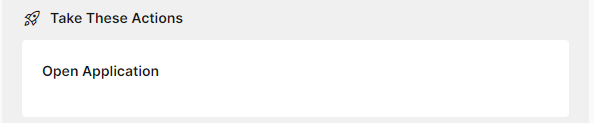
G. Open Application
With this action, visitors to the website will not have to click on the Chat icon to start a chat conversation. It also works with the Interactive Navigator and Contact Us apps.
H. Send survey
The executed rule will send the selected satisfaction survey to the customer.

Note: This action will only be visible when 'Resolved' is selected in the 'Conversation status changed to' condition in the 'Conversation Status Change' trigger.
Editing Existing Rules
-
Navigate to Settings > Rules and select the desired Rule Set.
-
Click on the Rule you want to edit and open the Rule Details.
-
To change the order of the rules, move the cursor to the beginning of the line and drag the Rule to a new position. The other rules will move accordingly.
-
Click Save and publish at the top.