Overview
The Customers section displays all customers in the account and enables agents and administrators to manage customer information efficiently.
This guide explains how to search, filter, customize, and import customer data, as well as how to access customer conversation history directly from the Customers page.
Columns displayed in the Customer page reflect the fields configured in the customer pane. To add or edit these fields, use the Custom Fields module in the Settings section. Learn more at the Custom Fields Guide.
Data in uploaded files will only populate existing columns currently configured in the Customers page. Any additional columns included in the file will be ignored. Before uploading a file, ensure the column headings match the existing customer fields in the system.
Important notes before importing:
- The “Phone1” and/or “Email” fields are mandatory. At least one of these columns must appear in the uploaded file with populated values.
- Phone numbers must use the international format: country code + city/area code (without the leading zero) + phone number. Example: 972541234567.
Key Considerations

The Customers page enables users to:
- Search customer records using free-text search
- Filter customers by Audience
- Select which columns are displayed in the table
- Import customer lists from Excel files
- Open a customer profile and view their conversation history in the Inbox
- Identify customers who are members of WhatsApp groups through the dedicated WhatsApp Group column
Searching Customers
Use the Search field at the top of the Customers page to quickly locate customers by text.
The search can be used to find matching values appearing in customer fields such as:
- Name
- Unique ID
- Phone number
- Email address
- Callback Number
- Gender
- Remarks
- WhatsApp Groups
- Additional custom values
Results update according to the entered text.

Filtering Customers by Audience
Use the Audience filter to display only customers belonging to a specific audience or group.
This allows agents to:
- Focus on targeted customer segments
- Review imported groups
- Manage audience-specific campaigns and communications
Selecting Table Columns
Click the Columns option above the table to choose which columns are displayed on the Customers page.
Users can:
- Show or hide available columns
- Display custom fields configured in the system that are not displayed in the Customer pane
- Display the WhatsApp Group column to identify customers participating in WhatsApp groups
Note: The order of the columns is configured in the Custom Fields module under Settings.

Viewing Customer History
Click any customer row in the Customers table to open the customer profile and conversation history in the Inbox.
From there, agents can:
- Review previous conversations
- Access interaction history across channels
- Continue existing conversations directly from the Inbox
Importing Customer Lists into CommBox
Note: It is highly recommended to upload customer lists outside business hours to avoid system overloads.
- Select the Customers icon from the left menu bar.
- Click the Import Customers button at the top of the page to open the import dialog.
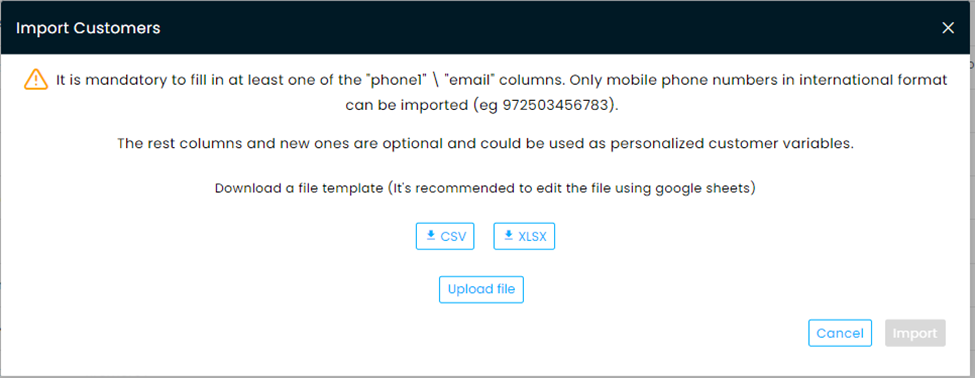
- Click Upload File and select the appropriate Excel file from your device.
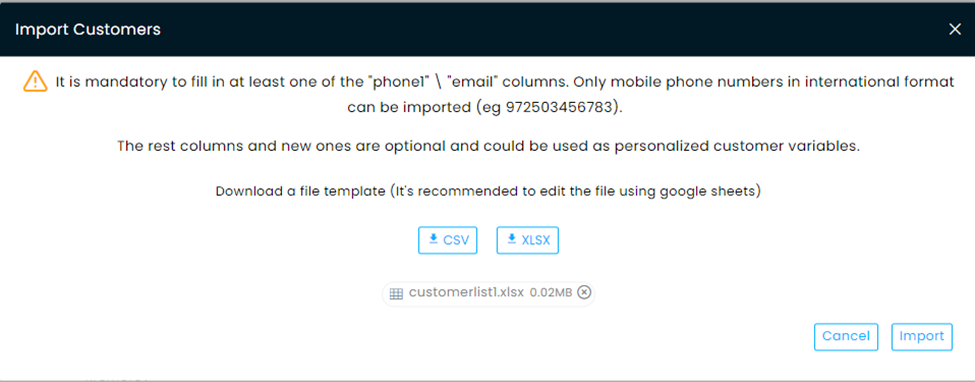
- Click Import.
- (Recommended) Select Save as a New Group and enter a name for the imported audience/group.
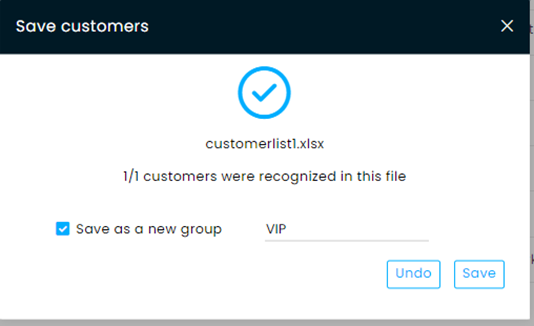
- Click Save.
After the import is completed:
- Click Select Group at the top of the Customers page.
- View the list of available customer groups and audiences.
- Select the newly imported group to display its customers.