Overview
Our platform is, in itself, a great planning tool for the actual flow, laying out the steps in a logical order and then filling in the “details.” This discussion topic also presents the different tools available in the Flow Builder that can help design your flow.
We highly encourage you to read the article Creating a Basic Flow to introduce the Flow builder and its capabilities.
Step 1: Know the tools at your disposal
Get familiar with the canvas tools at your disposal. It will grant you flexibility to try things out, change them, and change them again, without the need to rewriting the steps.
Drag and drop
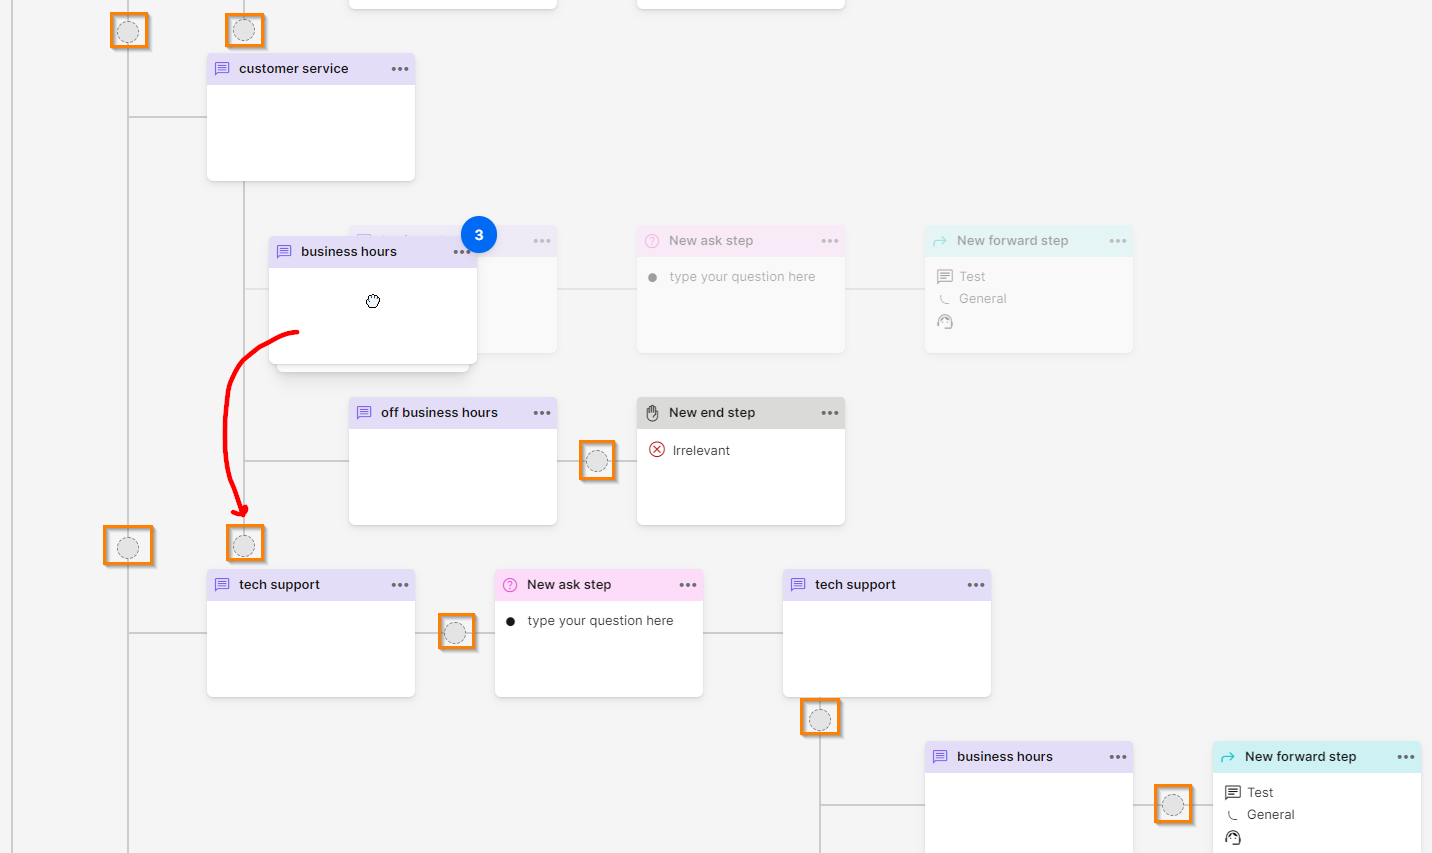
Use the Drag and drop capabilities of the Flow builder to move the different steps.
By holding down the left click and moving the step, the number of steps in the branch appears at the corner of the moving step, and the attachment options appear as grey circles. To switch the order of children, simply drag the branch between the other branches.
Quick actions
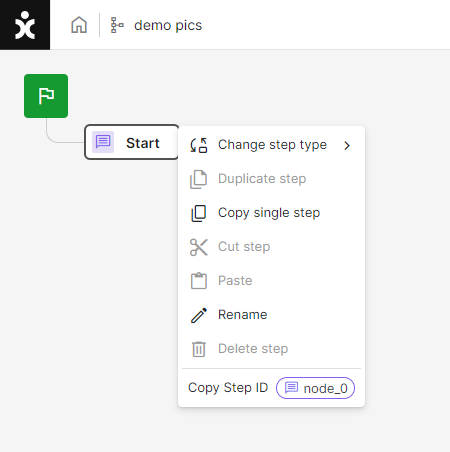
Right clicking on each step opens a menu of step editing options.
Hovering views
The condensed display enables users to view more steps on the canvas at any one time. To save time, instead of clicking on a step to see its content, hover over the step or any functionality icon next to it to see a quick summary of the content.

Saving canvas space
When expanding condensed items on the canvas, long branches split in the next line to enable the viewing of additional steps and limit the need to move sideways in the flow.
Condensed display
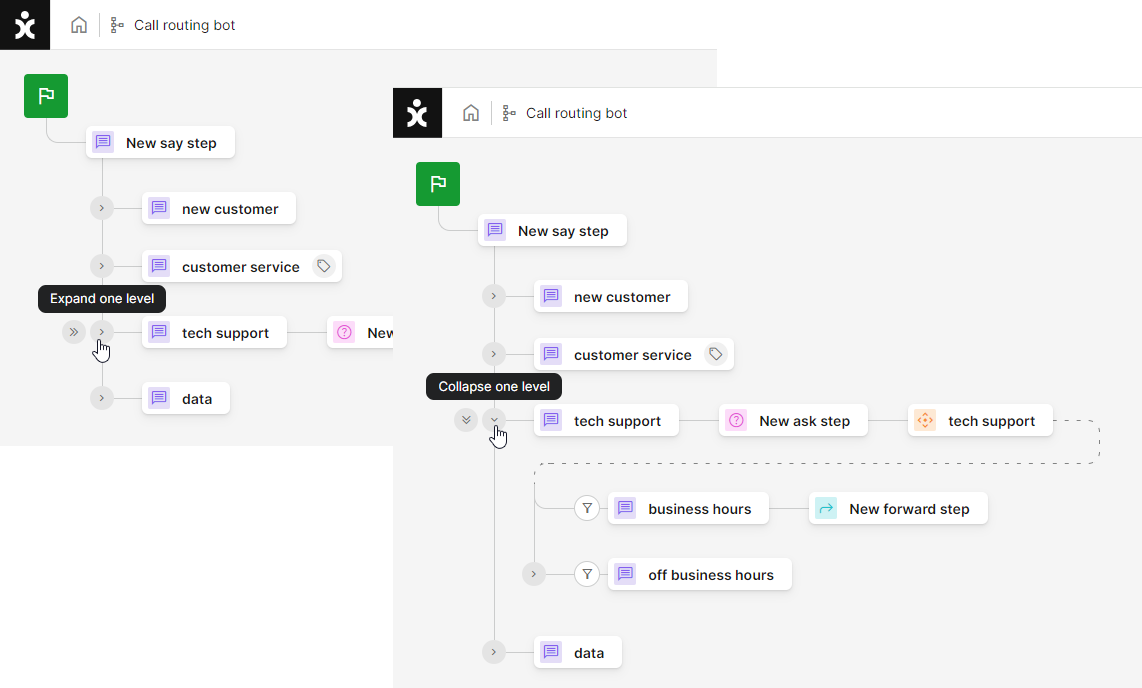
The schematic structure of the flow can be condensed to hide the steps of lower-level operations and to show an overview of the flow without the details of the operation of each section. By clicking the Expand button, the steps of the lower level appear for a detailed view. This enables designers of very large flows to manage the data and functionality of the bot.
At the Top Bar
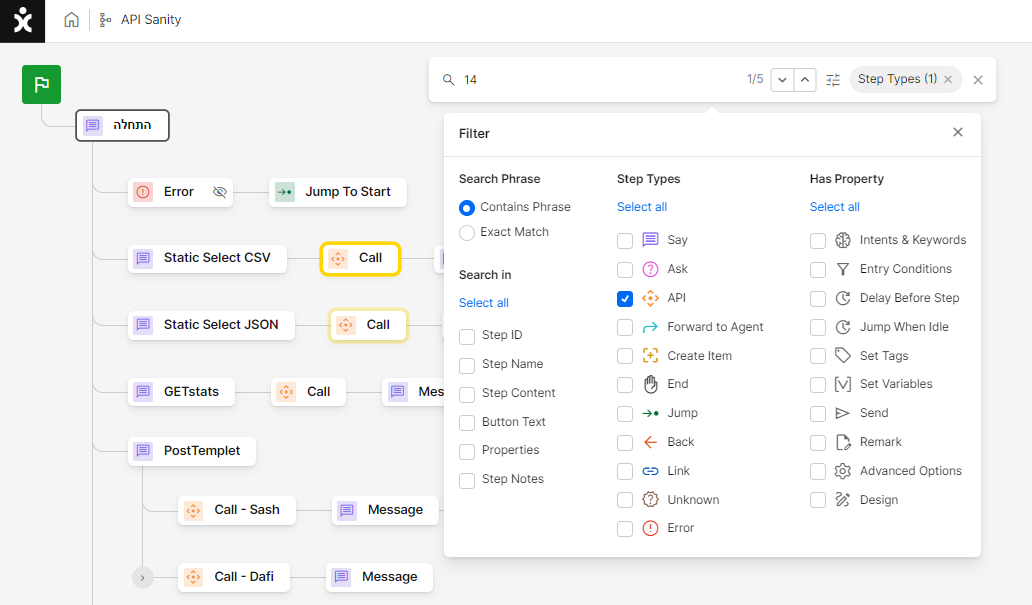
Search capabilities
New search capabilities enable users to filter results by step type, within specific content (step name, button’s text, etc.), or by certain property, relevant areas within the Flow Builder, as well as combinations of the above.
The search results light up to indicate available matches with a deeper yellow marking the current find.
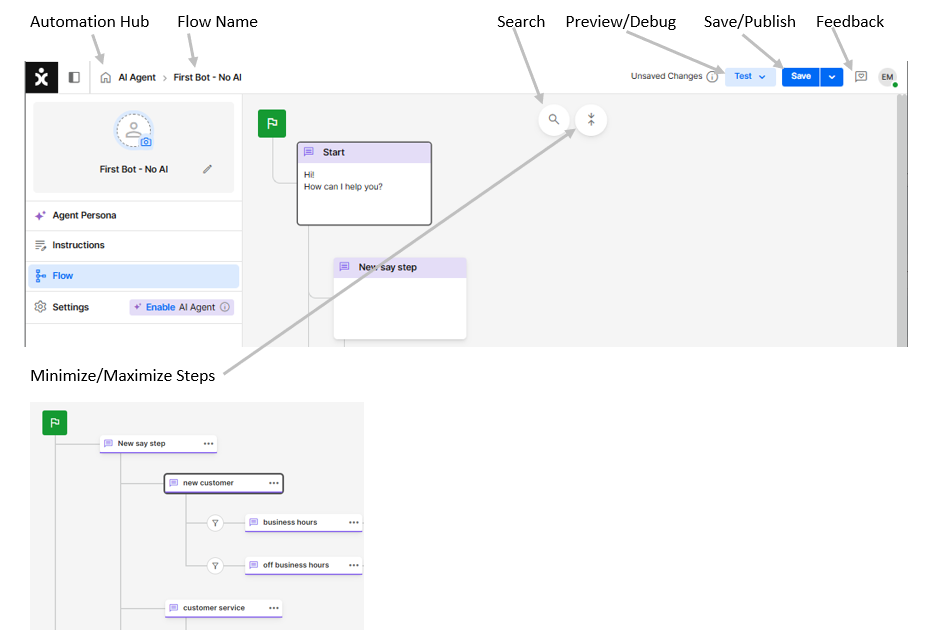
Maximize / minimize
Click the condensing icon at the top bar to only display the step’s heading. This will “save” space on the canvas enabling you to see more steps at a time.
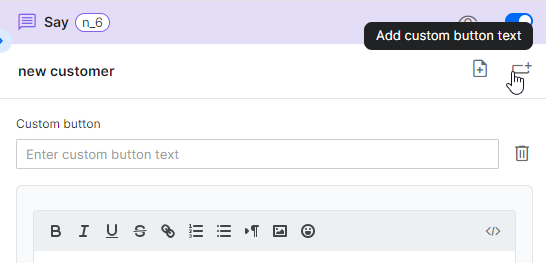
It is good practice to have the title of the step describe the content of the step or even the branch. Remember that you can always use the custom button text to create alternative naming for the button instead of the title.
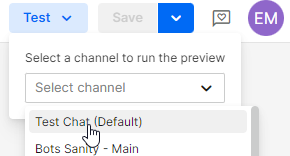
Test - Preview
Test the Flow actions by selecting a chat channel that can ran the bot you are designing. Test your bot often to see the customer's experience. Make sure the flow "makes sense" to the first time visitor.
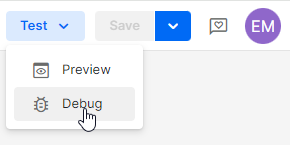
Test – Debug
The debugger enables admins to see the historical context of any conversation by entering the conversation ID. Click here to learn more about this topic.
Settings
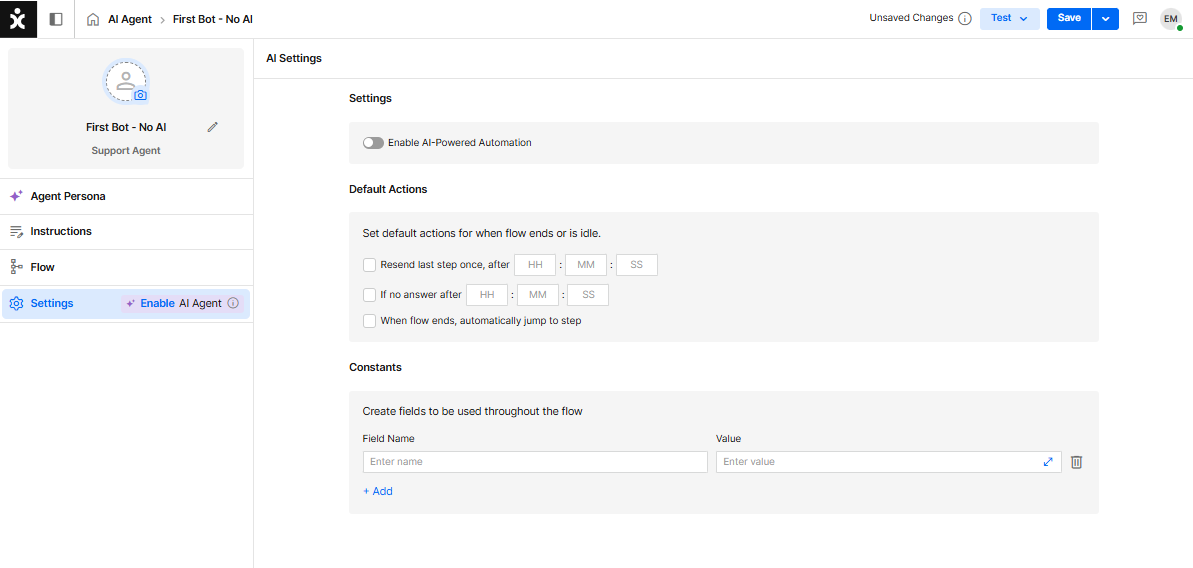
The AI Agent Settings enable general and default responses within the flow:
-
AI Settings
We have many AI capabilities, including letting the bot answer the customers inquiries based on organizational knowledge base items you teach it.
Besides activating this capability for this bot, you must activate the AI at the module level and open a replenishing token account. Contact your CS for more information. -
Default Actions
Every time the flow comes to an end, or the customer idles the conversation, these actions will take place. It can be jumping to a Say step and saying goodbye or repeating the same step again.
Note: This is the default ending where the flow does not have an End step or a Jump step that leaves the flow. -
Constants
You can create Fields to be used throughout the Flow.
Example: Set the field “Age” and give it a value “>21” so that customers entering an age below 21 will jump to a step that deals with young drivers.
Step 2: Envisioning your bot
The tools at your disposal can help you plan the bot in a systematic manner – from the top – down.
-
Write down what mission the bot will have (not how it is going to do it) and what organizational goals it is going to accomplish (for example, less conversions ending with a human agent, save agent time by finishing technical procedures, directing traffic to the correct department, etc.)
-
Once the goals are clear, create the flow that the customer will go through to accomplish those goals.
Keep the process as general as possible – jotting the choices the customer will get in the first step, then in the second step. -
For every selection the customer will see, open a Say step with that choice as its heading.
-
As you add more layers, try to identify repeating patterns. When a few procedures require the same handling, see if you can just send the flow to that step using the Jump step.
-
Maximize the Flow Settings to cover common customer behaviors such as not responding to the bot request.
Step 3: Management Steps
Certain steps act as “flow managers”, dealing specifically with unexpected events in the flow.
Unknown Step

Place Unknown steps in the Flow followed by the steps that will handle situation.
Note: In a flow with more than one unknown step, the customer will be diverted to the closest one. Messages to the customer should reflect the flow advancement. For example, an Unknown step at the top of the flow may be followed by a message asking the user to select a topic, while an Unknown step further down may offer the customer to repeat the last option.
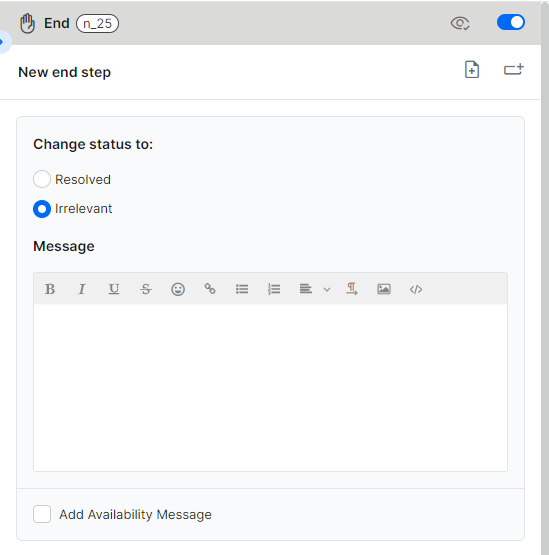
End Step

Add an End step at the end of each branch of the flow that doesn’t have a Jump step or a Forward step.