
Overview
CommBox’s Facebook Messenger module lets you fully integrate your company’s official Facebook pages with CommBox’s to manage all inquiries sent through Facebook Messenger.
This guide covers general information about the application, connecting a page to CommBox, and creating a new channel.
For general configurations, refer to the Channel Settings section.
Prerequisites
To manage the Messenger settings, please note the following:
- You must be classified as an admin of the relevant Facebook page you wish to integrate with CommBox.
- You have an Admin classification in CommBox.
Key Considerations:
- Conversation Initiation: A customer can initiate a Messenger conversation by sending a direct message via Messenger. An agent can initiate a Messenger conversation when the customer comments on the brand's business profile (in Facebook).
- Response Time and Permissions: Generally, agents have a 24-hour window from the time of the customer's last message to respond to a customer-initiated conversation. However, Meta has granted CommBox extended response permissions, allowing agents to reply within seven days using the Human Agent Tag.
- Replies to Facebook (or Instagram) Comments: An agent can reply privately to a customer’s Facebook comments via Messenger by clicking the three-dot menu next to the comment in the Inbox and selecting Send as a private message. The customer will receive a notification on Facebook advising of the private message in Messenger, and the Messenger page will have a link to the original comment, provided that both Facebook and Messenger channels are integrated with CommBox.
- Identifying Facebook Users: When a Facebook user responds to a post, the system attempts to identify the user. Until identified, messages will be coming from a "Facebook User."
- Automation Bot Limitations: Automation bots in Messenger can include up to 13 "quick reply" buttons. Any additional buttons will follow a numbered and lettered format, such as 1a, 2a, etc.
- Handover Protocol Issues: When messages are not received despite everything appearing to be configured correctly, multiple apps connected to the Page may be a possible reason, which can cause conflicts related to communication ownership governed by the Handover protocol.
- Credential Verification: The CommBox system continuously verifies the validity of credentials. If access is interrupted, the person who opened the channel will be notified to relog to the Facebook account with the necessary permissions or credentials.
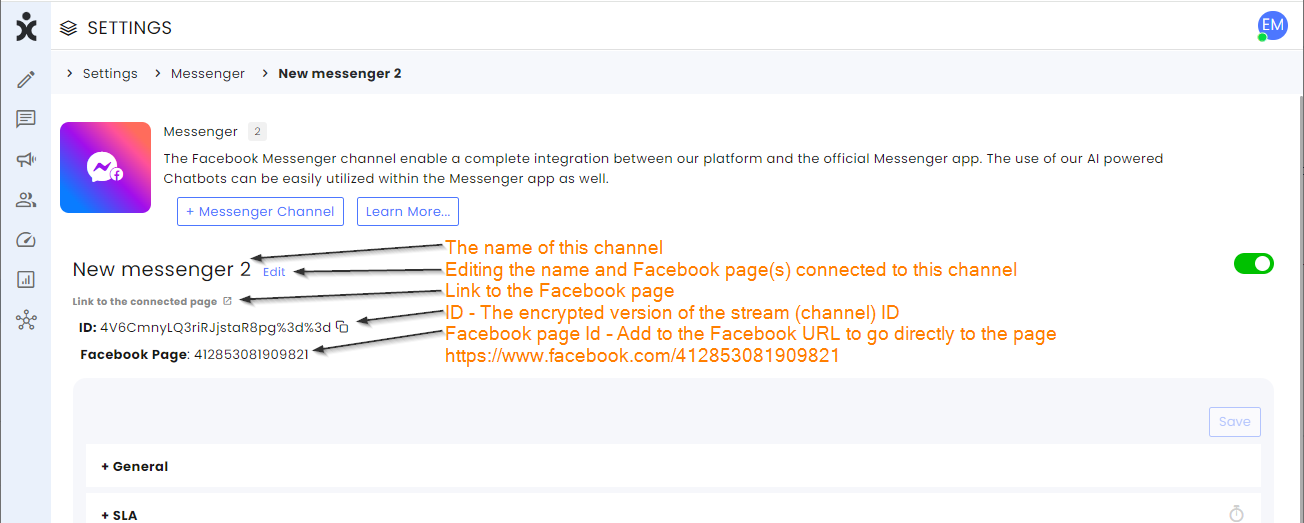
New Channels
You can create new Messenger channels using Facebook pages that are already connected to CommBox or establish a new connection of Facebook pages.
Using connected pages
- On the Settings page, select the Messenger module (communication channels section) and click the +Messenger Cannel button at the top.
.png)
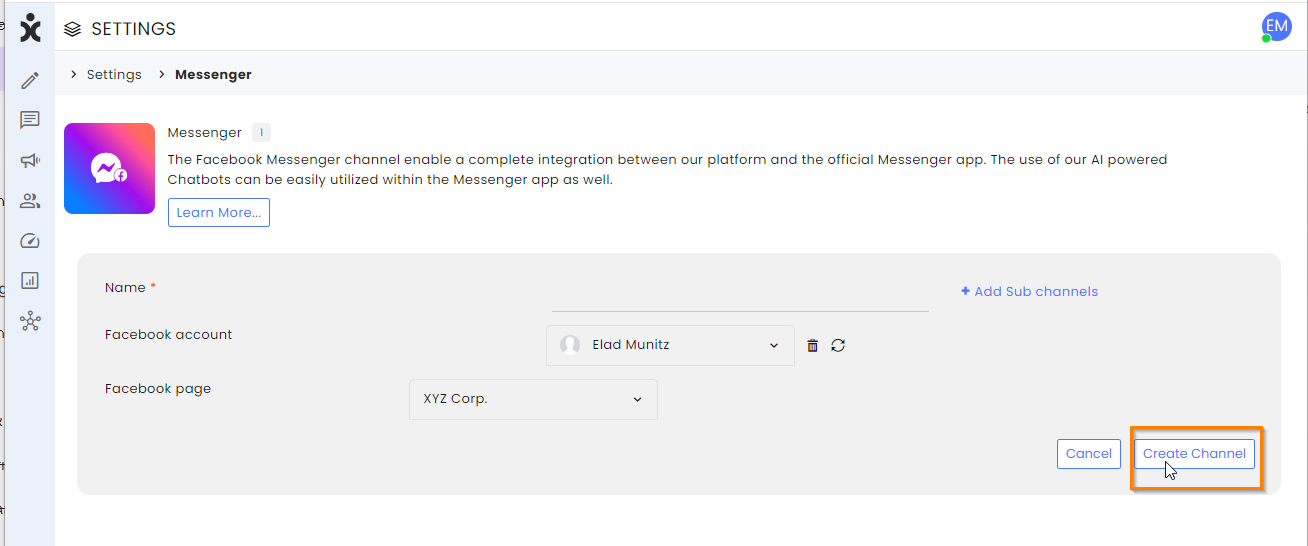
- Select the relevant Facebook account and desired page.
- Name the new channel, add sub channels (optional), and click Create Channel.
Creating a new connection to Facebook
For the first integration of CommBox and FB Messenger, use a laptop/desktop computer.
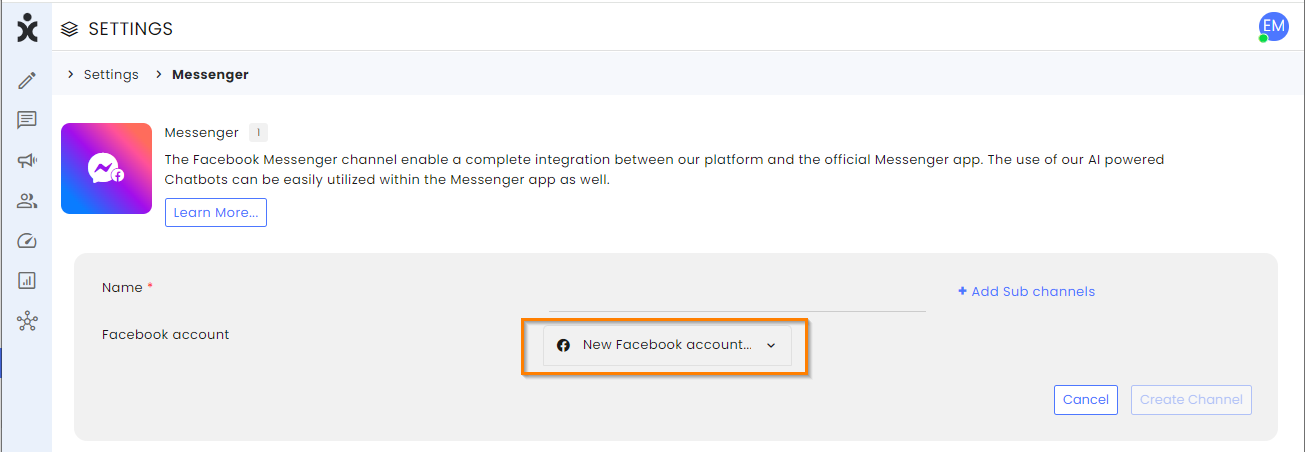
- On the Settings page, select the Messenger module (communication channels section) and click the +Messenger Cannel button at the top.
.png)
- Click New Facebook Account from the pulldown menu of available Facebook accounts.
.png)
- At the new Facebook dialog box, enter your Facebook credentials.
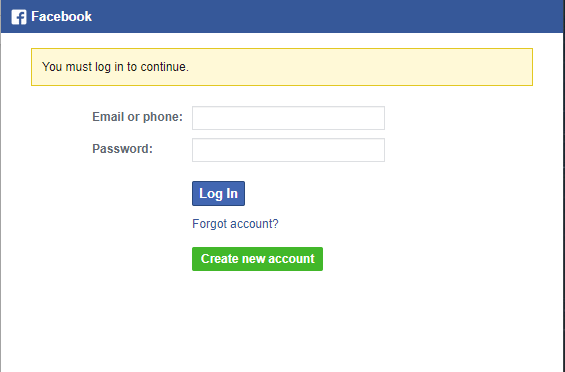 If recognized by the platform, click Reconnect to continue as the user.
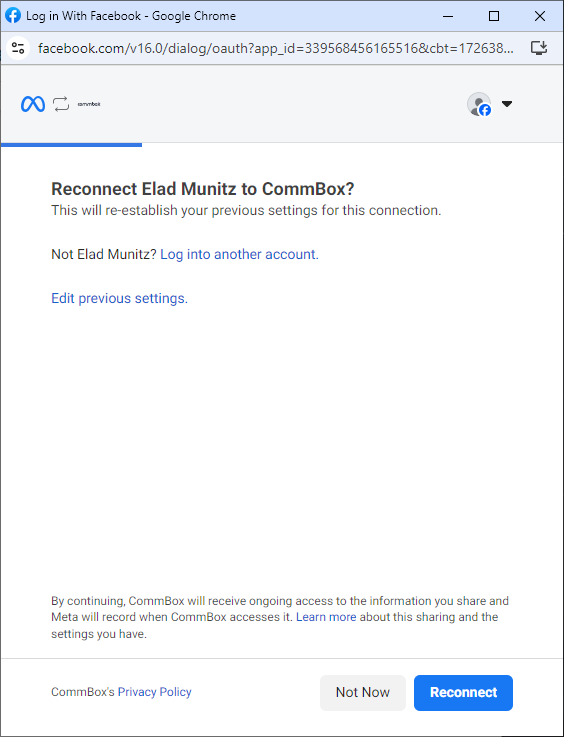
- Let CommBox access pages from your account(s) and click Continue.
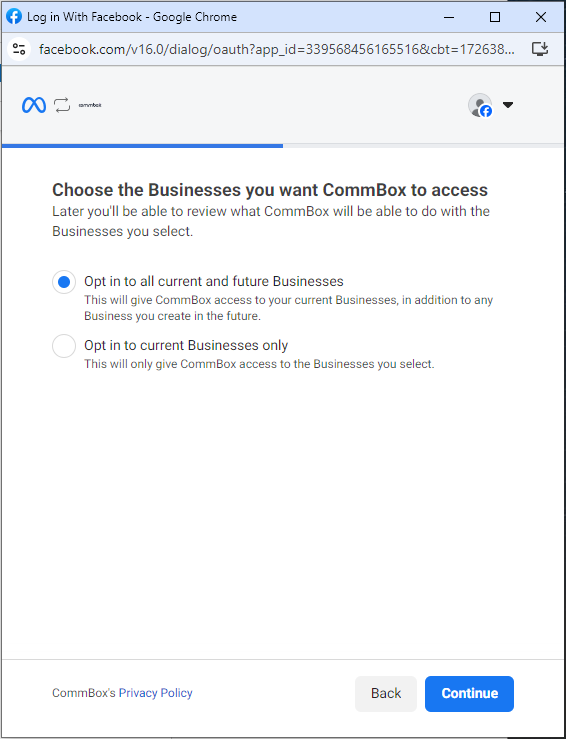
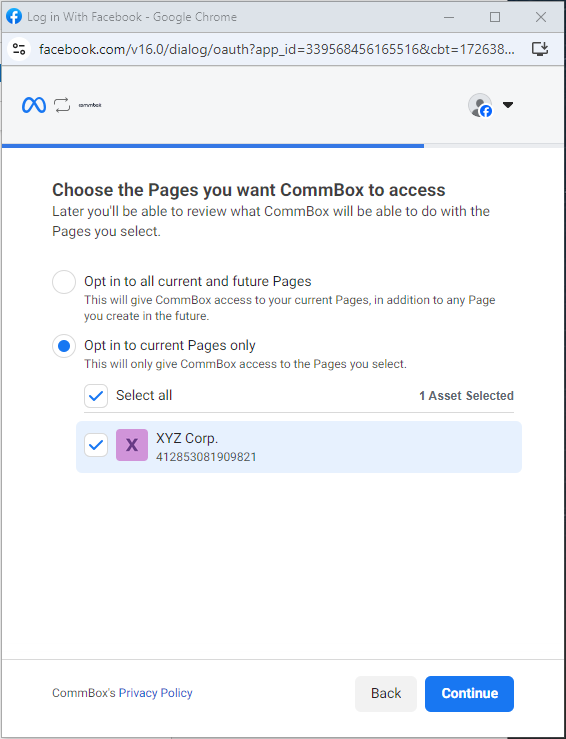
- Select the Facebook pages you want to integrate with CommBox and click Continue.
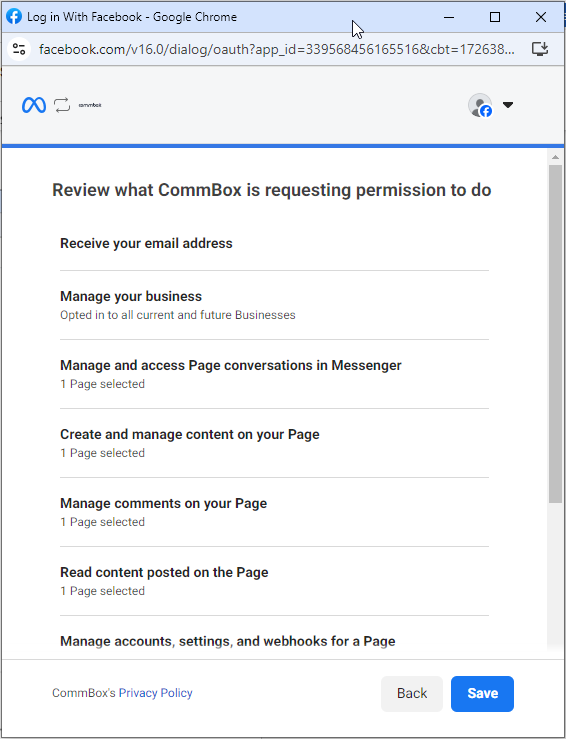
- On the next page, review the permissions you want to give CommBox, such as receiving email addresses, viewing content, or managing an account, and click Save.
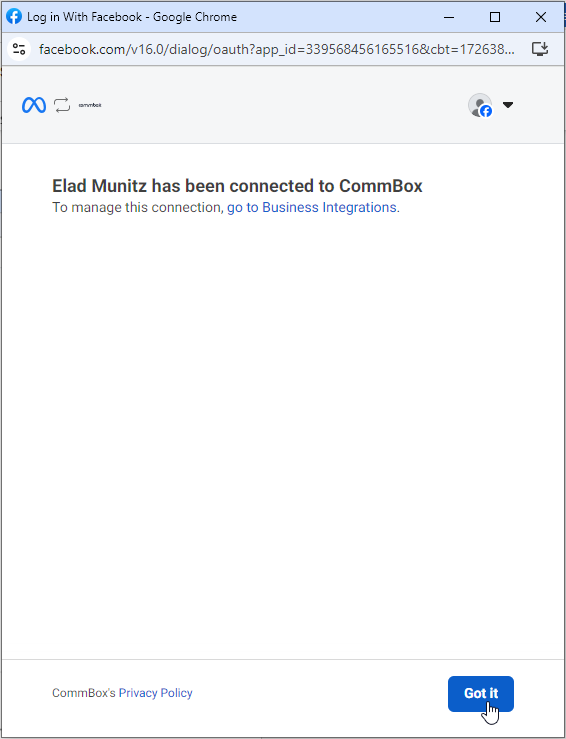
- You successfully linked your Facebook account to CommBox. Click Got it to return to the CommBox platform.
- You can now select this account for the new Messenger channel. Name the new channel, add sub channels (optional), and finish the process by clicking Create Channel.
- The account will be listed as Pending while waiting for Meta's approval. See section below for configuration of the channel settings.
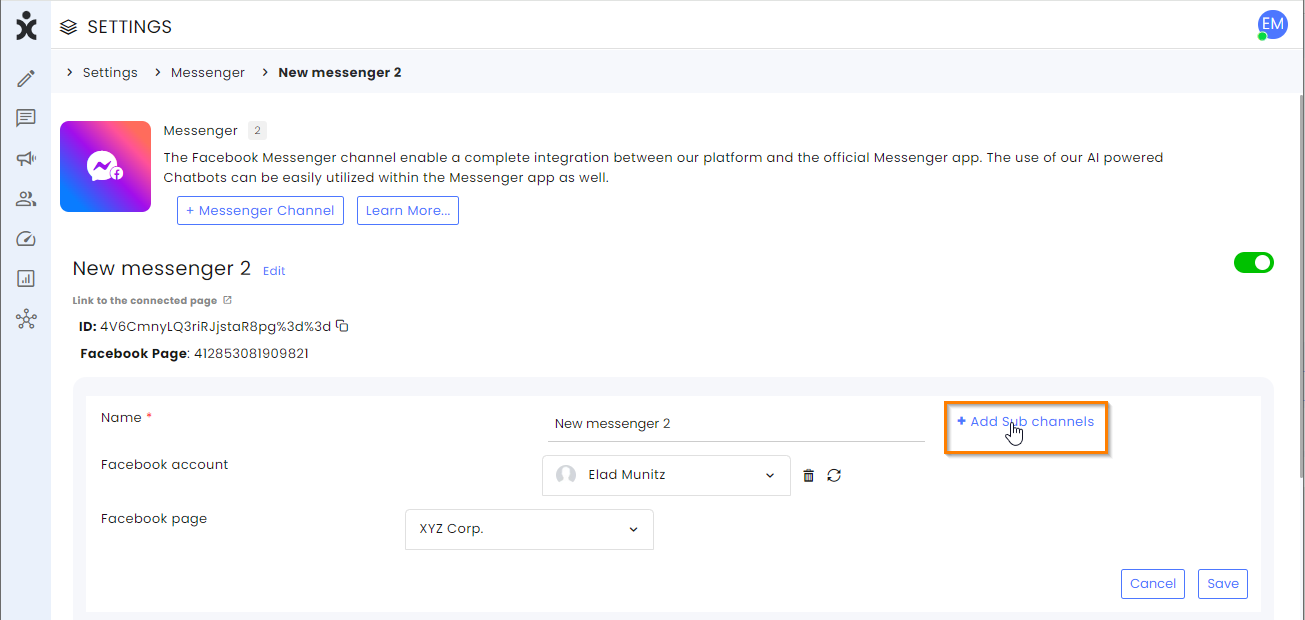
Adding Subchannels
Subchannel can help segregate the incoming traffic into appropriate categories.
- At the selected channel, click the Edit button next to the channel name and then click the Add Sub channels.
- Enter the name of the Subchannel and click +Add.
- After entering all subchannels, click Save.
Deleting an account
- To delete an account or a Facebook post from CommBox, navigate to the Messenger module, select the + Messenger Channel.
- Select the Facebook account and the relevant page you want to delete and click on the trash icon next to the account listed.
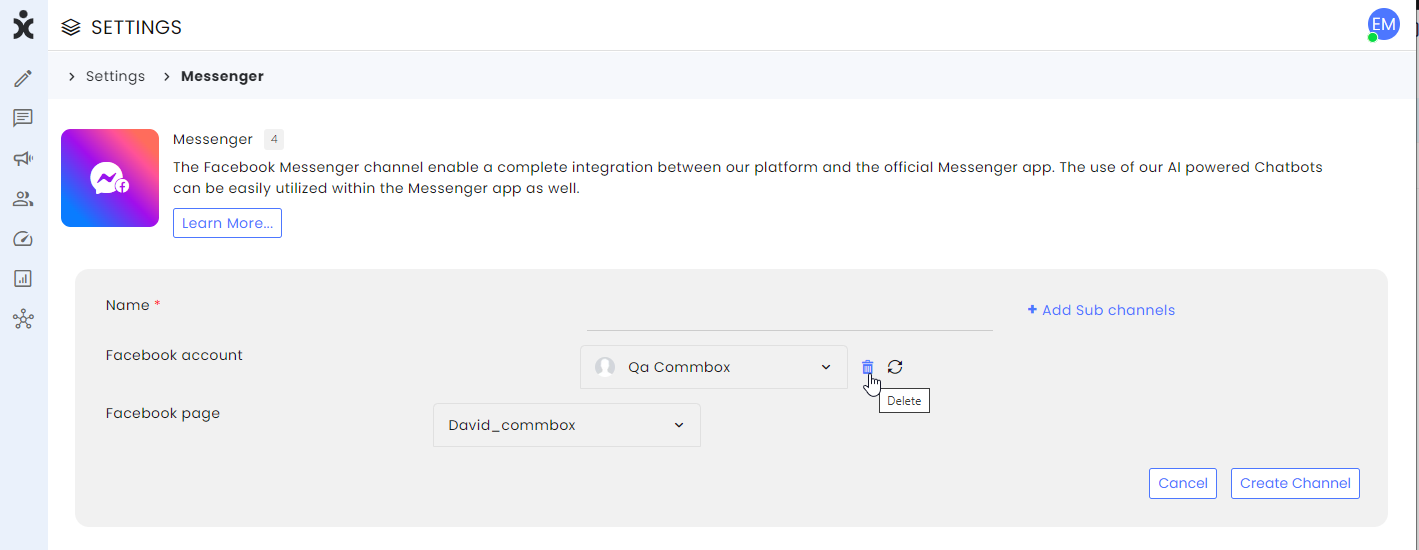
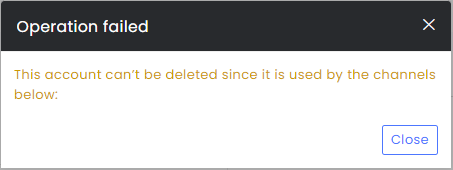
- Note that you cannot delete an account if pages from it are opened and active in CommBox.
In that case, turn off all channels that use this account (toggle off) and then select the trash icon by the account you want to delete.
Channel Settings
Below is a detailed explanation of the Channel Settings for this module.
General

Language - the operating language within the module itself
Maximum conversation duration (seconds) – The time limit for the conversation.
Number of digits without disabling sensitive information - Enter the number of digits that will be visible at the closing of the conversation. Subsequent digits will be masked with asterisks (*) at that time. For example, entering the number 3 here will turn the number 6543210 into “654****” at the end of the conversation.
Neutralize sensitive information on the agent side - Enable/disable the possibility that the agent entered numbers that will appear as asterisks after the status has changed to Resolved.
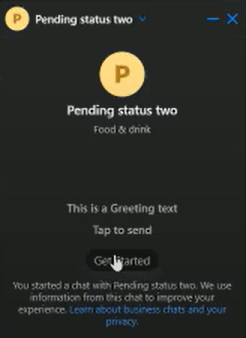
Show “Get started” button—This button appears in Messenger for the customer's initial contact with the page. Once clicked by the customer, the message “Get Started” starts the conversation in CommBox.
Greeting text – The text that will appear under the “Get started” button
Service Level Agreement (SLA)
Service Level Agreement determines the acceptable waiting time for customers before they receive service from the service provider. Once that time passes and the agent does not reply to the customer, there is an SLA breach.
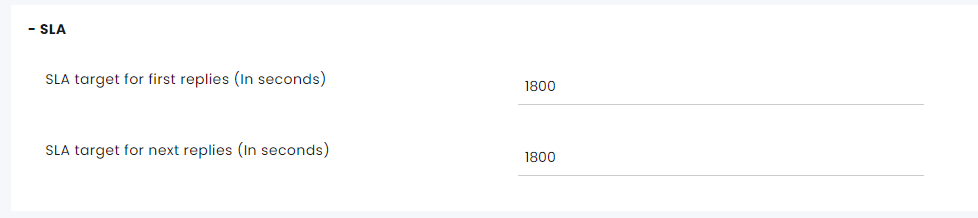
SLA target for first replies (in seconds) – The time limit for the agent to respond to the customer's first message to avoid an SLA breach.
SLA target for next replies (in seconds) – The time limit for the agent to respond to the customer's first message to avoid an SLA breach.
The channel settings override the main SLA settings.
Click here for more information about this capability.
Business Hours (Operating Hours)

Business Hours profile - Select the Business Hours settings to determine when this channel operates and what auto-messages should be displayed after hours.
Click here for more information about Business Hours.
Auto Message

Automatic response – This is an automated message sent in response to the end customer’s first message.
Customer Satisfaction Survey
.png)
Activating the Customer Satisfaction Survey – Enables sending surveys to customers once their conversation status is set to Resolved.
Survey for the conversations when their status is resolved – Select the survey for this chat.
Survey Response Expiry Time (Minutes) – Specify the duration (in minutes) during which a customer's reply is considered a valid response to the Satisfaction Survey. After this period, any new reply will initiate a new conversation.
On the Customer Satisfaction settings, you can create surveys and customize them.
Click here for more information about this capability.
Automation
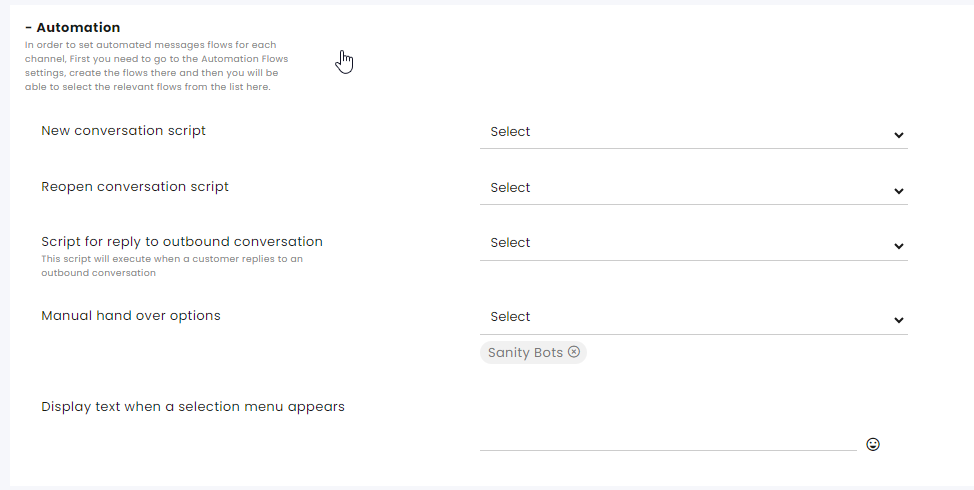
A script refers to a flow designed to meet a specific need. Learn more about our Automation bot capabilities in the automation section of the help center.
New conversation script – Select the bot that will be triggered by the customer’s first message. This script will run in each new conversation on this channel.
Reopen conversation script – When a conversation is Resolved and the customer returns, this is the script the customer will get.
Note: If the Split Conversation settings in this channel are set to 0 (always open a new conversation after it has been resolved), this setting becomes irrelevant since the customer always gets the new conversation script and can go back to the conversation.
Script for a reply to an outbound conversation - This script will be executed when a customer replies to an outgoing conversation.
Manual handover options - This allows multiple selections of scripts that will be displayed in the assignment’s menu when the agent wants to divert the customer for further help to another bot, for example, changing password procedure or charging a credit card.
Display text when a selection menu appears - Enter the text displayed above the selection menu when it emerges.
Auto Assign
.png)
Activate auto-assignment to agents - set whether to enable/disable the channel’s auto-assignment capability.
Duration of time before being reassigned to the agent (in minutes) - Select the time before the system reassigns conversations to available agents.
Ignoring the Special Auto-Assignment quota – Activate/Deactivate this feature. When activated, the system overlooks the agent’s assignment quota and assigns conversations using the Special auto-assignment feature.
Special assignments include:
- Send and assign to me - Selected by the agent when initiating communication in Compose.
- Conversation Assign – An agent can select themselves or others as the agents for a conversation.
- Agent in charge – An agent is added to the customer info card as the agent in charge. Customers with an agent in charge are referred to as VIP customers.
- Direct link
- Snoozed conversation – Conversations that the agents assigned to themselves at a preset date and time.
Prioritize forwarded - Conversations that were forwarded from another channel will be given priority assignment on the new channel if the following conditions are met:
- The conversation is assigned to an agent while it is being forwarded
- The agent forwarding the conversation has no access to view the destination channel
If the conversation has met all the following criteria, it will receive priority above other conversations.
Set Conversation Priority – Each communication channel has a default priority rate (1- highest priority, 10- lowest priority). Note that the priority can be overridden by other factors within the system.
Intents
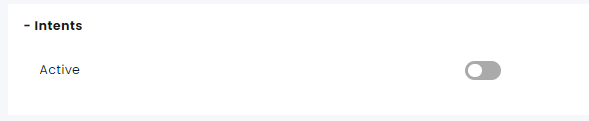
If an Intentions module has been activated, the channel will now have the option to enable or disable it.
Customer Verification

You will see these settings if the customer verification module is set up.
This section, in combination with the Customer Verification module, determines the time from receipt of the Customer Verification (OTP) certificate until re-verification is required.
Split Conversations
.png)
Enabled – When toggled On, Split can occur with the “handled” mark on a conversation. After the customer’s response, the conversations will open as new or in the same thread.
Trigger to split from the set time—The conversation could split automatically after the customer's last response or after the status is changed to Resolved.
Split will occur after X min of inactivity - When the field is set to 0, the split conversation will occur immediately. No conversation split will occur if the above switch is set to Off.
Privacy and Security
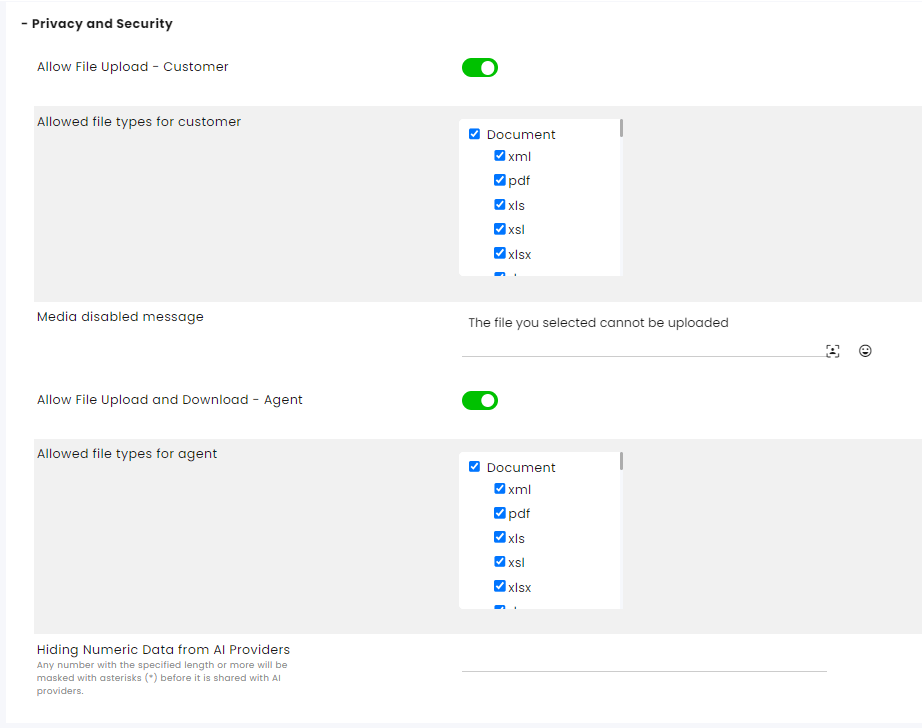
Allow file upload - customer: Allow/block customer to upload files.
Allowed file types for customer – Lists the file types which can be uploaded by the customer.
Media disabled message – The message is displayed when the customer attempts to upload an unallowed file type.
Allow file upload and Download - agent: Allow/block the agent to download/upload files.
Allowed file types for Agent – Lists the allowable file types.
Hiding Numeric Data from AI Providers – Specify the maximum number of digits allowed for numeric data before it is uploaded to AI providers. Any number that exceeds this limit will be fully masked with asterisks (*) prior to the upload. For example, if you enter a value of three, numbers like 3.129 and 1452 will be entirely masked. Entering zero will mask all numbers.
Maintenance
.png)
Number of days without activity to change an Open status conversation to Archive status - Default is 30 days.
Number of days without activity to change a Pending status conversation to Archive status - Default is 30 days.
Number of days without activity to change an Automated status conversation to Archive status - Default is 30 days.
Number of days without activity to change a Sent status conversation to Archive status - Default is 30 days.
Number of days without activity to change an Archive status conversation to Delete status - Leaving this value empty means conversations will remain in Archive status and will not get deleted.
Number of days without activity to change an Irrelevant status conversation to Delete status - Leaving this value empty means conversations will remain in Irrelevant status and not get deleted.
Number of days without activity to change a Resolved status conversation to Delete status - Leaving this value empty means conversations will remain in Resolved status and will not get deleted.
Set additional aspects of maintenance including permanently deleting conversations at the Maintenance settings page.
Click here for more information about this capability.
Participants
.png)
Allow agents to invite an external participant to a conversation on this channel – Toggle on/off to enable agents to add additional people to the conversation with the customer.
AI Assistant
.png)
The AI capabilities require a set-up of the ERA AI at the module settings and setting up a replenishment account.
If you have an active AI account with us, you may turn the AI capabilities for this channel here:
Activate AI Powered Assist – Enable the AI capabilities in the inbox for the agents.
Automatic conversation summary – Have all conversations with a Resolved status be automatically summarized in the remark section of the inbox.
Click here for more information about this topic.
CRM Integrations
See information in the relevant guides.